
Installing a patio cover attached to your house means bolting a ledger board or beam directly into your home's framing, then building outward from there with posts, rafters, and a roofing surface. Done right, it creates a weatherproof, structurally sound outdoor space that feels like an extension of the house. Done wrong, it leaks at the wall, sags after the first winter, or gets flagged by a building inspector during a home sale. This guide walks you through the entire process, from measuring your space and pulling a permit all the way to installing flashing and scheduling a final inspection.
How to Install a Patio Cover to Your House DIY Guide

Celia Vaughn
6 Jul 2026
Attached vs. Freestanding: Know What You're Building First
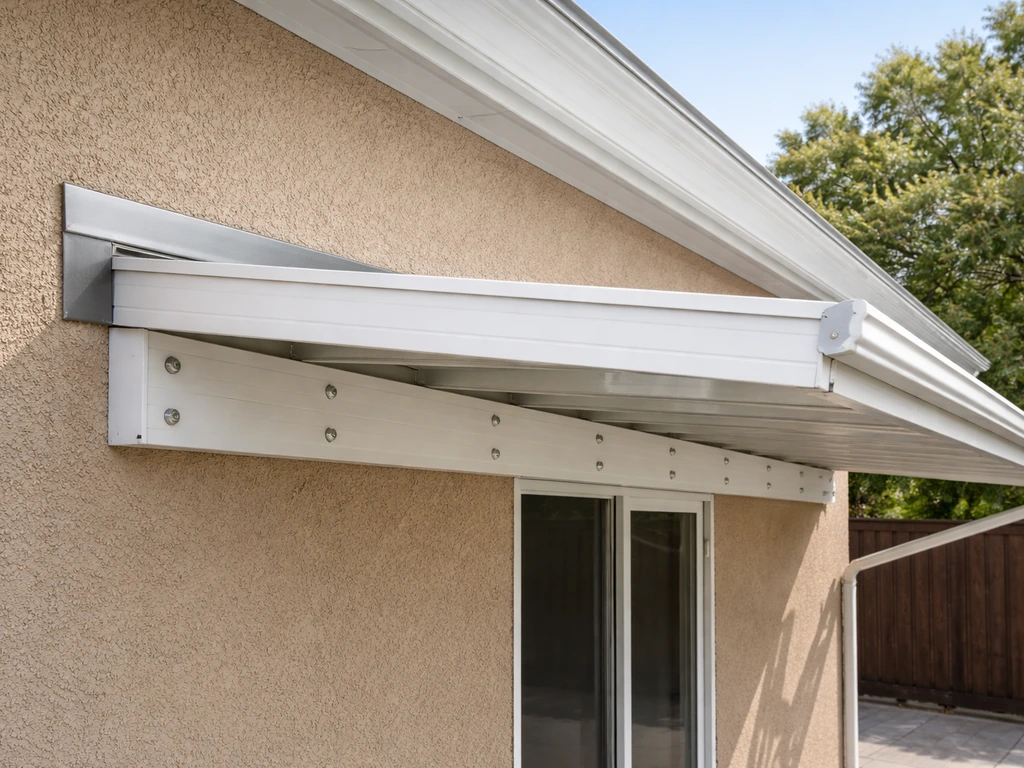
When people say they want to install a patio cover "to the house," they almost always mean an attached cover, also called a lean-to or shed-style patio cover. One side of the roof connects to the house wall (or fascia), and the other side is supported by posts set in the ground or on a concrete slab. This is different from a freestanding pergola or shade structure, which doesn't touch the house at all. Freestanding structures are simpler to build but don't give you that seamless transition from indoors to outdoors.
The two most common attached styles are the lean-to (a single-slope roof, sometimes called a shed roof) and the gable (a peaked roof with two slopes). A lean-to is easier and cheaper to build and is the right choice for most first-time DIYers. A gable cover looks more like the house's existing roof, handles rain and snow better, but requires more framing work and usually needs engineered drawings for a permit. For this guide, the focus is on the lean-to attached style, with notes on where gable builds differ.
For materials, you have three main options: aluminum, wood, and steel. Aluminum patio cover kits are the most popular for DIY because they're lightweight, rust-proof, and come pre-cut with instructions. Wood (usually 2x lumber or rough-sawn Douglas fir) is more customizable and often required to match existing house architecture, but it needs sealing and periodic maintenance. Steel or metal framing is durable and used in heavier commercial-style builds but is harder to cut and connect without experience. For most homeowners doing their first attached patio cover, an aluminum kit or standard dimensional lumber are the two realistic choices.
Plan It Before You Build It
Measurements and slope
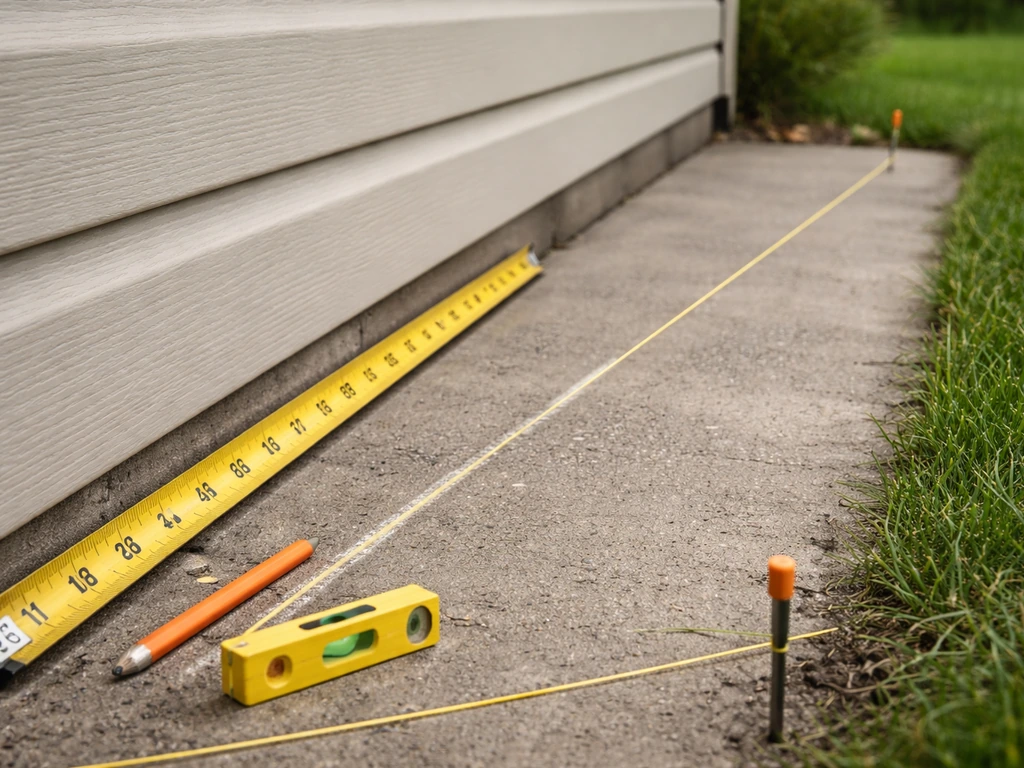
Measure the width of the area you want to cover along the house wall, then measure how far out from the house you want the cover to extend. These two numbers give you your footprint. Standard residential patio covers range from 10 to 20 feet deep and anywhere from 12 to 30 feet wide, but there's no hard rule. Write down your dimensions and sketch them on graph paper, including where your posts will land and whether they'll sit on an existing concrete slab or need new footings.
Slope (also called pitch or grade) is critical for drainage. A lean-to roof should slope away from the house at a minimum of 1/4 inch per foot, and 1/2 inch per foot is better in rainy climates. This means the attachment point at the house wall needs to be higher than the outer beam. For a 12-foot-deep cover with a 1/2-inch-per-foot pitch, the ledger at the house should sit 6 inches higher than the outer beam. If you get this backwards, water ponds against your house wall and you'll have leaks within a season.
Permits: don't skip this step
Most U.S. jurisdictions require a building permit for an attached patio cover, and many require one even for freestanding structures over 120 square feet. For example, the City of Morgan Hill states that a permit is required for any patio cover attached to the house or larger than 120 square feet blank" rel="noopener noreferrer">patio cover attached to the house or larger than 120 square feet requires a permit. The city of Morgan Hill, California, for example, explicitly requires a permit for any patio cover attached to the house or larger than 120 sq. ft. Some jurisdictions, like Ceres, CA, provide pre-engineered plan sets for standard attached patio covers, which saves you from hiring a structural engineer. Your local building department's website is the fastest way to find out what's required. You'll typically need to submit a site plan showing where the cover sits on the lot, a section drawing showing the framing, and sometimes span tables showing the lumber sizes are adequate for the spans involved. Ceres, CA also provides pre-engineered plan sets for standard attached patio covers, including detail pages with span tables and foundation or footing information for the required submittal items blank" rel="noopener noreferrer">span tables showing the lumber sizes are adequate for the spans involved.
Skipping the permit is a real risk. An unpermitted attached structure can complicate a home sale, void your homeowner's insurance for related damage, and, more importantly, it means no one has verified the attachment is structurally sound. Pull the permit.
Choosing your roofing material
| Material | Cost (installed DIY) | Lifespan | Best For | Main Drawback |
|---|---|---|---|---|
| Aluminum solid panels | $8–$15/sq ft | 30+ years | Low maintenance, rain protection | Less customizable, industrial look |
| Polycarbonate panels | $6–$12/sq ft | 10–20 years | Light diffusion, budget DIY | Yellows over time, less insulating |
| Asphalt shingles over plywood | $5–$10/sq ft | 20–25 years | Matching house roof aesthetics | Heavier, more complex flashing |
| Wood boards/tongue-and-groove | $7–$14/sq ft | 15–25 years | Open pergola-style look | Needs sealing, not waterproof |
| Metal roofing (corrugated steel) | $5–$9/sq ft | 25–40 years | Durability, steep-slope builds | Noisy in rain, tricky to flash |
Tools and Materials You'll Need
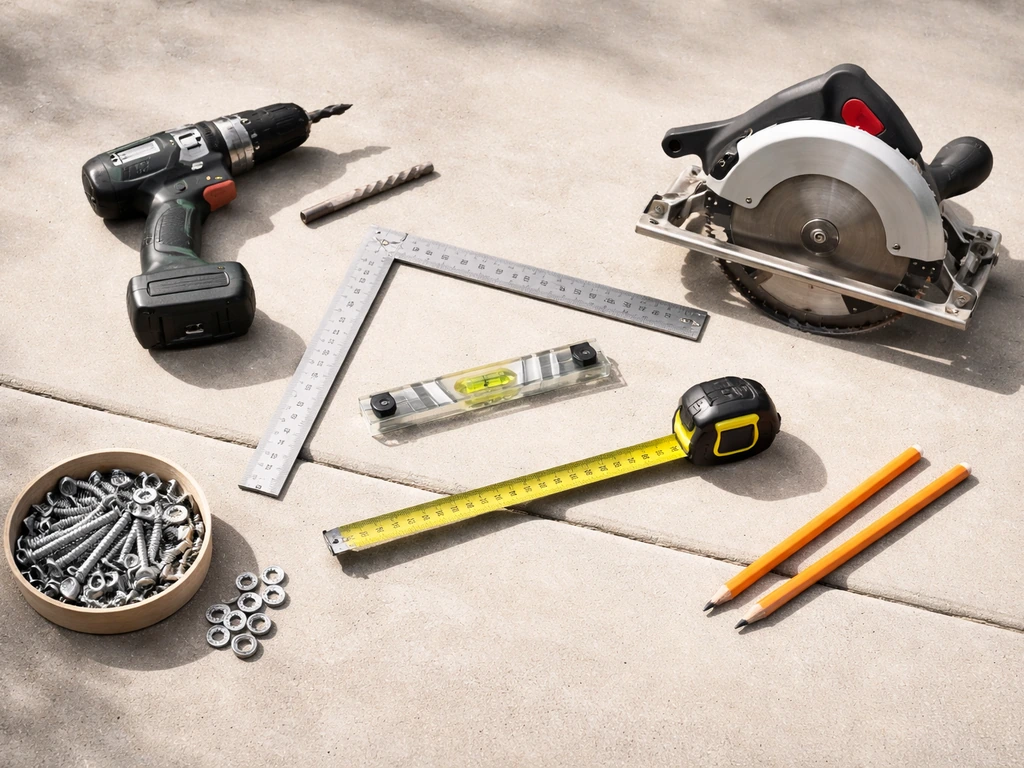
Before you buy anything, finalize your dimensions and roofing material choice so you can calculate quantities accurately. For a standard 12x16-foot attached lean-to with dimensional lumber framing and aluminum or polycarbonate roofing, here's what you'll be working with.
Tools
- Circular saw or miter saw (for cutting lumber and panels)
- Drill/driver with a set of drill bits and driver bits
- Level (2-foot and 4-foot)
- Speed square or framing square
- Tape measure (25-foot minimum)
- Chalk line
- Post hole digger or rented auger (if setting new footings)
- Hammer
- Caulk gun
- Stud finder (for locating framing in the house wall)
- Ladder (6-foot minimum, 8-foot preferred for most builds)
- Safety glasses and hearing protection
Materials (12x16-foot lean-to example)
- Ledger board: one 2x8 or 2x10 at 16 feet (pressure-treated if within 6 inches of soil or concrete)
- Rafters: 2x6 or 2x8 at 12 feet, spaced 24 inches on center (8 to 9 pieces for a 16-foot-wide cover)
- Outer beam: doubled 2x8 or 2x10 at 16 feet, or engineered LVL beam
- Posts: 4x4 or 4x6 pressure-treated lumber at your calculated height, plus post base hardware
- Hardware: structural lag screws (1/2" x 3" or 1/2" x 4" for ledger), joist hanger hardware, post caps, post bases, hurricane ties
- Roofing panels or material at your calculated square footage plus 10% waste
- Flashing: aluminum step flashing or Z-flashing at the house wall (minimum 4 inches up the wall, 4 inches over the roof surface)
- Exterior-grade caulk/sealant (paintable polyurethane or silicone)
- Concrete for footings (if digging new holes)
- Drip edge and gutter sections if desired
For rafter sizing, a general rule is that a 2x6 can span about 10 feet and a 2x8 can span about 14 feet at standard 24-inch spacing under a 10 psf live load, which is the IRC minimum for patio covers. If you're in a snow zone, your local code may require sizing for higher loads. When in doubt, go up a size. Lumber is cheap compared to a callback repair.
Check Your House Before You Attach Anything
The most common mistake I see is someone who jumps straight to drilling into the house without confirming what's behind the surface. Before you touch a drill, you need to locate the house framing, understand your wall surface, and make sure the existing structure can handle the load.
Finding the framing
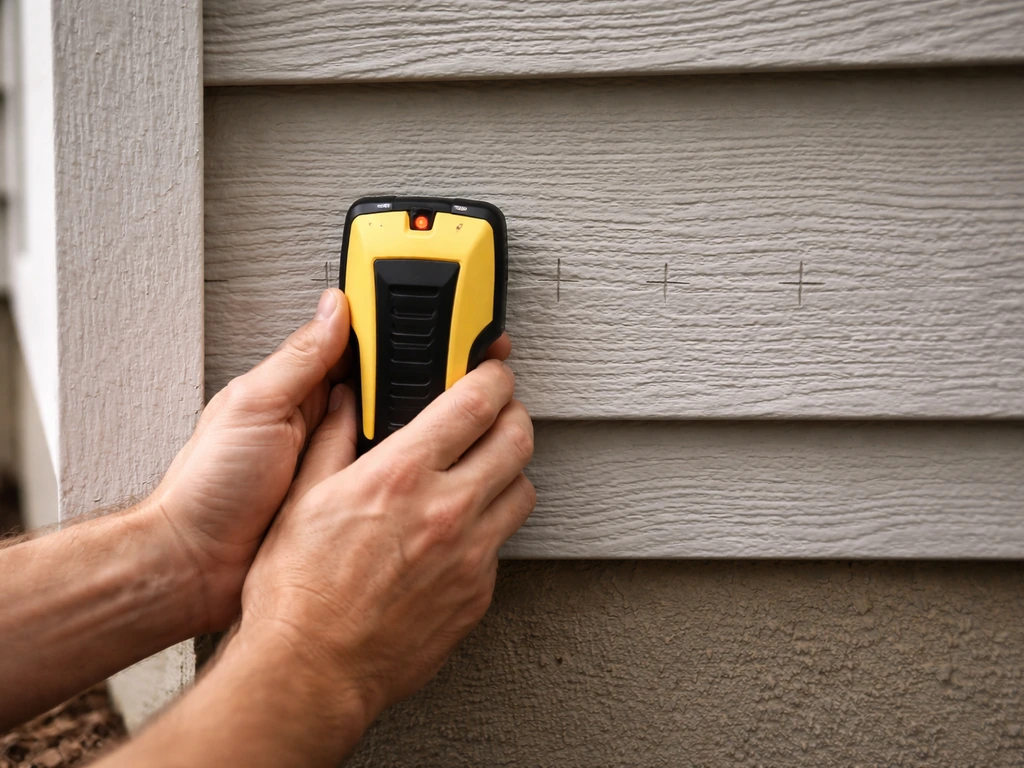
Use a stud finder to locate wall studs or rim joists behind the house's exterior surface. In wood-framed houses, studs are typically 16 or 24 inches on center. Your ledger board fasteners need to land in these studs or in the rim joist (the horizontal framing member at the top of the foundation or the floor). Never attach a ledger solely to sheathing or siding; it will pull out. Mark each stud location with pencil or tape before you do anything else.
If you have a brick or masonry wall, you'll need masonry anchors instead of lag screws. For stucco walls, you need to cut or drill through the stucco layer carefully to reach the framing behind it and use proper flashing to prevent water infiltration at every penetration. Vinyl siding requires removing or notching the siding to allow the ledger to sit tight against the sheathing. How you handle each wall type matters a lot for both structural integrity and waterproofing, and these attachment scenarios each deserve careful attention depending on your specific house.
Assessing the existing structure
Look at the area where the ledger will attach. Is there any rot, soft wood, or damaged siding? If you're attaching to a fascia board, check whether the fascia is structural or purely decorative (most fascias are not structural enough to carry a patio cover on their own). If you are specifically trying to attach patio cover to fascia, verify the fascia function first so you can choose the right ledger connection and avoid collapse. Probe with a screwdriver. If it sinks in more than 1/4 inch, you have rot and need to fix that before anything else. Attaching a patio cover to a rotted fascia is one of the most common causes of patio cover collapse.
Also check your concrete slab if you're setting posts on an existing patio. Tap it with a hammer and listen for hollow sounds or look for cracks wider than 1/4 inch. Surface cracks are usually fine, but deep cracks or spalling concrete may not support post base hardware reliably. If the slab is in bad shape, plan to dig footings rather than relying on it.
Step-by-Step Installation
Step 1: Mark and install the ledger board
Determine the height at which the top of your ledger will sit on the house wall. Remember to account for your roof slope: if the outer edge of your cover will be 6 inches lower than the ledger, your ledger's top edge needs to be 6 inches higher than the height you want the outer beam to sit. Snap a chalk line across the wall at that height. Double-check it with a level.
If you have wood siding, cut or notch it so the ledger sits flat against the sheathing. Never let the ledger sit on top of siding because that creates a water trap. Apply a bead of exterior caulk to the back of the ledger before pressing it to the wall, and install flashing above it before you fasten it permanently. Drill pilot holes through the ledger at each stud location, then drive 1/2-inch by 3-1/2-inch structural lag screws (or code-specified structural screws) into each stud. Space fasteners no more than 16 inches apart. Two lags per stud is stronger and required by some codes. Stagger them vertically to avoid splitting the ledger.
Step 2: Set the posts and outer beam
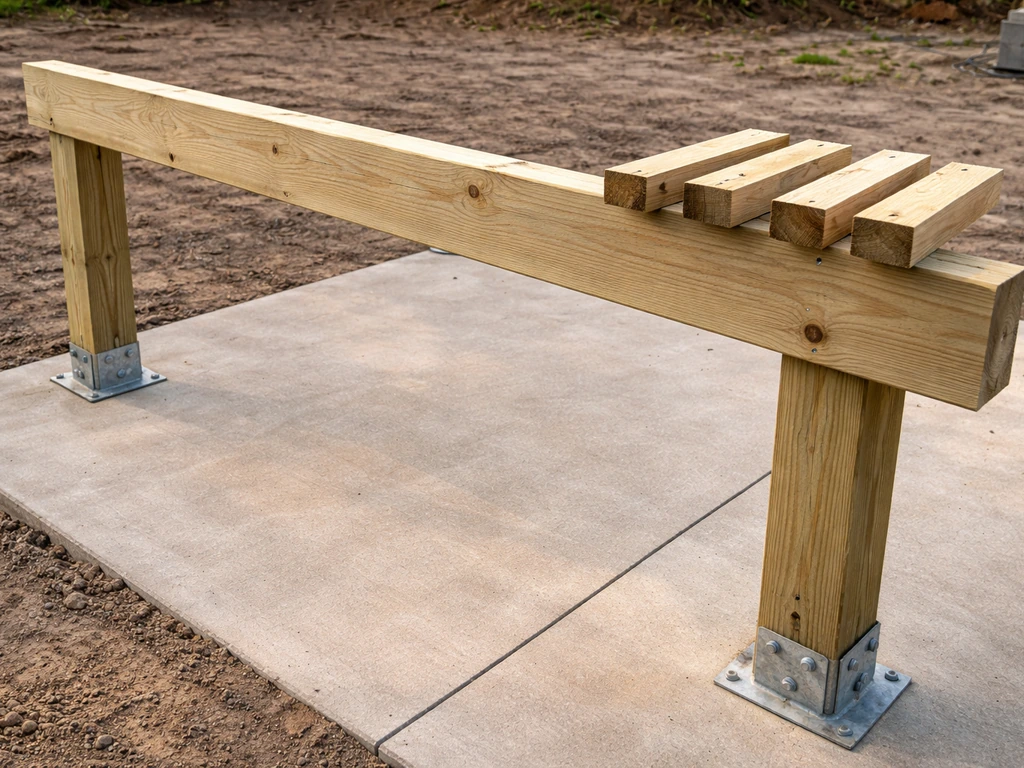
Mark your post locations on the slab or ground. Posts should align with the outer beam and typically land within 12 to 18 inches of the ends of the beam, with additional posts as needed for spans over 12 feet. Dig footing holes at least 12 inches in diameter and below your local frost depth (typically 12 to 36 inches depending on climate). Pour concrete, set post base hardware while the concrete is wet, and let it cure for at least 48 hours before loading it. If you're attaching to an existing slab, use structural post base hardware anchored with epoxy-set anchor bolts.
Cut your posts to the correct height, accounting for any post base height and the thickness of the beam that will sit on top. Plumb each post in two directions with a level and brace it temporarily. Set your outer beam on top of the posts and fasten with post cap hardware. Do not just toenail a beam to a post top; use rated post cap connectors.
Step 3: Install the rafters
Cut your rafters to length. Each rafter gets a bird's mouth cut (a small notch) where it sits over the outer beam, which keeps it from sliding off. At the ledger end, you can either use joist hanger hardware or cut the rafter to rest on the ledger with a proper bearing seat. Joist hangers are cleaner and more secure, and most inspectors prefer them. Space rafters at 24 inches on center (or 16 inches if your roofing material or code requires it). Nail or screw each hanger per manufacturer specs, which usually means 10d or 16d hanger nails at every hole in the hanger, not just a few. This is a common shortcut that causes failures.
Step 4: Brace and stabilize
Once the frame is up, check it for racking (sideways lean) by measuring the diagonals of the frame, corner to corner. If the two measurements match, it's square. Add knee braces from the posts to the outer beam at 45 degrees if your beam span is long or your cover is in a wind-exposed area. Many codes require knee braces or lateral bracing on patio covers taller than 8 feet. Add blocking between rafters at the outer beam to prevent them from rolling.
Roofing, Flashing, and Water Management
The roofing step is where most patio cover leaks originate, and almost all of them trace back to bad flashing at the house wall. Get this part right and you'll likely never have a leak. Rush it and you'll be caulking every spring.
Flashing the wall junction
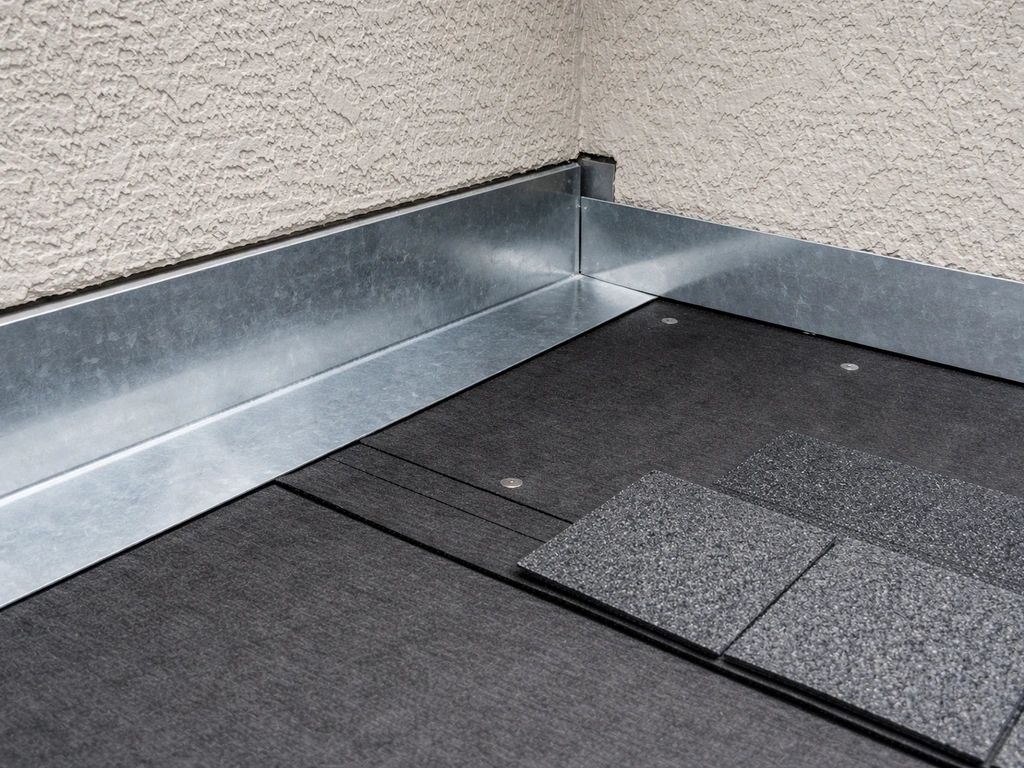
Before you lay a single roofing panel, install continuous Z-flashing or step flashing at the ledger. The flashing needs to slip behind the siding or stucco at least 4 inches up the wall and extend at least 4 inches over the top of your roofing surface. On a sloped single-plane roof, continuous Z-flashing is the standard approach: the top leg goes behind the wall cladding and the bottom leg laps over the roofing panels. Seal the top edge of the flashing with exterior caulk where it meets the wall but do not caulk the bottom edge, water needs to drain out. If you caulk all four sides of your flashing, you create a water trap.
Installing roofing panels or boards
Start at the low end (the outer beam) and work toward the house. Overlap panels according to manufacturer instructions, typically 6 to 12 inches for corrugated metal and one full rib for polycarbonate. Pre-drill panels to avoid cracking and use the correct fasteners: roofing screws with rubber washers for metal panels, polycarbonate-specific screws for polycarbonate. Don't overtighten; you'll crack the panel or deform the washer and create a leak point. Space fasteners along every rafter per panel manufacturer specs, usually every 12 to 18 inches.
Gutters and drip edges
Install a drip edge along the outer beam to direct water off the roof cleanly. If you're in a rainy climate or the runoff would drain onto a walkway or neighboring property, add a gutter along the outer beam. A 4-inch K-style gutter handles the runoff from most residential patio cover sizes well. Slope the gutter at 1/4 inch per 10 feet toward the downspout. Connect the downspout to a splash block or underground drain to move water away from your foundation.
Structural and Code Considerations: What You Can't Ignore
Under the IRC (International Residential Code), patio covers must be designed to handle a minimum vertical live load of 10 pounds per square foot (psf), plus dead load (the weight of the cover itself). In snow regions, the live load requirement goes up to match local ground snow loads, which can be 20, 30, or even 50 psf in mountain areas. This directly affects what lumber sizes and spans you can use. Your local building department's span tables will tell you what's allowed without an engineer.
Wind load is equally important. The IRC requires patio covers to meet the wind design criteria in Section R301.2.1, which means in coastal or high-wind zones, you may need hurricane straps at every rafter-to-beam connection, not just toe screws. Always use rated structural connectors at post bases, post tops, and rafter ends. These connectors are cheap and the difference between a patio cover that survives a storm and one that lands in your neighbor's yard.
When to call a pro
Most handy homeowners can handle a standard attached lean-to cover. But there are specific situations where hiring a structural engineer or licensed contractor is the right move, not because you can't physically do the work, but because the consequences of getting it wrong are serious.
- Your house has brick, block, or ICF walls and you're not sure how to properly anchor into them
- The patio cover spans more than 20 feet without intermediate posts
- You're building a gable or hip roof that needs to tie into the existing roof structure
- You're in a high-wind or heavy-snow zone and don't have engineering drawings
- You need to add electrical (lighting, fans, outlets) inside the patio cover
- The existing house wall shows any signs of structural damage or rot before attachment
- Your local jurisdiction requires engineered plans and you don't have them
A structural consultation for a patio cover typically costs $300 to $700 and can save you from a failed inspection, a rebuilding cost, or worse. If you're on the fence, get the consultation.
Final Inspection and Keeping It That Way
The inspection process
If you pulled a permit (and you should have), schedule your final inspection before you close up any framing or cover any connections. Many jurisdictions require a framing inspection before roofing goes on so the inspector can see the ledger attachment, post bases, and rafter connections. After roofing, they'll do a final to check flashing and overall completion. Bring your approved plans to the inspection site and have your permit card posted visibly. Inspectors are generally helpful; if something needs to be corrected, they'll tell you exactly what to fix.
Your own post-installation checklist
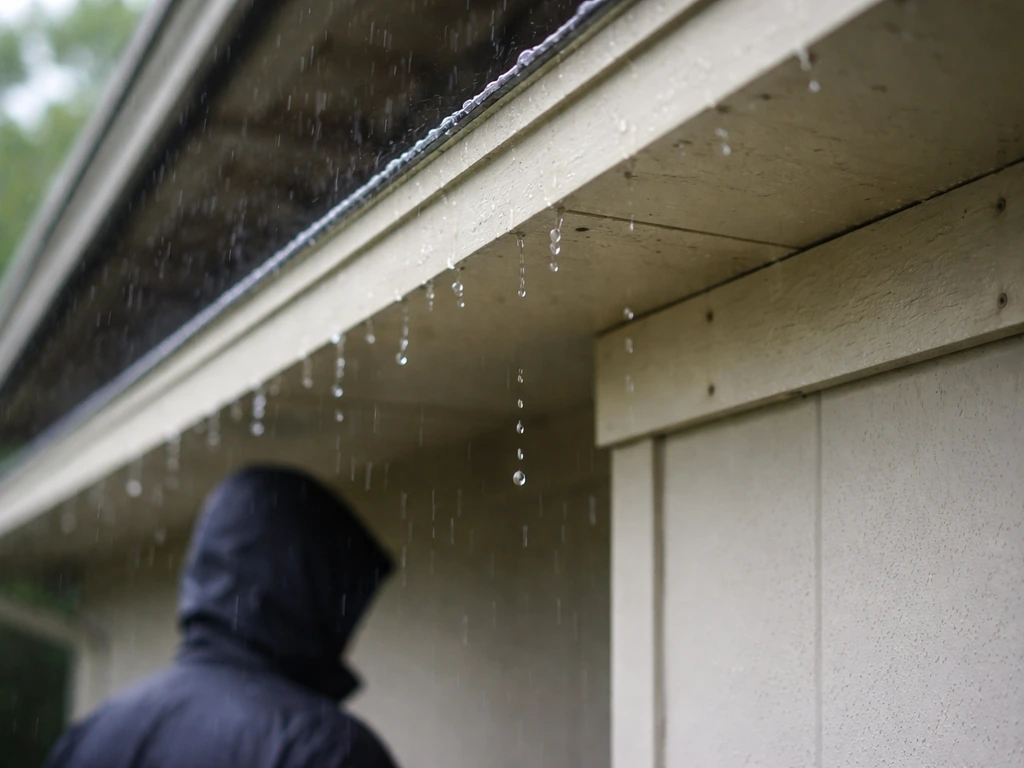
Before you declare it done, run through these checks yourself after the first rain.
- Stand under the cover during rain and look for any drips at the ledger/wall junction or at panel fastener locations
- Check that water runs off the outer edge cleanly and does not pond anywhere on the roof surface
- Look at the ledger-to-wall connection from inside any adjacent room for any signs of moisture intrusion
- Check all post bases for any water pooling around the base hardware
- Wiggle each post by hand to confirm there is no movement; any flex means a footing or connection needs attention
- Inspect all caulk lines for gaps or shrinkage, especially at the flashing-to-wall joint
Annual maintenance
Once a year, do a quick walk-around inspection. Reapply caulk anywhere you see gaps or cracking, especially at the wall-to-flashing junction. On wood patio covers, check for any soft spots or discoloration that could indicate moisture and treat or seal as needed. For aluminum kits, check that all fasteners are still snug and that no panels have shifted. Clean gutters every fall before the rainy season. Doing 30 minutes of preventive maintenance each year is what separates a patio cover that looks great at 20 years from one that needs a full rebuild at 10.
The attachment between your patio cover and your house is the one joint you want to check most carefully every year. Water that sneaks behind a ledger board over several seasons can rot the rim joist and wall framing without showing any visible damage until it's a major structural repair. Keeping that flashing tight and the caulk fresh is the single most important maintenance task on an attached patio cover, and it takes less than 15 minutes.
FAQ
Can I install a patio cover to a masonry wall, or does it always need a wood-framed ledger?
You can attach to masonry, but you still need a properly designed ledger system and correct anchors (for example, wedge or expansion anchors), sized for the loads and the specific block or brick condition. Plan on verifying what the wall is backed by (solid backing vs hollow), because anchor pullout strength varies a lot, and short anchor embedment can fail inspection.
What if my siding or stucco is already painted, can I still cut/notch and install flashing correctly?
Yes, but you should keep the flashing detail clean and continuous, meaning every penetration and edge needs water-managed layering. Avoid sealing the flashing in a way that traps water behind it, and after installation check that there are no gaps between the flashing leg and the wall cladding where water could run inward.
How do I choose the right thickness and type of roof panels for an attached patio cover?
Match panel type to structure spacing and local wind and snow requirements, not just aesthetics. Polycarbonate is lighter but can sag if spans or fastener spacing are too wide, while metal panels need correct screw type and washer condition to prevent fastener leaks over time.
If I want the patio cover to block sun, can I use insulation or a solid ceiling under the roof?
You can, but consider condensation and airflow. An insulated or enclosed ceiling can trap moisture, so you may need ventilation at the ends and a vapor management approach that matches your climate, otherwise you risk wet wood at the ledger and rafters even if the roofing itself is watertight.
Do I need gutters for every attached patio cover, and how do I decide?
Not every cover needs a gutter, but you should add one if runoff would pour onto a walkway, into a planting area against the foundation, or onto a neighboring property. If you do add a gutter, slope it toward a real downspout or drain, and make sure the splash block or drain discharge is far enough from the foundation to prevent soil saturation.
What’s the safest way to locate house framing if the stud finder is unreliable?
Use multiple methods before you drill, for example, scan, then confirm with small exploratory pilot holes in an inconspicuous area, and verify with a measuring pattern from known outlets or trim openings. If you hit solid wood backing inconsistently, stop and investigate, because a ledger that misses studs is a common cause of structural and inspection failures.
Is it okay to drill through the house wall to improve the attachment strength?
Often it is not the right move unless your fastening strategy is specifically designed for through-bolting and waterproofing. Random through-holes can create direct water paths unless you use proper flashing or waterproof sleeves, so stick to the approved ledger attachment method from your permit plans or engineered recommendations.
How do I handle a post location that lands in a spot with existing concrete cracks or patio utilities?
First check for utilities before digging, then do not rely on cracked or spalled concrete for post bases. If the base area is questionable, plan for new footings or reposition posts within the approved layout, and ensure the post base hardware is embedded and anchored per structural requirements.
What should I do if the roof slope makes the outside edge height awkward for doors or stairs?
Adjust the ledger height, the cover depth, or the pitch, but keep the minimum slope for drainage. Avoid changing only the outer edge without recalculating bearing and rafter lengths, and confirm you still meet the minimum pitch and flashing overlap for your roofing material.
After installation, how can I tell whether the ledger-to-wall flashing is actually draining correctly?
During the first rain, check from the outside at the wall line and look for evidence of water tracking behind the flashing, bubbling paint, or dampness at the wall-to-ledger joint. Proper systems usually drain outward from the flashing, so if you see water collecting at the bottom edge or staining that spreads upward, you likely have a flashing lap or caulk detail that needs correction.
When should I replace caulk versus leaving it alone?
Replace caulk when you see lifting, separation from the flashing edge, cracks that open when pressed, or gaps that appear after freeze-thaw cycles. If caulk is intact but you find moisture staining or soft wood, do not rely on new caulk alone, you likely need to address the underlying water pathway or failed flashing layer.