
For an outdoor patio ceiling, your best options are pressure-treated wood boards or tongue-and-groove planks, aluminum soffit panels, fiber cement soffit boards, or metal panels, depending on your climate, budget, and whether you want a finished look or a more utilitarian cover. Each works well when installed correctly with the right framing, fasteners, and moisture detailing. The biggest mistake most DIYers make isn't picking the wrong material, it's skipping the drainage and ventilation details that keep the ceiling from rotting or trapping water over time.
What Can I Use for an Outdoor Patio Ceiling? Options

Celia Vaughn
10 Jul 2026
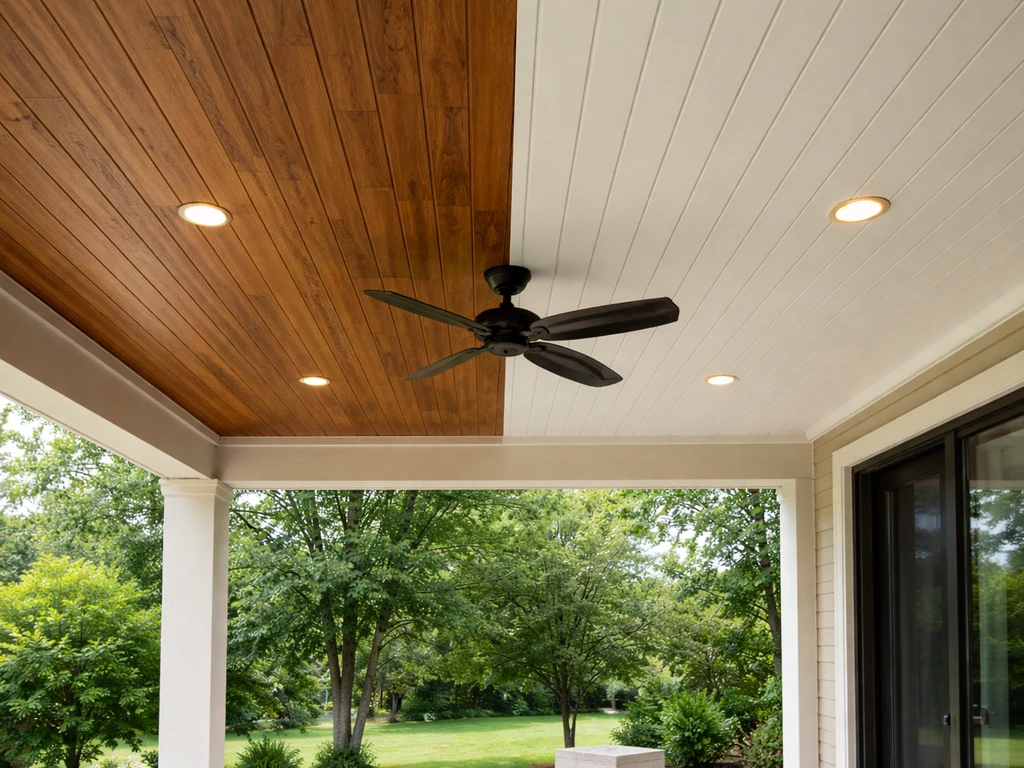
Patio ceiling vs. patio cover: pick the right setup first
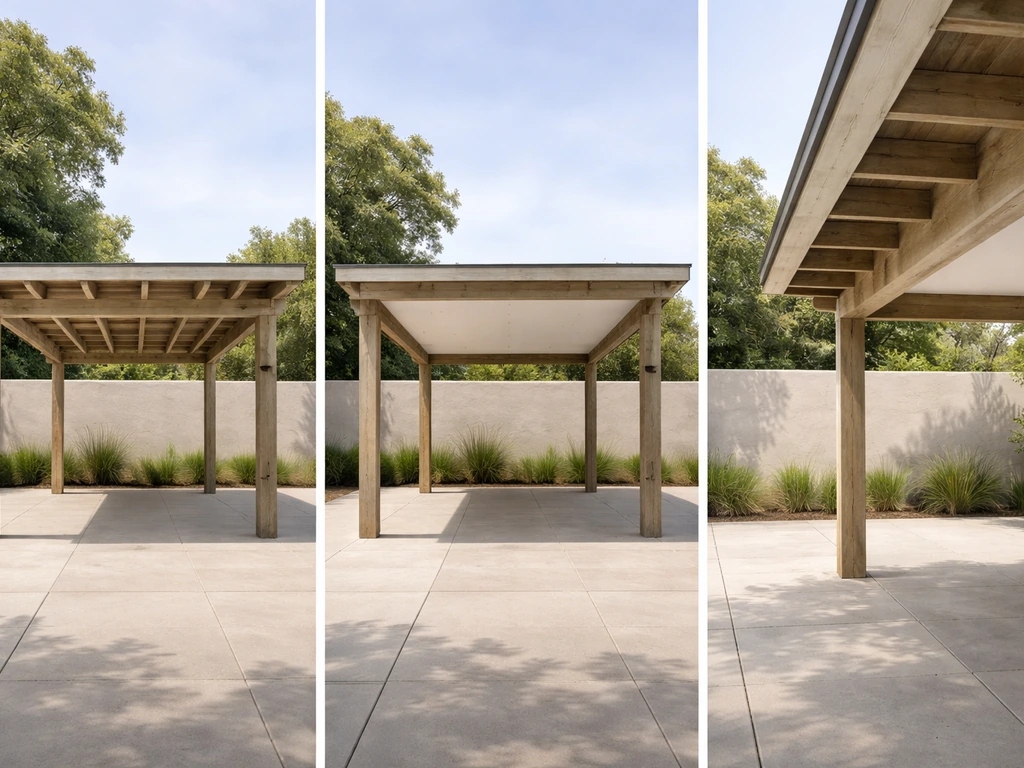
Before you pick a material, you need to get clear on what you're actually building. A patio cover is the whole structure, including the roof framing, posts, and any ceiling finish underneath. The patio ceiling is specifically the surface you see from below when you're sitting outside. These aren't always the same thing, and confusing them leads to costly mistakes.
There are three main setups most homeowners are working with. First, an open pergola-style shade structure: this has exposed rafters, possibly with slats on top, and the 'ceiling' is really just the underside of those rafters. There's no solid ceiling material here unless you add one. Second, a covered patio with a solid roof: this is a lean-to or freestanding structure with actual roofing on top, and you want a finished ceiling underneath it. Third, a full patio enclosure or addition: this starts approaching room-addition territory and typically requires engineering and permits every time.
The ceiling material you choose depends entirely on which setup you have. Open pergolas don't need weatherproof ceiling boards at all since there's no roof above them to manage water. Covered patios are where ceiling material selection really matters, because whatever you put up there will get exposure to humidity, occasional splash-back, and temperature swings year-round.
Outdoor-rated ceiling material options
Here's a honest breakdown of what actually works outside and what will cause you grief in a few years.
Pressure-treated wood boards and tongue-and-groove planks
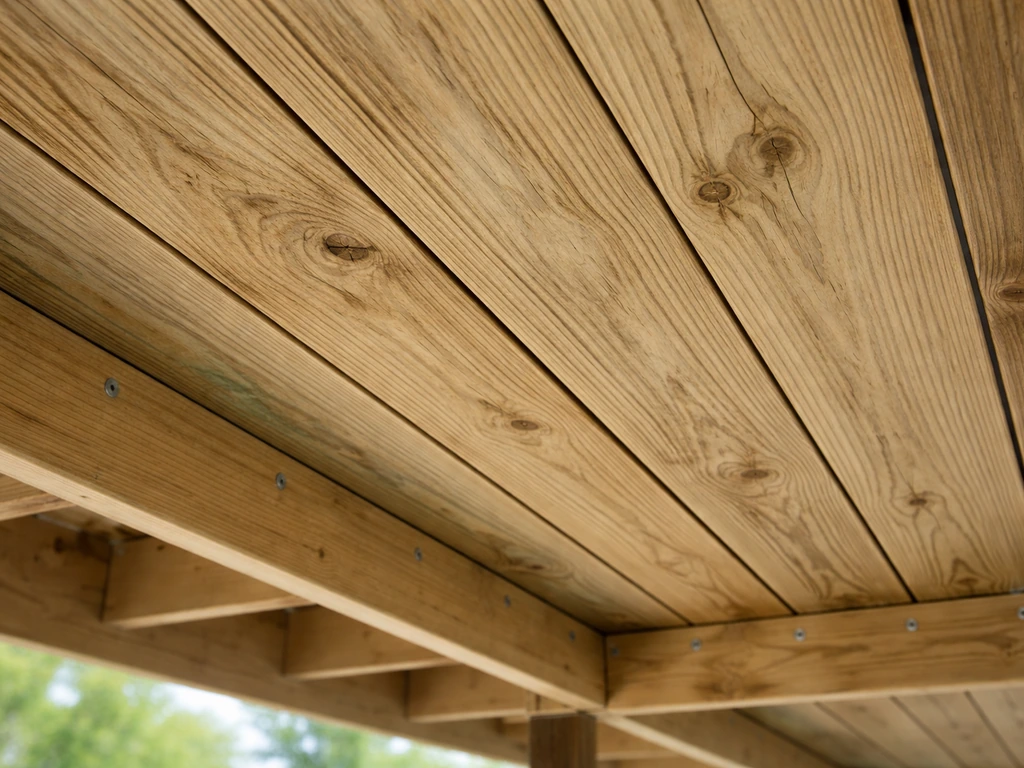
Treated wood is the most common DIY choice and it works well when specified correctly. For a patio ceiling application, you want lumber rated for above-ground use per AWPA Standard U1, which means it stays at least 6 inches off the ground and doesn't sit in standing water. Above-ground treatment is sufficient for ceiling framing and boards. Go with cedar, redwood, or pressure-treated pine for the finished boards.
Cedar tongue-and-groove is popular because it looks great, but there's a real failure mode to watch for: if your boards are installed tight with no drainage gap, water that gets in can't get out, and it pools around your rafters. A Reddit thread from homeowners who've been through this describes exactly that problem and the fix is always the same: add ventilation and a path for water to escape.
Aluminum soffit panels
Aluminum soffit panels are the most durable, lowest-maintenance option for a covered patio ceiling. Manufacturers like EDCO offer products with [a 35-year fade warranty](https://www. edcoproducts. com/products/soffit-fascia-trim/soffit-fascia-trim.
html? s. id=other-soffit-fascia-trim-white), and Ply Gem markets a limited lifetime transferable warranty on their aluminum soffit line. These panels are designed to be installed on exterior soffits, which means they already handle what a patio ceiling needs to handle: rain, sun, temperature swings, and humidity.
They come in solid, center-vent, and full-vent profiles. For a covered patio ceiling with some roof cavity above it, the vented versions help prevent moisture buildup. Aluminum panels are lightweight, don't rot, and accept paint if you want a custom color. The downside is they look utilitarian unless you go for a beadboard or wood-grain profile, and they can feel cheap compared to real wood in an upscale outdoor living space.
Fiber cement soffit boards
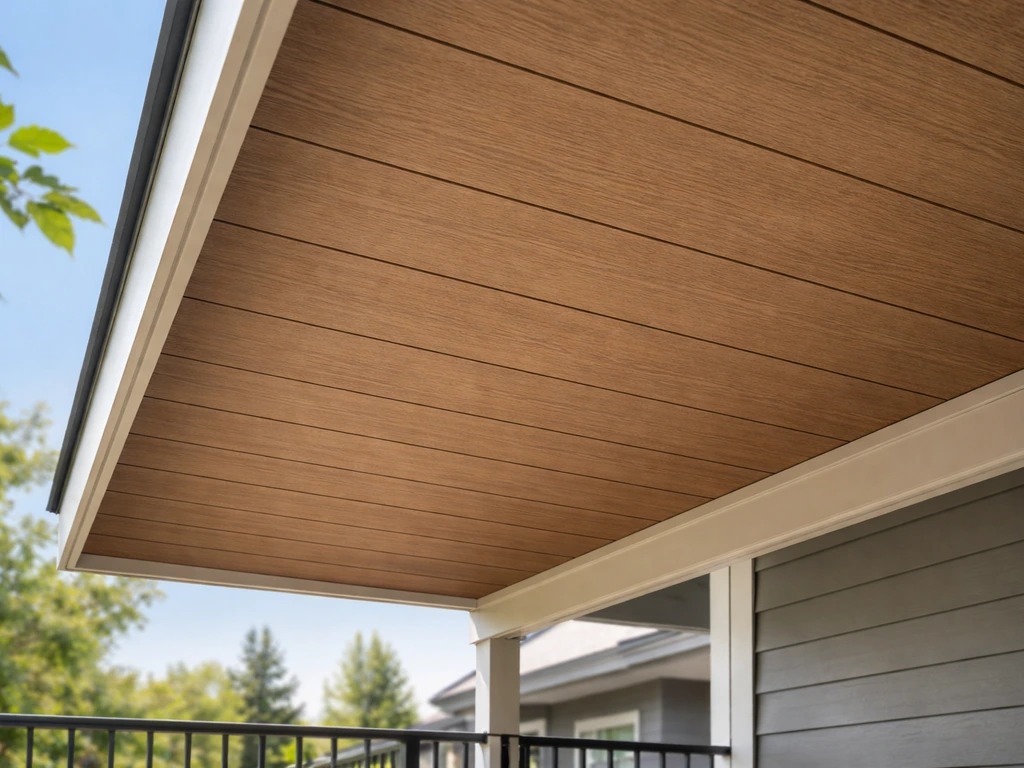
Fiber cement is the best option if you're in a wildfire-prone area or want something that looks more like real wood but resists moisture and insects. James Hardie soffit panels are noncombustible, which is exactly the recommendation for enclosing eaves in fire-risk zones, and they carry a 30-year non-prorated limited substrate warranty. Fiber cement is heavier than aluminum (important for your framing load calculations) and it needs to be painted, but it holds paint well and won't rot. It requires corrosion-resistant fasteners and a proper ventilation gap behind it. Sto's installation guidance for fiber cement in soffit/ceiling applications specifies keeping at least a 3/4-inch ventilation gap in the assembly, which is worth knowing before you frame your ceiling.
Metal panels and corrugated metal
Steel or aluminum corrugated panels are an industrial-modern option that's genuinely tough. They're often used as the actual roof surface on lean-to patio covers and can double as the ceiling finish if your framing is attractive enough to expose. Corrugated metal handles rain, sun, and wind well, but it transfers heat and sound, so an uninsulated metal ceiling over a patio in a hot climate will radiate heat downward. If you go this route in a warm climate, consider adding rigid insulation between the metal and your framing to reduce heat gain.
Outdoor-rated composite and PVC boards
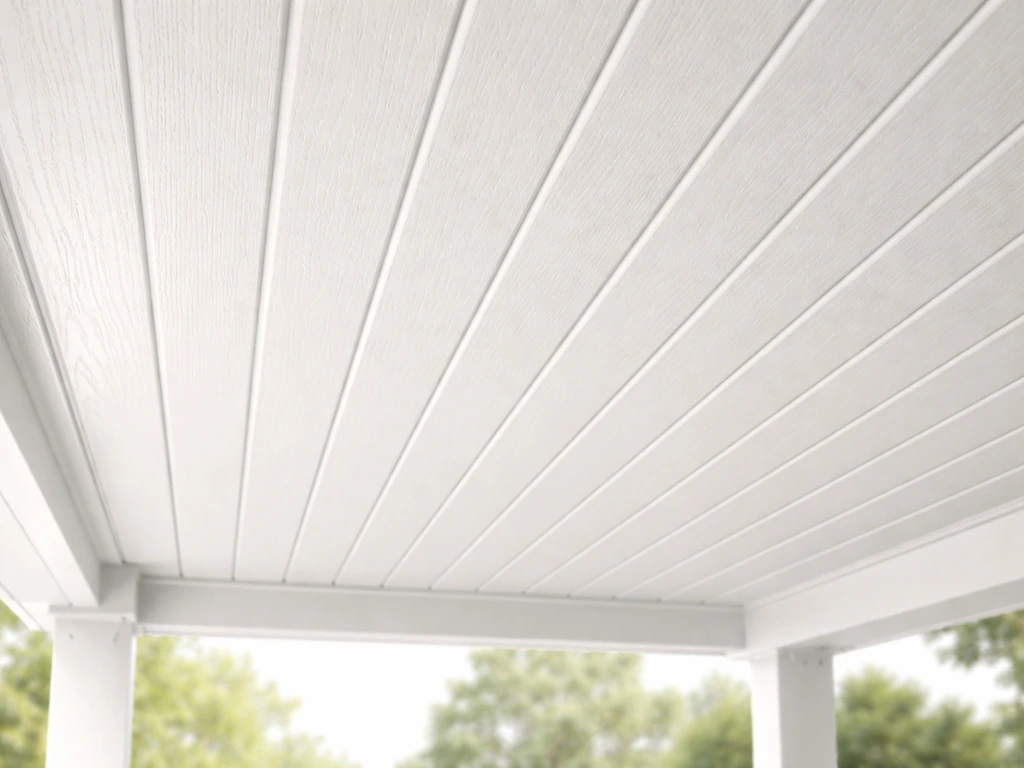
PVC trim boards and composite decking boards can be used as patio ceiling material if you want a clean, painted look with zero rot risk. They're dimensionally stable, don't absorb moisture, and accept exterior paint. The drawback is cost, they run significantly more per linear foot than treated pine, and some composite profiles don't look great when used on a ceiling.
Moisture control and weatherproofing essentials
Water management is where outdoor patio ceilings either succeed or fail. Once you’ve chosen the right patio-cover setup, you can follow the same moisture-control and ventilation principles to make a durable patio canopy ceiling Water management. The EPA's moisture control guidance makes a point that even well-designed assemblies fail if drainage and ventilation details are wrong. For a patio ceiling, that means three things: water has to be able to drain off the roof above, water that gets into the ceiling cavity has to have a way to dry out, and you can't create a pocket where water sits against wood framing.
- Always slope your roof framing at least 1/4 inch per foot (1/8 inch per foot is a bare minimum) so water runs off and doesn't pond.
- Leave a drainage gap between your ceiling boards and the roof structure above. A 3/4-inch to 1-inch airspace behind your ceiling material lets moisture escape rather than getting trapped.
- Use vented soffit profiles or leave small gaps at the perimeter where ceiling boards meet the fascia so air can circulate through the ceiling cavity.
- Seal fastener holes and board ends with a UV-resistant water-repellent sealer on wood, especially end grain, which absorbs moisture fastest. The USDA Forest Products Laboratory confirms that UV exposure combined with moisture accelerates wood decay when protective coatings are skipped.
- Use corrosion-resistant hardware throughout: stainless steel or hot-dipped galvanized screws and joist hangers. Electroplated zinc screws will rust out within a few seasons in humid climates.
A common mistake is attaching ceiling boards with no gap between them, thinking it looks cleaner. On an interior ceiling that's fine. On an outdoor patio ceiling, you need somewhere for humidity to go. Even a 1/8-inch spacing between tongue-and-groove boards gives moisture a path to escape and dramatically extends the life of the material.
Framing and mounting: how to attach a patio ceiling safely
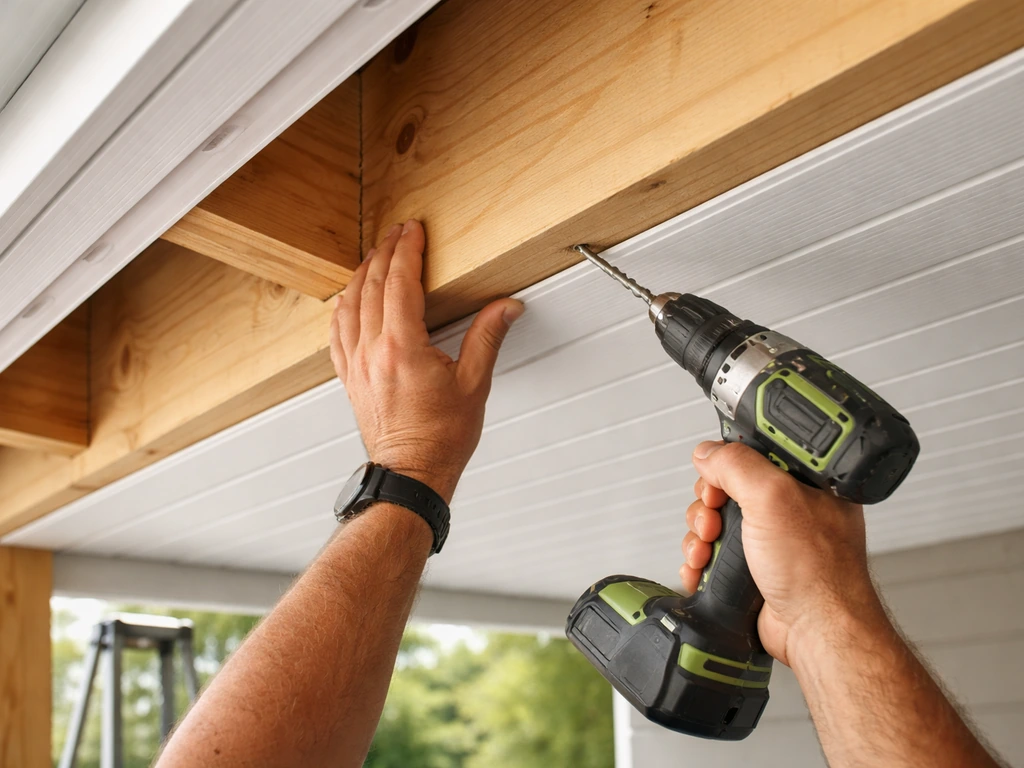
The ceiling material attaches to a frame, so your frame has to be solid before you worry about boards. For a lean-to patio cover attached to the house, that means a ledger board bolted into the house's rim joist or wall framing, not just into siding or sheathing. For a freestanding cover, you need posts set at proper depth in concrete footings, not just surface-mounted post bases unless your soil conditions and local code allow it.
Ceiling board attachment follows a few firm rules. First, every board needs to land on a framing member; don't let boards span more than 16 to 24 inches unsupported depending on thickness. Second, use two corrosion-resistant screws per framing member per board, countersunk and filled with exterior wood filler if you want a clean finish. Third, for aluminum or fiber cement panels, follow the manufacturer's fastener edge-distance specs (typically 3/8 inch minimum from the edge) to prevent cracking or pull-through under wind load.
Wind uplift is a real concern that many DIYers underestimate. An open patio roof acts like a wing: wind blowing underneath can create uplift forces that try to pull the roof up and away from the house. This is why the connection between your ceiling/roof assembly and the framing, and between the framing and the house or footings, matters more than the ceiling boards themselves. Simpson Strong-Tie and similar hardware manufacturers make hurricane ties and uplift connectors specifically for this. Use them.
Cost, maintenance, and durability tradeoffs by material
| Material | Approx. Cost (materials only) | Maintenance Level | Durability (outdoor) | Best For |
|---|---|---|---|---|
| Pressure-treated pine boards | $1–$3/sq ft | Medium (seal/paint every 2–3 years) | Good with proper sealing | Budget builds, rustic look |
| Cedar tongue-and-groove | $3–$6/sq ft | Medium-high (oil/seal annually in wet climates) | Good with maintenance | Upscale wood look |
| Aluminum soffit panels | $2–$5/sq ft | Very low (wipe down occasionally) | Excellent (35-year fade warranty on some products) | Low-maintenance, modern or traditional look |
| Fiber cement soffit boards | $3–$6/sq ft | Low (repaint every 10–15 years) | Excellent, noncombustible | Fire-prone areas, painted look |
| Corrugated metal panels | $2–$5/sq ft | Very low | Excellent | Industrial/modern style, dual roof+ceiling use |
| PVC/composite trim boards | $4–$8/sq ft | Very low | Excellent | Clean painted look, high-humidity climates |
These are rough material-only costs as of mid-2026. Labor, fasteners, framing lumber, and any paint or sealant add to the total. A full covered patio ceiling project including framing typically runs $8 to $20 per square foot installed when hiring out, or closer to $3 to $8 per square foot in materials if you're doing it yourself.
Climate and design factors that should drive your choice
Your climate should be the deciding factor between materials if you're otherwise undecided. Here's how to think about it.
- Hot, dry climates (Southwest, southern California): UV exposure is your main enemy. Aluminum and fiber cement resist UV fading far better than raw wood. If you use wood, budget for annual oiling. Corrugated metal gets brutally hot to the touch and radiates downward, so add insulation between roof and ceiling.
- Humid subtropical and coastal climates (Gulf Coast, Southeast, Pacific Northwest): Moisture and mold resistance are the priority. Aluminum soffit panels, fiber cement, and PVC boards win here. Pressure-treated wood with good ventilation works but needs annual inspection for signs of mold or rot.
- Fire-prone areas (California foothills, mountain West): Fiber cement is the clear choice. It's noncombustible and James Hardie specifically recommends it for enclosing eaves to improve wildfire resilience.
- High-wind areas (coastal, tornado alley, hurricane zones): Your structural connections matter more than your material choice. Get engineered plans or consult a structural engineer. FEMA's wind-resistant provisions and the IBC Appendix I both require patio cover structures to resist the minimum wind loads for their jurisdiction, which varies significantly by location.
- Cold climates with snow: Snow load is a real structural concern. IBC Appendix I requires that snow loads be used where they exceed the 10 psf minimum live load, so a flat or low-slope patio ceiling in a heavy-snow area may need heavier framing than you'd expect. Factor in slope: steeper is better for shedding snow.
Slope affects both water drainage and ceiling attachment. A minimum 1/4-inch-per-foot slope handles rain in most climates. In areas with heavy rainfall or hurricanes, steeper slopes shed water faster and reduce the chance of wind-driven rain getting under your roofing. If you're building an attached lean-to off the back of your house and the house roof slopes away from the patio, make sure your new patio roof slopes the same direction so you don't create a valley where water ponds.
DIY readiness: permits, structural limits, and when to hire a pro
Permits are not optional for a patio cover, even if your neighbors skipped them. Cities including San Diego, Phoenix, Scottsdale, Long Beach, and Las Vegas all explicitly require permits for patio cover construction, and electrical work (ceiling fans, lighting) triggers a separate electrical permit in most jurisdictions. Getting caught without a permit means you may have to tear it down. More importantly, the permit and inspection process is what catches structural mistakes before someone gets hurt.
Here's a realistic checklist to decide if this is a DIY project or a job for a licensed contractor.
- Are you attaching to the house? If yes, you need to identify exactly where your ledger will land (rim joist or wall framing, not just sheathing) and ensure the connection is engineered for both lateral and uplift loads. If you're unsure how to find the rim joist or don't have access to structural plans, consult a contractor.
- Does your project span more than 12 to 14 feet between supports? Longer spans require larger lumber sizes and potentially engineered beams. Standard dimensional lumber spans have limits; going beyond them without checking span tables is a structural risk.
- Is there snow load in your area? If you get more than a few inches of snow per year, you need to calculate snow loads and make sure your framing is sized for them. This is where an engineer earns their fee.
- Are you in a high-wind zone (hurricane, tornado, or high-elevation wind)? Wind uplift engineering is not something to guess at. Reddit threads from homeowners calculating wind loads on their own show how quickly this gets confusing. Use a structural engineer or buy a pre-engineered patio cover system with ICC-ES evaluation documentation.
- Do you want ceiling fans, lighting, or outlets? Electrical work in outdoor spaces requires GFCI protection and a permit in virtually every jurisdiction. Unless you're a licensed electrician, hire one for this part.
- Is your existing structure (house wall, slab, or existing posts) in good condition? Attaching a patio cover to a wall with water damage, or setting posts on a cracked slab, creates a foundation problem that no ceiling material will fix.
If none of those flags apply to your project, meaning it's a modest covered patio, attached or freestanding, in a moderate climate, with no electrical and a clear attachment point, this is a reasonable DIY project. Pull the permit, follow the span tables, use the right fasteners, and plan your drainage before you start framing.
For tarp-based or canopy-based temporary shade solutions, those are a completely different category that skip the structural question entirely. If you're looking for a seasonal or non-permanent setup, those options are worth exploring separately and don't require permits in most areas.
Choose your best option and get started
Here's the recommendation flow based on what most homeowners are actually dealing with.
- If you want the lowest maintenance ceiling and don't care about a natural wood look: go with aluminum soffit panels. They're outdoor-rated by design, widely available, easy to cut and install with basic tools, and will outlast most other options without annual upkeep.
- If you want a wood ceiling and are willing to maintain it: use cedar tongue-and-groove or pressure-treated pine. Install with a ventilation gap behind the boards and leave 1/8-inch spacing between boards. Seal all end grain before installation and plan to re-oil or re-stain every one to two years in humid climates.
- If you're in a fire-prone area: fiber cement soffit boards are the right call. They cost a bit more and need paint, but the noncombustible rating and 30-year warranty make them the responsible choice in wildfire zones.
- If you want an industrial or modern look and your framing is attractive: exposed corrugated metal panels can do double duty as the roof surface and the ceiling finish. Add rigid insulation if you're in a hot climate.
- If budget is tight and the structure is modest: standard pressure-treated pine boards at 16-inch on-center framing, two corrosion-resistant screws per board per rafter, a water-repellent sealer on all wood, and a clear slope to drain water. This is the most common DIY solution and it works well when the moisture details are right.
Your next step is to measure your space, sketch your framing layout, and call your local building department to ask what's required for a patio cover permit in your jurisdiction. An ICC materials agenda document also notes a change/addition to the IRC definition for “PATIO COVER,” which is important because it can affect which engineering provisions apply [“PATIO COVER” definition update](https://www. iccsafe. org/wp-content/uploads/2025CAH1TableAgendaUpdatesreduced.
pdf). That call takes 10 minutes and tells you exactly what drawings or calculations you need before you buy a single board. From there, source your lumber or panels locally (big box stores stock aluminum soffit panels and pressure-treated lumber, specialty lumber yards carry cedar tongue-and-groove), buy corrosion-resistant hardware, and start with the framing before you ever think about what goes on the ceiling. Get the structure right first, and the ceiling material choice becomes a lot more straightforward.
FAQ
Can I use untreated wood for an outdoor patio ceiling?
It is not recommended. Even if your roof is mostly covered, the ceiling cavity still sees humidity and occasional wetting. Untreated boards will absorb moisture, and rot or warping can start in the first few seasons, especially where air is trapped. Use above-ground rated pressure-treated lumber or a naturally rot-resistant wood like cedar or redwood, and still include ventilation and drainage paths.
Do I need a ventilation gap if I install solid wood boards on a covered patio ceiling?
Yes. Even with tongue-and-groove boards, plan for drying. A small spacing between boards (often around 1/8 inch) gives moisture somewhere to go instead of pooling at the rafters. Also leave an airflow pathway behind the ceiling, not just between the boards, so the underside of the sheathing can dry after humid days.
What fasteners should I use for an outdoor wood patio ceiling?
Use corrosion-resistant screws for exterior applications, typically stainless steel or coated exterior-rated fasteners. Standard interior screws can corrode and loosen over time. Follow your chosen material's guidance for screw type and spacing, and countersink so the heads sit flat without splitting the board, then consider exterior filler for a clean finish.
How do I handle ceiling seams, especially with aluminum or fiber cement panels?
Plan seams so water cannot get trapped. For vented soffit profiles, keep the vent channels continuous and avoid sealing over vents with caulk or tape. For fiber cement, follow the panel manufacturer's jointing and overlap instructions, and maintain the required backer/ventilation gap so the assembly can dry from both directions.
Can I paint wood or fiber cement patio ceiling boards before installation?
You can paint before, but better results come from priming all cut edges and then doing touch-ups after installation. Cut edges are where moisture exposure starts, so they need primer and exterior paint coverage. Also confirm the product is meant for exterior soffit or ceiling use, since not all exterior primers handle constant humidity exposure.
Should I seal the gaps between wood ceiling boards to stop insects or drafts?
Avoid fully sealing the seams. Sealing every gap can prevent moisture from drying and can create a trapped damp zone. Instead, keep controlled drainage and drying paths, and address insect concerns with proper screening at openings in the structure, not by sealing the ceiling joints airtight.
Is it safe to install a patio ceiling directly under the roof decking with no airflow space?
Usually not. For covered patios, assemblies typically need ventilation behind the ceiling or soffit area so humidity can escape and the wood or framing does not stay wet. If you are considering a tight, no-cavity install, you should verify the specific product system requirements (especially for fiber cement) and your local building code requirements.
How much slope should the roof above the patio ceiling have?
A minimum of about 1/4 inch per foot is commonly used for drainage, but windy or high-rain climates often benefit from steeper pitch. If the patio roof ties into an existing roof, ensure the new roof slopes away in the same direction as the house roof to prevent forming a valley that holds water.
What is the biggest wind-related problem with patio ceilings?
Uplift. Wind-driven air under the roof can create upward forces that stress connections and pull components loose. The ceiling panels alone are not the solution, you need the right connectors and hardware tying the roof assembly to the framing and the framing to the house or footings, using uplift-rated hardware designed for your structure type.
Can I mount a patio cover to siding?
Generally no. For an attached lean-to, fasten the ledger or connection into structural framing like the house rim joist or wall studs, not just siding or sheathing. Siding can fail or loosen, and it may not provide the strength or holdfast needed for lateral and uplift loads.
Do composite decking boards work well as a ceiling material?
They can, but expect limitations. Composite boards are dimensionally stable and rot-resistant, but they tend to be more expensive and some profiles can look bulky or inconsistent overhead. If you use composite, choose a system meant for horizontal or underside installation, verify fastener requirements so you do not stress the material, and consider heat expansion in full sun climates.
If I choose metal, do I need insulation on the patio ceiling?
In hot climates, insulation is often important. Metal conducts heat and can transfer noise from rain or wind. Adding rigid insulation between the metal or roof and the framing can reduce heat gain and improve comfort, but you must still manage airflow and follow any required venting details so moisture does not accumulate.
When should I skip DIY and hire a contractor?
If your patio enclosure is moving toward room-addition territory, if you need electrical for lights or fans, if the attachment point is complicated, or if permits and structural engineering are required in your area. Also hire out if you cannot clearly show how drainage, ventilation, and uplift connections will be built, because those details are where failures most often start.