You can absolutely build a durable patio shade structure yourself, whether it's a simple lean-to attached to your house or a freestanding pergola in the middle of your yard. The key is working through the decisions in the right order: pick a design that matches your space and sun exposure, size it correctly, choose materials you can actually work with, pull any required permits, and then build from the ground up with proper footings, framing, and fasteners. Done right, a DIY patio shade structure can last 20 to 30 years and add real value to your outdoor space. If you’re specifically working with a Coolaroo patio shade, plan the mounting layout and follow the manufacturer’s instructions for attaching the shade fabric securely patio shade structure.
How to Build a Patio Shade Structure: DIY Guide

Picking the right shade structure design
Before you buy a single board or post, get clear on what kind of structure actually fits your situation. There are four main types homeowners build, and each has a different complexity level, cost range, and use case.
| Design Type | Best For | Shade Level | DIY Difficulty |
|---|---|---|---|
| Lean-to (attached patio cover) | Patios adjacent to the house wall | Full shade with solid roof | Moderate |
| Pergola (open beam) | Partial shade, aesthetics, climbing plants | Partial (dappled) | Moderate |
| Freestanding shade structure | Patios away from the house, detached spaces | Full or partial depending on cover | Moderate to hard |
| Gable roof patio cover | Heavier coverage, rain protection, matching house roofline | Full shade and weather protection | Hard |
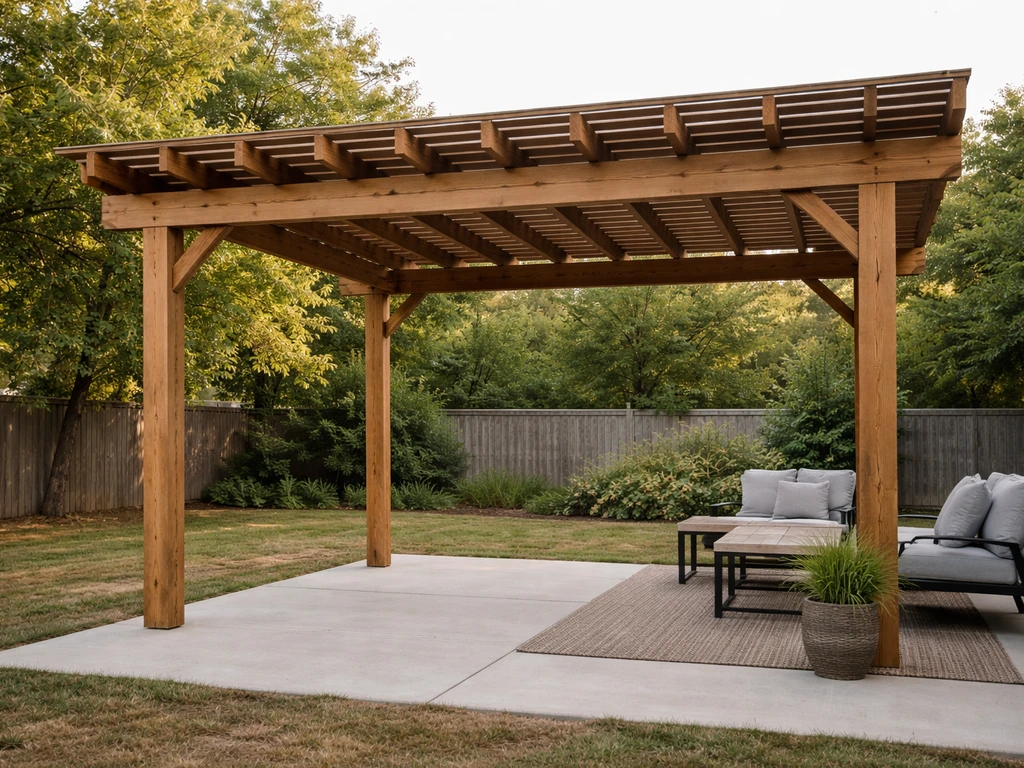
A lean-to is the most popular DIY choice because it uses the house wall as one support, which means fewer posts and a simpler frame. You attach a ledger board to the house, run rafters out at a slope, and cover the top with panels or fabric. If you mean a sunshade specifically, you can attach the shade material over that frame and secure the edges so it stays taut in wind <a data-article-id="8F334CE0-4888-41F0-B852-6664ADF4F1CB">cover the top with panels or fabric.
</a>. A pergola skips the solid roof entirely and uses open beams or lattice, so you get filtered shade but not rain protection. Freestanding structures need posts on all four corners and their own lateral bracing since they have nothing to lean against. A gable roof cover is essentially a small shed roof over your patio and is the most structurally complex option because it involves ridge beams, angled rafters, and more load transferred to footings.
For most DIYers tackling their first build, a lean-to or a simple pergola is the right call. If you want full weather protection and you're building away from the house, a freestanding solid-roof structure is the way to go, but budget extra time and consider getting an engineer's sign-off on the footing design. If you're only after shade fabric rather than a structural roof, the installation process is quite different and more closely related to shade sail or shade cloth installs. If you want shade instead of a solid roof, learning how to install a shade sail over your patio is the next step how to install shade sail over patio.
Sizing it out and laying it all on paper first
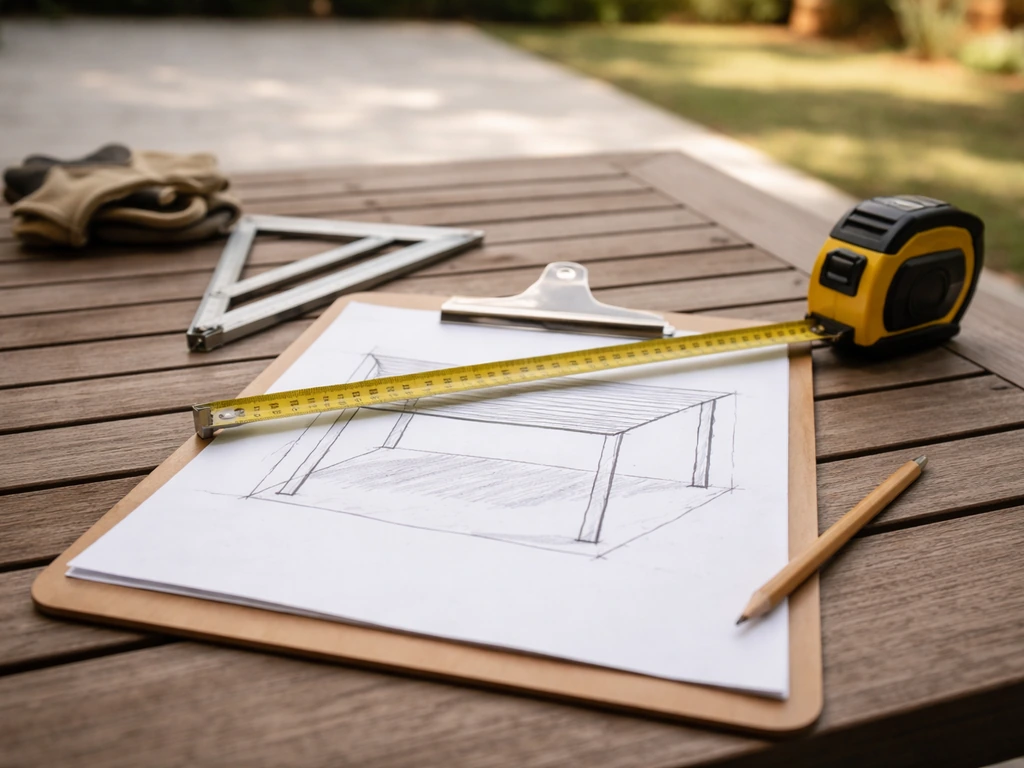
Measure your patio and then add about 12 to 18 inches of overhang on the open sides if possible. That extra overhang blocks more low-angle sun in the morning and late afternoon, which is where most people get burned (literally). Write down the length and width of the area you want covered, then mark out the post locations on the ground with stakes and string before you start digging anything. If you are specifically installing patio blinds, the main differences are the mounting method to your frame, the clearance you need for the mechanism, and weatherproofing around brackets post locations.
Height and clearance
Most codes and practical comfort both land at 8 feet of clear height as a minimum for the underside of the roof or beams. If you're attaching to a house, check where your ledger will go: the top of the ledger needs to sit below any windows, below the house eaves, and low enough that your roof pitch drains away from the house without burying itself in the siding. A typical lean-to drops 1 inch of height per foot of run (roughly a 1:12 pitch) for drainage, though 2:12 or steeper is better if you're using corrugated polycarbonate or metal roofing panels.
Post spacing and span rules of thumb
For wood framing, keep posts no more than 8 feet apart on center for standard lumber beam sizes. If you're using 4x6 beams, you can push to 10 feet between posts, but 8 feet is a safer DIY target. For aluminum patio cover kits, the manufacturer's span tables are your bible: follow them exactly. Freestanding structures need a post at each corner at minimum, and any span over 12 feet should have an intermediate post or a significantly upsized beam. Mark all post center locations on the ground with spray paint before you do anything else.
Slope and drainage math
To figure out the height difference between the high end (at the house) and the low end (at the outer posts), multiply the roof run in feet by your pitch ratio. A 12-foot-deep lean-to at 2:12 pitch drops 2 inches per foot, so the outer edge is 24 inches lower than the ledger. That affects your post height. If your ledger is 9 feet off the ground, the outer posts are 7 feet. Double-check that the outer post height still clears 7 feet of headroom since 84 inches is about the minimum you want anyone walking under.
Choosing your materials: wood, aluminum, or steel
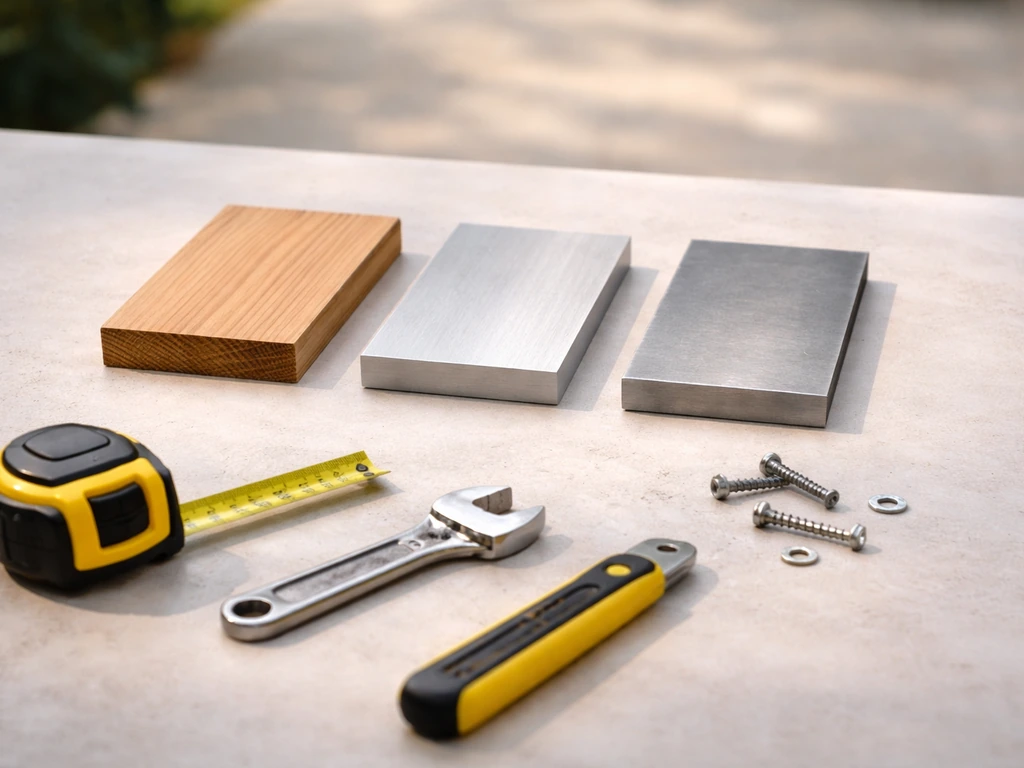
Material choice is one of the biggest decisions you'll make, and it affects everything: cost, tools required, maintenance schedule, and how long the structure actually lasts. Here's how the three main options stack up for a DIY patio shade structure.
| Material | Typical Cost (DIY) | Lifespan | Maintenance | Tools Needed | Best Use |
|---|---|---|---|---|---|
| Pressure-treated wood | $ (lowest upfront) | 15–25 years with care | Stain/seal every 2–3 years | Standard woodworking tools | Pergolas, lean-tos, any style |
| Cedar or redwood | $$ (moderate) | 20–30+ years | Seal every 2–3 years; naturally rot-resistant | Standard woodworking tools | Aesthetics-focused builds |
| Aluminum (kit or extrusion) | $$ to $$$ | 30–50 years | Very low; occasional wash | Miter saw, drill, pop rivet gun | Low-maintenance solid covers |
| Steel (powder-coated) | $$$ (higher) | 20–40 years | Watch for chip/rust; touch up paint | Metal cutting tools, welder (sometimes) | Heavy-duty freestanding frames |
Pressure-treated lumber is what most DIY builds start with because it's cheap, available at every home center, and easy to cut and fasten with standard tools. The downside is that it needs regular sealing to prevent rot at post bases and in horizontal members that collect water. Use ground-contact rated lumber (UC4B or better) for any post going into or near soil.
Aluminum is a favorite for solid patio covers because it doesn't rust, doesn't rot, and a well-installed aluminum cover can look good 30 years from now with almost no work beyond cleaning. Many aluminum patio cover systems come as kits with pre-engineered components and span tables, which takes a lot of the guesswork out of sizing. The trade-off is that aluminum costs more upfront, and cutting and joining aluminum extrusions requires some practice if you haven't worked with the material before.
Steel frames are mostly used for larger freestanding shade structures or heavy pergola-style canopies. Powder-coated steel looks great and is strong, but if the coating gets chipped and you're in a humid climate, rust becomes a real issue. For a simple lean-to or pergola, steel is usually overkill. Save it for situations where you need long spans or a very heavy decorative look.
Roof and cover material options
The framing is only half the equation. What you put on top defines how much shade and weather protection you get. Solid options include aluminum flat or corrugated panels, polycarbonate panels (clear or tinted), and metal roofing sheets. Polycarbonate is popular for lean-tos because it's lightweight, lets diffused light through, and handles rain well. Shade cloth and sail-style fabrics are a lighter-weight option for pergola-style structures; they block 70 to 90 percent of UV rays but don't shed rain. Installing shade cloth or sail panels over a pergola frame is a separate skill set from building a solid roof, and the process is more straightforward once the frame is up.
Permits, code requirements, and reading your site

Do not skip the permit step. I know it feels like paperwork friction, but a patio shade structure that's attached to your house or involves concrete footings almost always needs a permit in jurisdictions across the US, and even where a permit isn't strictly required, local codes still apply. The real risk of skipping it isn't just a fine: it's the possibility that your homeowner's insurance won't cover storm damage to an unpermitted structure, or that you have to tear it down when you sell the house.
What you'll typically need to submit
Most building departments ask for a simple plan set drawn to scale, commonly 1/4 inch equals 1 foot, showing the footprint of the structure, post locations, beam and rafter sizes, how it attaches to the house (if applicable), and footing details. Some jurisdictions also ask for your local design wind speed and ground snow load, which you can look up on the building department's website or find in your local code adoption. Cities like San Diego require floor plan details for attached patio covers, and a typical permit package includes ledger sizing notes and fastener specifications.
Even when a permit is not required, the structure must still comply with applicable building codes. That's not just legal boilerplate: it means your footings, connections, and load capacity need to meet code minimums whether or not an inspector ever looks at them.
Code load requirements you need to know
Under both the 2024 International Building Code and the 2024 International Residential Code, patio covers must be designed to support dead loads (the weight of the structure itself) plus a minimum vertical live load of 10 psf (pounds per square foot). In areas with snow, the snow load governs if it exceeds that 10 psf minimum. The structure also has to resist wind and seismic loads per code, and wind load calculations are based on ASCE 7 standards. This matters in practice because it drives how big your posts need to be, how your beams are sized, and how your footings are designed.
Reading your specific site
Walk your site and honestly assess a few things before you design anything. Wind exposure is the biggest one: an open corner lot in a windy climate needs heavier bracing and larger footings than a sheltered backyard surrounded by fences and trees. Check for buried utilities before you mark footing locations (call 811 in the US for a free locate). Look at where water drains during a heavy rain: you don't want a footing sitting in standing water, and you don't want the structure channeling water toward the house foundation. Also note any slopes, which affect how you level your post heights.
Structural basics every DIY builder should understand
You don't need an engineering degree to build a sound patio shade structure, but you do need to understand how loads travel through the frame. Think of it this way: everything above (roof weight, snow, wind pushing down) is a load. That load has to travel from the roof panels into the rafters, from the rafters into the beams, from the beams into the posts, and from the posts into the footings and ground. If any connection in that chain is undersized or missing, the whole thing can fail. Building codes exist to make sure each link in that chain is strong enough.
Posts, beams, and rafters
For a typical DIY lean-to up to 12 feet wide and 14 feet deep, 4x4 posts are adequate at 8-foot spacing for low-wind areas, but 4x6 posts are a smarter choice and not much more expensive. Beams spanning 8 feet can typically be 4x6 lumber; spanning 10 to 12 feet you want a 4x8 or a doubled 2x8 at minimum. Rafters on a lean-to cover spaced 24 inches on center can generally be 2x6 for spans up to 10 feet. Always verify these numbers against a span table for your lumber species and grade, or use your local building department's prescriptive tables if they publish them.
Lateral bracing and wind loads
Vertical loads are only half the problem. Wind pushes sideways (lateral load) and upward (uplift), and your structure needs to resist both. For a lean-to attached to the house, the house wall itself provides most of the lateral resistance once the ledger is properly anchored. For freestanding structures, you need knee braces (diagonal members running from post to beam at 45 degrees) or cross-bracing between posts. Without lateral bracing, a freestanding pergola will rack and eventually come apart in a windstorm. Don't skip it thinking it looks cleaner without braces: those braces are structural, not decorative.
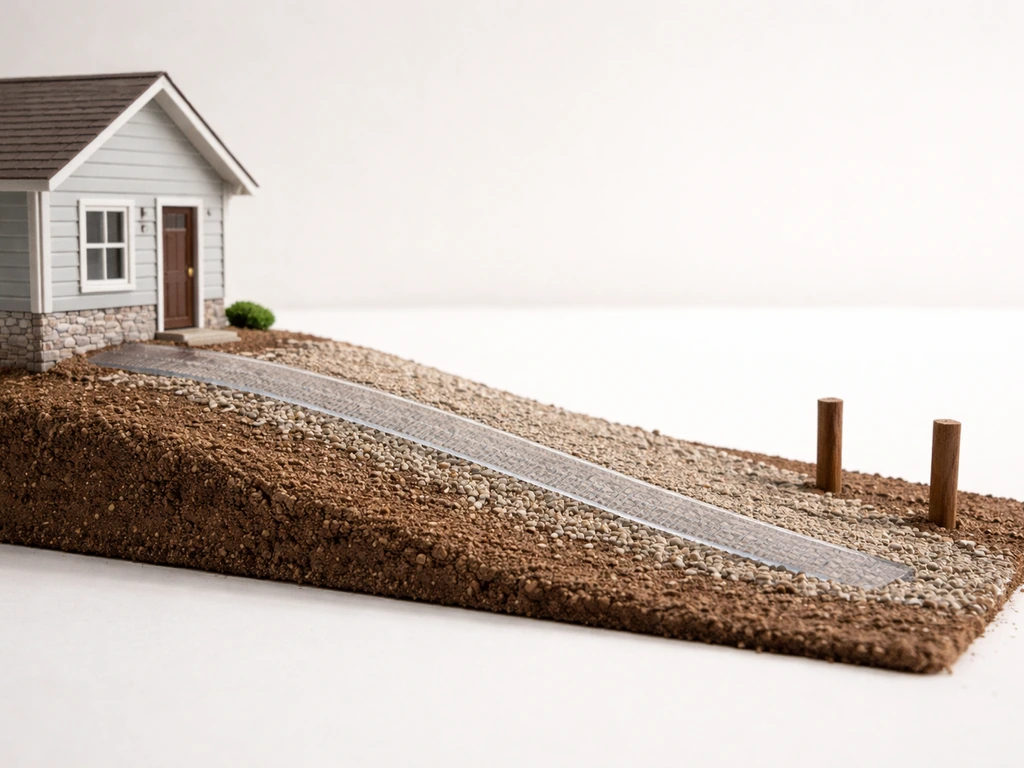
Footings: getting this right at the start
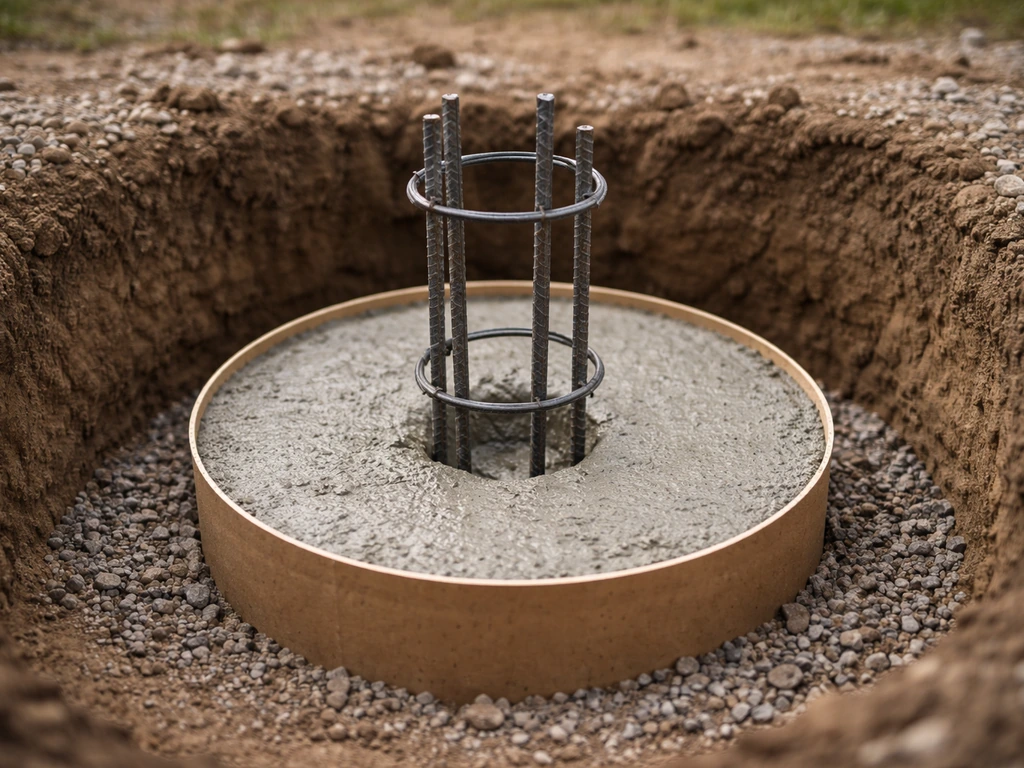
Footings are the part most DIYers undersize. The general rule is that the footing diameter should be at least 12 inches, and the depth must get below the local frost line (which can be anywhere from 0 inches in South Florida to 48 inches or more in Minnesota). If you're in an area with no frost depth and you already have a concrete slab that's at least 3.5 inches thick, you may be able to bolt post bases directly to the slab without digging footings, provided each column load doesn't exceed 750 pounds. For most other situations, you're digging holes, setting tube forms, and pouring concrete with post anchors embedded in the wet concrete.
Step-by-step: how to actually build the thing
Here's the practical build sequence from raw ground to finished structure. For more detailed guidance on the fabric itself, see our step-by-step instructions on how to install shade cloth over patio frames. Each step builds on the last, so resist the urge to jump around.
- Mark your layout. Use batter boards and string lines to establish the exact footprint of your structure. Check for square by measuring diagonals: they should be equal. Spray paint the ground at each post center location.
- Call 811 and check for utilities. Do this before any digging. It's free, it's fast, and it prevents hitting gas or electric lines.
- Dig footing holes. Use a power auger (rent one) for holes deeper than 18 inches. Dig to your local frost line depth plus 6 inches for a gravel bed at the bottom for drainage. Minimum 12-inch diameter, 16-inch is better for 4x6 posts.
- Pour footings and set post anchors. Mix or pour concrete into tube forms (Sonotube or equivalent). While the concrete is still wet, press a galvanized post base anchor into the center of each footing, positioned precisely using your string lines. Let cure 24 to 48 hours before loading.
- Set and plumb posts. Drop posts into the anchors and fasten per the hardware manufacturer's specs. Use two post levels or a single level on two adjacent faces to plumb each post. Brace posts with temporary 2x4 diagonal braces screwed to stakes in the ground. Don't remove braces until beams are installed.
- Install the ledger (for attached builds). See the attachment section below for full detail. Short version: the ledger must be bolted (not screwed) to the house framing, flashed correctly, and set at the height that gives you your desired roof pitch at the outer beam.
- Install beams. For a lean-to, your outer beam runs across the tops of the outer posts. Use post-to-beam hardware rather than just toenailing. Lift beams into position (get a helper), set them level, and bolt them to the post caps.
- Install rafters. Run rafters from the ledger to the outer beam, spaced 24 inches on center. Use rafter hangers at the ledger end and toenail or use hurricane ties at the beam end. Hurricane ties are cheap insurance against wind uplift pulling the roof off.
- Install roof cover panels or shade material. For polycarbonate or metal panels, run them perpendicular to rafters with a minimum 2-inch overlap at panel joints. Use the manufacturer's recommended screws with neoprene washers to prevent leaks at fastener holes. For shade cloth or sail fabric, tension it as the manufacturer directs.
- Install fascia boards and trim. A fascia board across the outer rafter ends finishes the look and protects the rafter ends from weather. Caulk all gaps where trim meets structural members.
- Remove temporary bracing and do a final check. Wiggle every post, check every connection, look for gaps in the roof cover at joints and edges.
Attaching to the house vs. building freestanding
How you attach your structure to the house (or decide not to) is one of the most important structural and weatherproofing decisions in the whole project.
Ledger attachment for house-attached structures
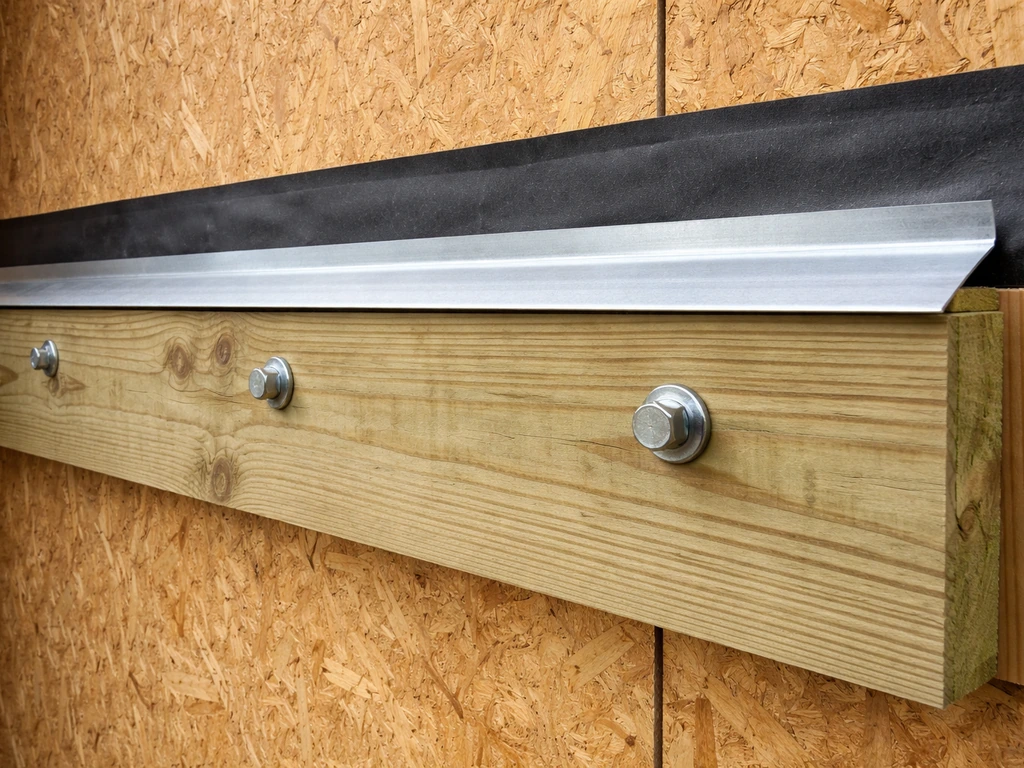
The ledger board is the horizontal member bolted to your house wall that carries the inner end of all your rafters. It must be fastened directly to the house's structural framing (rim joist, band joist, or wall studs), not just to sheathing or siding. Use 1/2-inch lag screws or through-bolts, minimum two per rafter bay, staggered vertically. Strip the siding from behind the ledger area before installing it so it sits flat against the house sheathing.
Waterproofing at the ledger is critical. Water that gets behind a ledger can rot the house's rim joist and sheathing over years without you seeing it. The standard approach is to install Z-flashing above the ledger so water runs over the top of the ledger and away from the wall. One alternative allowed by code is to space the ledger at least 1/4 inch away from the wall sheathing (using standoff washers) to create a drainage gap behind it. That gap allows any water that gets in to drain out rather than sitting and rotting the wall. Both methods work; the standoff approach is actually simpler for DIYers to execute correctly.
Freestanding structures and hardware choices
A freestanding shade structure doesn't attach to the house at all, which eliminates the waterproofing complexity but means you're relying entirely on your posts, footings, and bracing for stability. Post base hardware comes in two main types: wet-set anchors (embedded in concrete while it's wet) and bolt-down bases (bolted to a cured slab or footing). Wet-set anchors are stronger and are the right choice for new footings. Bolt-down bases work fine when you're attaching to an existing poured slab, provided the slab is thick enough and you use appropriately sized anchor bolts.
Use structural screws or through-bolts for all beam-to-post and rafter-to-beam connections. Nails and deck screws aren't adequate for structural connections on a shade structure. Hardware should be hot-dipped galvanized or stainless steel, especially if you're in a coastal or humid environment where regular zinc coatings corrode quickly.
When to seriously consider calling a pro
Most lean-tos and pergolas are well within DIY range if you're comfortable with basic framing and can read a level. Where I'd recommend bringing in a structural engineer or a licensed contractor: any freestanding structure larger than about 200 square feet, any build in a high-wind zone (hurricane or tornado country), any situation where posts are going into questionable soil (expansive clay, fill dirt, sand), and gable roof covers where the ridge beam and angled rafter geometry adds real complexity. A structural engineer review typically costs $300 to $600 and can save you from a collapse or a failed inspection.
Finishing touches, maintenance, and fixing common problems
Once the structure is up and inspected, a few finishing steps make a big difference in how long it lasts and how good it looks. If you are ready to cover your patio, the next step is learning how to install patio shades safely and correctly based on your chosen shade type.
Finishing
For wood structures, apply a penetrating wood sealer or stain within a few weeks of completing the build, before the wood has a chance to gray and crack. Pay extra attention to end grain on rafters and post tops: end grain absorbs water much faster than face grain and is where rot starts. For aluminum, clean off any metal shavings or oil residue from cutting and rinse everything down. Touch up any scratches in the powder coating with matching paint to prevent corrosion at those spots.
Annual maintenance checklist
- Inspect all hardware connections: look for loose bolts, rust streaks, or any movement in post bases
- Check the ledger flashing or drainage gap on attached structures for debris buildup or sealant failure
- Re-seal or re-stain wood members as needed, typically every 2 to 3 years
- Clear debris from roof panels, especially at overlap joints where leaves trap moisture
- Check polycarbonate or metal panels for cracked fastener holes or panel movement
- Look at post bases for signs of trapped moisture or the beginning of rot at the post-to-hardware interface
Troubleshooting common problems
Water leaking through the roof is almost always a fastener or overlap issue. Check that panel overlaps run downhill (not uphill into the wind), that neoprene washers are present and not cracked under every screw, and that the ridge or high edge has a closure strip blocking the open flutes of corrugated panels. If you plan to hang a blind on a sloping patio cover, plan for brackets and mounting points that follow the pitch and won't interfere with drainage or flashing. If water is getting in at the ledger, pull back the flashing or check the drainage gap and clear any debris that's bridging it.
Wobble or racking in a freestanding structure almost always means missing or undersized lateral bracing. Add knee braces at 45 degrees between posts and beams on at least two sides. If the post bases are the issue, check whether the anchor bolts have worked loose: tighten them and add a washer plate if the bolt is pulling through the wood.
Rot at post bases is the most common long-term failure point for wood structures. If you catch it early, you can sister a new post section alongside the rotted one, cut out the damaged material, and treat the area with a penetrating epoxy consolidant before repainting. If the rot has gone more than a few inches up the post, you need to replace the post entirely, which means temporarily shoring the beam above it.
Sagging rafters or beams usually mean the span was too long for the lumber size, or the lumber had excessive crown that wasn't corrected during installation. For minor sag you can sister a new rafter alongside the old one. For a sagging beam, you may need to add an intermediate post or replace the beam with a larger size. This is one of those situations where it's worth getting a second opinion from a contractor before you decide on a fix.
A well-built patio shade structure doesn't require a lot of ongoing effort once it's in good shape. The key is doing the first inspection every year and catching small issues (loose bolt, hairline crack in a panel, spot of rust on a bracket) before they become expensive repairs. Most structures that fail early do so because of skipped steps in the original build, usually footings that were too shallow, hardware that was too light, or waterproofing that was ignored at the ledger. Get those three things right from the start and your shade structure will be standing long after you've replaced your patio furniture twice.
FAQ
Do I always need a permit to build a patio shade structure?
In most places you need permits if the patio shade structure is attached to the house, covers an area beyond a small threshold, or requires concrete footings. If you are unsure, call your local building department with your approximate footprint and whether you will do a ledger connection, then ask what plan set and engineering documentation they expect (wind speed, snow load, and details for connections).
What should I do if I cannot install a ledger board where I want the shade?
If you cannot attach a ledger to the house (blocked by windows, siding constraints, or you cannot find solid structural studs), plan on a freestanding design instead. A freestanding cover must include engineered or code-compliant lateral bracing and post sizing because you lose the house wall as a shear and wind-resistance anchor.
How do I prevent rot on a wood patio shade structure?
Use wood species and pressure treatment that matches your exposure, and treat post tops and end grain differently. For exterior wood, seal within weeks of build, and prioritize end grain on rafters and horizontal members, since it can wick water faster even if the rest of the surface looks fine.
What are the most common reasons a patio cover leaks after installation?
For solid-roof panels, weather leaks usually come from the order and orientation of overlaps. Confirm each panel overlaps downhill, ensure every fastener uses the correct washer type (neoprene in most cases) and is not cracked or missing, and verify ridge or high-edge closure pieces are installed to block moisture from entering fluted channels.
My freestanding pergola racks in the wind, what’s the first fix to try?
If the structure wobbles, do not just tighten random fasteners. First verify lateral bracing is present on at least two sides, add or correct knee braces at roughly 45 degrees, and check that post bases have not shifted or loosened at the anchor points.
Can I bolt patio cover posts to an existing concrete slab instead of digging footings?
Don’t assume your patio slab is automatically strong enough for bolt-down bases. Check slab thickness, confirm each column load stays within the approved limit for bolt-down post bases, and use properly sized anchor bolts. If you have any doubt about loads or slab condition, use wet-set anchors into new footings.
Are deck screws or nails acceptable for framing connections on a patio shade structure?
No, because nails and deck screws are often not rated for structural connections on this type of roof frame. Use structural screws or through-bolts for beam-to-post and rafter-to-beam connections, and use hot-dipped galvanized or stainless hardware, especially in coastal or humid climates.
How do I choose the roof pitch so water drains correctly without losing headroom?
For lean-to drainage and overall clearance, aim for a consistent pitch so water drains away from the house. If you are using corrugated polycarbonate or metal panels, a steeper slope than a basic minimum often performs better, and you should confirm the underside headroom still clears people comfortably at the lowest edge.
Which code loads should I design for when building a patio cover?
Your local snow load and wind exposure can override the default assumptions. Even if you design for 10 psf vertical live load, check local code requirements for snow and wind and then size posts, beams, anchors, and connections accordingly, using span tables for your exact lumber size and grade.
How often should I inspect a patio shade structure, and what should I look for?
After a leak or wind event, inspect within a week, then again after the next rain or high-wind day. Look specifically at fasteners and panel overlaps, for cracked washers, for rust spots on brackets, and for any movement at post bases or ledger connections.
Is shade cloth or a shade sail the same as building a solid-roof patio cover?
Shade cloth and shade sails can be safer and simpler, but they are not rainproof and they behave differently in wind. If you choose fabric over a pergola, ensure you have the correct tensioning method and attachment points rated for wind uplift, and plan for rain to run through or drip off rather than shed.
When should I seal or stain a wood patio shade structure?
Staining and sealing schedules matter. Plan to apply a penetrating sealer or stain shortly after the build, before the wood weathers, and treat end grain carefully. Also keep an eye on any cut edges during the first season, since fresh cuts often need immediate protection to avoid early discoloration and moisture uptake.
Do I need an engineer, or can I rely on DIY span tables?
Ask for a review when your structure is freestanding and large, you are in a high-wind zone, you have questionable soil conditions, or you are building a gable roof cover with ridge and angled rafter geometry. Even a site-specific engineering check can prevent undersized footings or incorrect connection detailing.