
You can absolutely insulate an aluminum patio roof yourself, and the right approach comes down to three things: whether your roof has an existing ceiling or open rafters, what climate you're dealing with (beating heat vs. keeping warmth in), and how your aluminum panels are constructed. Most homeowners get the best results using rigid foam board or foil-faced polyiso cut to fit between or under the framing, combined with careful air sealing and a simple vapor strategy.
How to Insulate an Aluminum Patio Roof: DIY Guide

Celia Vaughn
8 Jul 2026
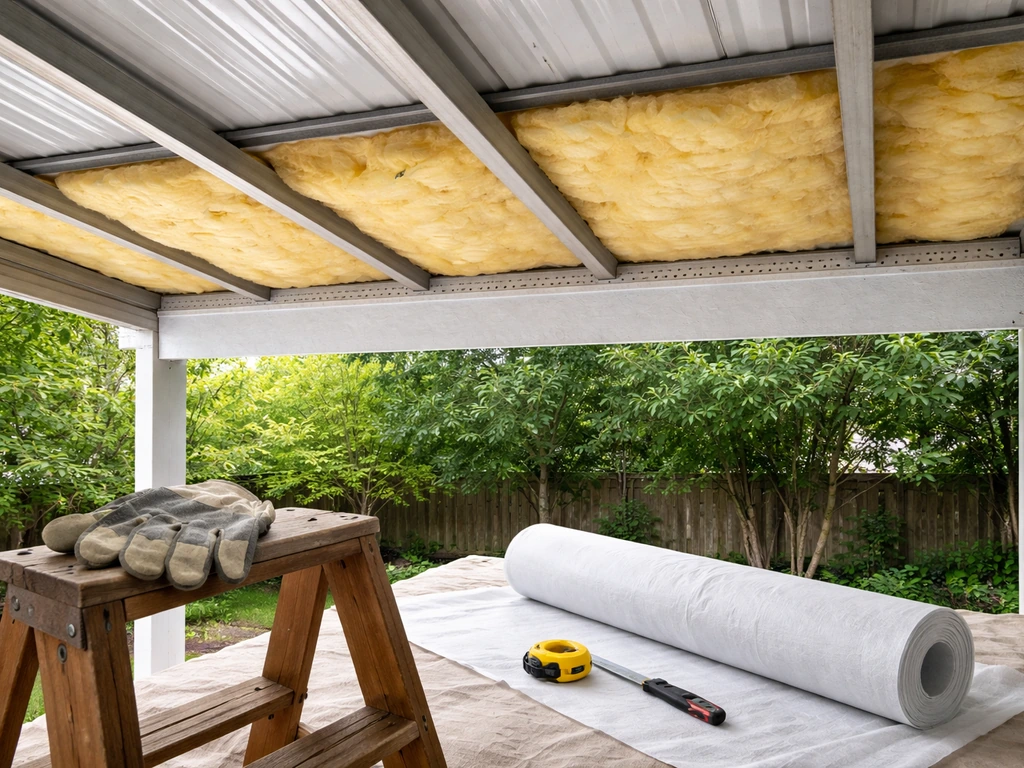
If you want a simple, proven way to insulate a patio roof, foam board and foil-faced polyiso are often the go-to options when paired with careful air sealing rigid foam board or foil-faced polyiso. Done right, you'll cut radiant heat gain dramatically in summer, reduce condensation dripping on your furniture, and make the space genuinely comfortable year-round.
First, figure out what kind of roof you actually have
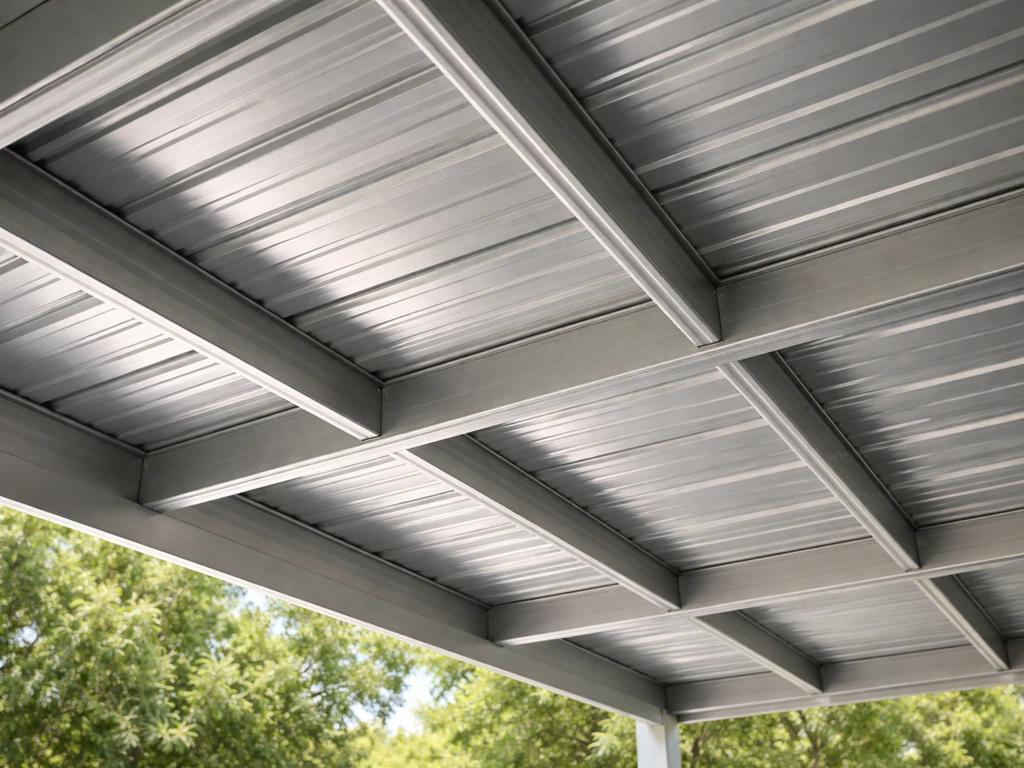
Before you buy a single roll of anything, spend ten minutes figuring out your roof's structure. Aluminum patio roofs come in a few common configurations, and each one calls for a slightly different insulation strategy.
- Open-frame with exposed aluminum panels: You see the panels from underneath with no ceiling. This is the most DIY-friendly scenario because you have full access to work from below.
- Aluminum panel system with a drop ceiling or flat panel ceiling already in place: There's a cavity between the top panel and the ceiling. You'll need to either open it up or inject/blow insulation in.
- Insulated panel system (often factory-made): Some aluminum patio cover kits already ship with foam cores sandwiched into the panels. Check before you start, because adding insulation to these can cause moisture problems.
- Lean-to vs. gable vs. flat roof style: This affects ventilation planning. A lean-to with a low pitch traps heat differently than a gable with a ridge peak.
Also think honestly about your comfort goal. If you're wondering whether you should insulate your patio roof, start by matching the insulation strategy to your comfort goal and climate should i insulate my patio roof. Are you mainly fighting summer heat in a hot climate, or are you in a mixed climate where winter warmth matters too? A screened-in space in Florida has completely different needs than a four-season room addition in Tennessee. Your goal shapes which materials and how much R-value actually makes sense.
Picking the right insulation material for aluminum roofs
Aluminum is a strong conductor of heat, which means the material you choose needs to either block radiant heat transfer (which aluminum amplifies) or slow conductive transfer through the framing. Here's how the main options stack up for this specific application.
| Material | R-Value per Inch | Best For | Watch Out For |
|---|---|---|---|
| Foil-faced polyiso rigid board | ~6.5 | Under-panel installation, hot climates, doubles as vapor/air barrier | Needs 3/4" air gap below foil face to work as radiant barrier |
| XPS (extruded polystyrene) | ~5.0 | Between framing bays, moderate climates, moisture-resistant | Higher cost, some brands use high-GWP blowing agents |
| EPS (expanded polystyrene) | ~3.8–4.0 | Budget option, thicker assemblies tolerable | Absorbs slight moisture over time, needs facer or cover |
| Foil-faced fiberglass batts | ~3.1 per inch | Between rafters where depth allows, mixed climates | Can sag, must be kept dry, vapor class II (kraft) or I (foil) |
| Spray foam (closed-cell) | ~6.0–7.0 | Sealing odd shapes, filling gaps, bonus air sealing | Cost, requires PPE and experience, difficult to remove later |
For most aluminum patio roofs, foil-faced polyiso boards are the go-to recommendation. Products like Johns Manville's AP foil-faced polyiso bond closed-cell foam to foil facers on both sides, and when installed and sealed correctly, a single board layer can function as your water-resistive barrier, vapor barrier, and air barrier all at once. That simplifies the assembly significantly. XPS is a solid backup if polyiso isn't available locally. Skip standard unfaced fiberglass batts entirely in this application since they have no moisture resistance and will sag between aluminum rafters over time.
If your primary problem is summer radiant heat, a foil-faced product facing a dead air space of at least 3/4 inch does double duty as a reflective radiant barrier. The foil reflects radiant heat back up instead of letting it push through into your space below. This is one area where aluminum roofs actually give you an advantage: the air gap strategy is easy to create with simple furring strips.
Ventilation, condensation, and vapor barriers (don't skip this part)
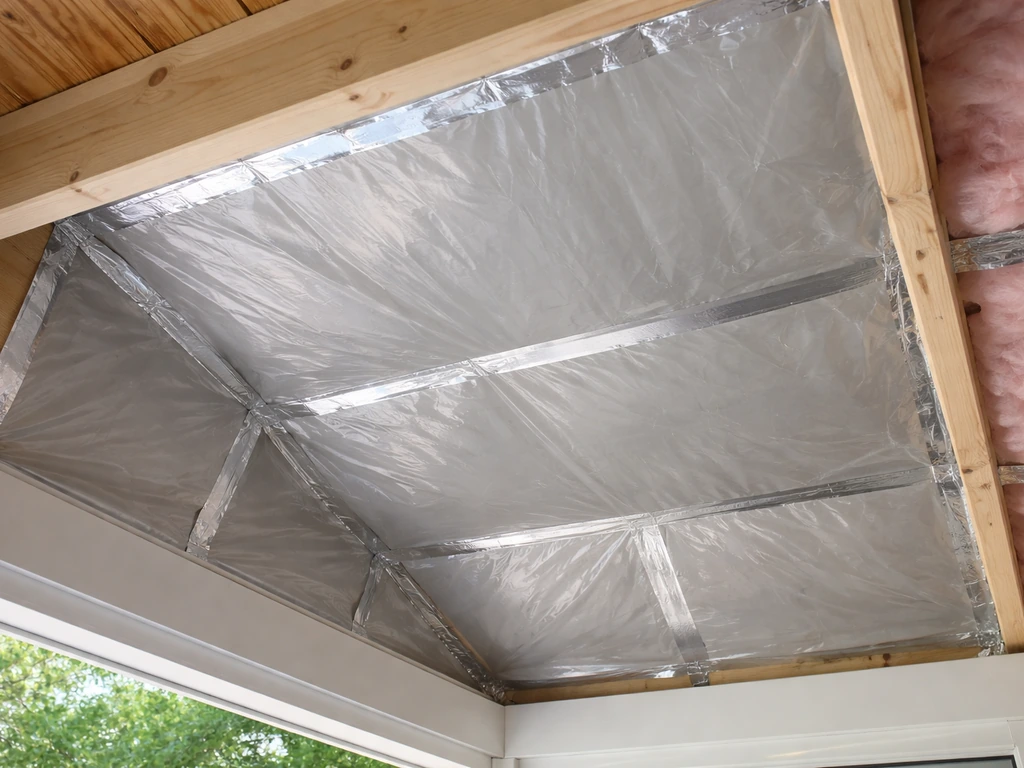
This is where most DIY patio roof insulation projects go wrong. This is why learning the right way to insulate a patio cover includes planning for ventilation, condensation control, and a proper vapor strategy DIY patio roof insulation projects. Aluminum doesn't breathe. When warm humid air hits a cold aluminum surface, you get condensation, which drips, stains, grows mold, and eventually corrodes fasteners. Getting your moisture strategy right is just as important as the R-value.
Vapor barriers: what class you actually need
Vapor retarders are rated in perms. A Class I vapor retarder (0.1 perms or less) is essentially impermeable and includes materials like polyethylene sheet plastic and non-perforated aluminum foil. Class II (greater than 0.1 up to 1.0 perms) includes kraft-faced batts. Class III (above 1.0 perms) is more vapor-open. For most aluminum patio roof assemblies, you want a Class I or II product on the warm-in-winter side of the insulation. In hot climates where your bigger threat is outdoor humidity driving inward, the vapor retarder logic flips slightly, but a well-sealed foil-faced board still handles both scenarios reasonably well.
Ventilation when there's a cavity
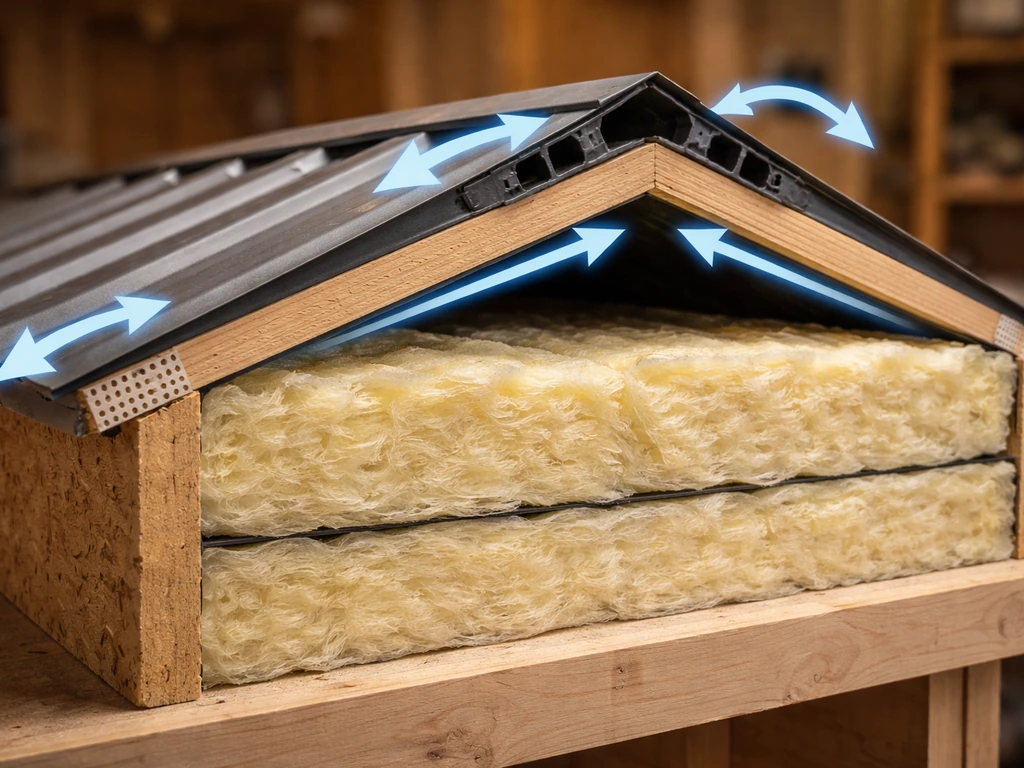
If your assembly has a cavity between the aluminum roof panel and an interior ceiling, you need to either fully fill and air-seal that cavity (unvented assembly) or actively vent it. For vented assemblies, the standard rule of thumb is 1 square foot of net free ventilation area per 150 square feet of roof area, split between intake (low edge) and exhaust (high edge or ridge). For a typical 200-square-foot patio, that's roughly 1.3 square feet of vent area total, split about 50/50. Use continuous soffit vents at the low edge and a ridge vent or gable vents at the high end to create a stack effect that drives moisture out.
If you're going unvented (all insulation, no air cavity), you need to air-seal every gap completely. Even small holes in an unvented assembly let moist air sneak in and condense inside with nowhere to go. This is where a bead of canned spray foam or compatible sealant at every board joint pays off.
Attaching insulation without damaging your aluminum panels
Aluminum framing members are thinner than wood, and over-driving fasteners or using incompatible adhesives can crack powder coatings, create rust pathways, or just pull straight through. Here's how to attach insulation cleanly.
- Use self-tapping screws designed for metal framing (typically #8 or #10 pan-head sheet metal screws) when fastening through furring strips or hat channel into aluminum rafters. Pre-drill if the aluminum is thicker than 16 gauge.
- Avoid construction adhesives directly on painted aluminum unless the product is specifically rated for metal. Polyurethane-based foam adhesives work well on foam board to wood furring but can stain or react with aluminum coatings.
- For rigid board held against the underside of panels with no ceiling below, mechanical fasteners through washers spread the load and prevent the screw head from punching through the foam.
- Use 1x3 or 1x4 wood furring strips or metal hat channel to create the air gap when needed and give you a nailing/screwing surface for a finish ceiling layer.
- Never use staples or thin-crown fasteners directly into aluminum framing. They strip out immediately.
Managing thermal bridging through the framing
Aluminum conducts heat roughly 1,000 times better than wood, which means every aluminum rafter running through your insulation layer is a thermal bridge that bleeds whatever R-value you installed. The fix is to keep the insulation layer continuous below the framing, not just between the framing bays. Even a single layer of 1-inch foil-faced polyiso (R-6.5) applied continuously under the aluminum rafters and then covered with a ceiling layer dramatically reduces thermal bridging compared to insulation stuffed only between rafters. Two layers of 2-inch polyiso run in opposing directions gives you R-13 continuous with no thermal bridging and solid fire resistance.
Step-by-step installation from start to finish
This sequence assumes you have an open-frame aluminum patio roof with no existing ceiling and you're installing foil-faced rigid board from below. Adjust accordingly if your setup differs.
- Measure and sketch your layout. Note every rafter location, spacing, and the depth from the underside of the aluminum panel to where you want your finished ceiling. Check for any light fixtures, fans, or junction boxes that will need clearance.
- Clean the aluminum framing. Wipe off dust, pollen, and grease with a dry cloth. Insulation and tape won't stick to a dirty surface, and you'll find gaps you didn't see before.
- Install furring strips if needed. If you want a dead air gap for radiant benefit or you need a nailing surface for a finish ceiling, screw 1x3 furring perpendicular to the aluminum rafters first. Space furring 16 or 24 inches on center to match standard ceiling material.
- Cut rigid foam boards to fit. Use a sharp utility knife and a straightedge. Score the foil face, snap the board, then cut the foil on the back. Cut pieces should fit snugly between framing with no large gaps at edges.
- Install the first layer. If going continuous, hold boards tight to the underside of the rafters/panels and fasten with washer-head screws into the furring or directly into aluminum framing. Stagger board joints like brickwork so no seam runs continuously across the ceiling.
- Tape every seam immediately. Use foil tape rated for the product (most foil-faced polyiso manufacturers specify compatible tape). This is your air barrier. Don't skip edges or corners.
- Install a second layer if the assembly needs more R-value, offsetting the joints 90 degrees from the first layer. Tape those seams too.
- Seal all penetrations. Every wire, screw location, and gap at walls gets a bead of low-expansion spray foam or compatible sealant. This step probably doubles your comfort improvement over insulation alone.
- Install finish ceiling if desired. 5/8-inch drywall, tongue-and-groove wood, PVC bead board, or aluminum ceiling panels all work. Fasten through the foam into the furring strips below.
- Reinstall any light fixtures with proper clearance maintained (see safety notes below).
Weatherproofing, air sealing, and finishing
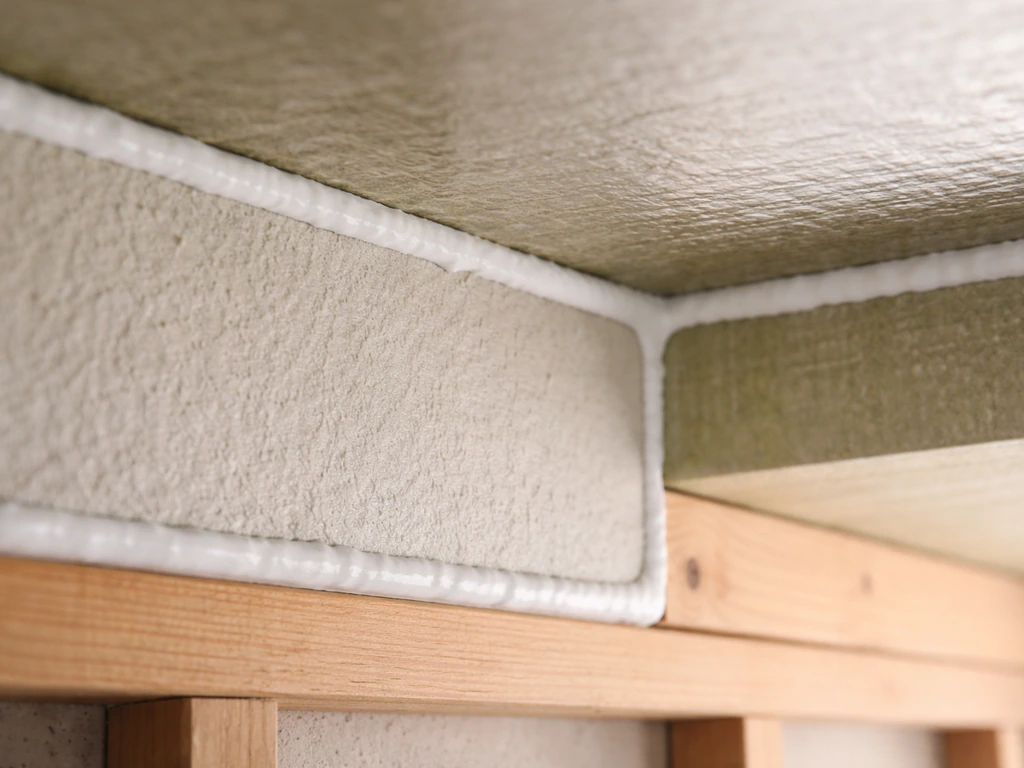
The edges where your insulated ceiling meets the house wall and the perimeter beam are the most common leak points. Run a continuous bead of paintable latex caulk or foam sealant where the ceiling panel meets the wall. At the outer beam, make sure water can still drain off the roof panel without being trapped behind your insulation assembly. If you added thickness inside, check that fascia and trim still cover the edge properly from outside.
Weatherproofing the top side of the aluminum panels is a separate job but worth doing at the same time. Inspect all panel-to-panel seams and the ridge cap (on gable roofs) for cracked or missing sealant. Re-seal with a roofing-grade polyurethane or silicone rated for metal. Water infiltration at the top is the fastest way to ruin the insulation work you just did underneath.
If you installed a finished ceiling, paint it with a moisture-resistant primer before the finish coat. In humid climates, semi-gloss or satin finishes hold up much better than flat on patio ceilings. Common mistake: people use leftover flat interior paint and wonder why it peels in two seasons. Use exterior-rated or bathroom-rated paint for anything that will see humidity regularly.
Safety, structural checks, permits, and when to call a pro
Weight and structural loading
Two inches of rigid foam board weighs roughly 0.5 to 0.75 pounds per square foot. A drywall ceiling adds about 2.5 pounds per square foot. For a 200-square-foot patio roof, that's potentially 600+ pounds of added dead load. Most aluminum patio cover systems are not engineered for that. Before adding a finish ceiling, check the span tables or manufacturer specs for your aluminum framing, or have a structural engineer (or your local building department) take a quick look. This is especially true for older patio covers that were originally permitted as shade structures, not enclosed rooms.
Recessed lights and heat-producing fixtures
If you have or plan to add recessed lights, the 2021 IRC (R302.14) requires combustible insulation to be kept at least 3 inches away from recessed luminaires, fan motors, and other heat-producing devices unless the fixture is rated IC (insulation contact). Check the label on your existing fixtures before you bury them in foam. Non-IC-rated cans in contact with foam are a fire hazard. Replacing them with IC-rated LED recessed lights is cheap and usually the right call anyway.
Permits: check before you build
Adding insulation to an existing patio roof is often considered a repair or maintenance item that doesn't require a permit in many jurisdictions. But adding a finished ceiling, modifying electrical, or significantly changing the structure usually does. Call your local building department before you start. A five-minute conversation can save you from tearing out work or having problems when you sell the house. Some areas specifically require permits when converting a patio cover to an enclosed or conditioned space.
When to hire a pro instead
Honestly, most of this project is well within DIY range if you're comfortable on a ladder, can use a utility knife and drill, and take the vapor/air sealing steps seriously. Where I'd recommend calling a professional: if your aluminum framing shows signs of corrosion, bending, or damage before you add load; if you're working with spray foam in a confined space (proper respirator and protective gear are non-negotiable and most homeowners underestimate this); if you need new electrical circuits or want to add a ceiling fan; or if your patio roof is attached to the house in a way that affects the house's waterproofing or drainage. A licensed contractor for a scoped consultation on those specific pieces is money well spent.
If you're still deciding whether insulating is the right move at all, or if you have a different patio cover material like wood or corrugated metal, the insulation approach and moisture logic shift enough that it's worth reading up on those specific assemblies separately before committing to materials. The general principles here around vapor management and thermal bridging apply broadly, but the fastening methods and product compatibility details do change.
FAQ
How do I tell if I should choose a vented or unvented insulation assembly for my aluminum patio roof?
Look for whether there is (or you plan to create) an air space between the aluminum roof panels and the underside insulation. If you can keep a continuous, sealed insulation layer without trapping air, you can often go unvented, but only if every gap is meticulously air-sealed. If you cannot confidently eliminate air leakage, a vented assembly is safer because it gives moisture a path to dry upward (intake low, exhaust high).
What’s the biggest sign that condensation control isn’t working?
Moisture staining that appears in repeating bands near rafters, damp insulation edges, or water spotting on the underside ceiling, especially after humid or rainy days. If you see rust on fasteners or drip marks, it often means warm humid air is bypassing your air seal and reaching a cold aluminum surface.
Should I install a vapor barrier behind the foil-faced rigid foam, or is the board enough?
In most cases, a foil-faced polyiso board used correctly acts as the vapor retarder and air barrier, so adding an extra sheet can be redundant or harmful (it can trap moisture). Only add additional layers if you’re matching an assembly design that accounts for drying direction and perm ratings on the correct side.
Can I use regular fiberglass batts or mineral wool between aluminum rafters?
They’re usually a poor choice by themselves for this type of roof. Fiberglass batts lack moisture resistance and can sag in open rafter cavities, while mineral wool still needs an air-sealed plan to stop humid air leakage. If you use cavity insulation at all, pair it with an appropriate air seal strategy and consider continuous rigid foam to avoid thermal bridging.
How do I prevent “air gaps” between rigid foam boards and aluminum framing?
Use tight-cut boards and then seal board edges and perimeter joints with a compatible sealant, not just mechanical fit. If you have irregular surfaces, fill small voids with low-expansion spray foam. Avoid overfilling large gaps, since it can bow boards and make later ceiling panels leak at the edges.
What R-value should I target, and what’s a common mistake when choosing thickness?
Many DIYers overshoot heat gain reduction in summer or undershoot winter comfort in mixed climates. Use your goal and climate, then consider how much continuous insulation you’ll actually get under the rafters, not just between them. Since aluminum creates thermal bridges, higher cavity R alone may not deliver the comfort improvement you expect.
If my roof already has an interior ceiling, do I remove it to insulate?
Not always. If the ceiling is already functioning and the cavity can be filled and air-sealed without causing moisture trapping, you may be able to insulate from below or through access points. If the ceiling prevents you from building a continuous insulation layer or you can’t reach the leak-prone edges, removal might be required to do it correctly.
How do I seal the edges where the insulated ceiling meets the house wall and perimeter beam?
Create a continuous, paintable sealant bead at the junction where the interior ceiling meets the wall framing. At the perimeter beam, make sure you do not block designed roof drainage paths or weep openings from the exterior. After sealing, verify any exterior trim and fascia still overlap correctly so water doesn’t get forced behind the insulation assembly.
Do recessed lights or a ceiling fan change the insulation plan?
Yes. For recessed fixtures, combustible insulation must be kept away from non-IC-rated housings, and you should verify the fixture label before installing. Plan placement early so you can maintain required clearance without tearing your air-sealing layer, and route any wiring so it doesn’t create unsealed penetrations.
Is it safe to use spray foam on an aluminum patio roof ceiling under DIY conditions?
It can be, but only with proper ventilation and a proper respirator, because the product and fumes are a real risk in confined patio spaces. Also confirm compatibility with adjacent materials (coatings, metals, and foams). If you can avoid spray foam for large areas and use rigid boards plus sealant, the workflow is often easier to control.
How can I estimate added weight before adding a finished ceiling?
Account for both insulation and ceiling materials, not just the foam. The article’s example numbers can underestimate your real load if you add drywall, furring, and fixtures, so check span tables or manufacturer engineering for your aluminum framing, especially on older, previously shade-only patio covers.
Will insulating my aluminum patio roof require a permit?
Often, adding insulation alone is treated as a repair or maintenance item, but adding a finished ceiling, modifying electrical, or significantly changing how the patio cover is enclosed or conditioned can trigger permit requirements. Call your local building department before you start to avoid having to remove work later.