A DIY patio cover kit is the fastest, most cost-effective way to get a finished, weatherproof patio cover installed without custom fabrication. The right kit for your patio depends on three things: your roof style (lean-to, gable, or freestanding), your material preference (aluminum, wood, or steel), and your local building code requirements. Most homeowners with basic carpentry skills can complete a standard lean-to aluminum kit in a weekend. Gable and freestanding kits take two to three days and require a helper. This guide walks you through every step, from choosing the kit to sealing the last panel.
Do It Yourself Patio Cover Kits: Plan and Install Guide

Celia Vaughn
13 May 2026
What comes in a patio cover kit (and how they differ)

A complete kit gives you everything cut and labeled, so you are not hunting for matching components at the hardware store mid-build. A solid insulated aluminum kit, for example, typically ships with insulated roof panels, structural posts, side plates, blank" rel="noopener noreferrer">a main beam (often a 3x8 aluminum beam), 2x6.5 trim pieces, gutters, downspouts, mounting brackets, and all hardware and fasteners. Some manufacturers like Alumi-Kit also bundle in a blank" rel="noopener noreferrer">step-by-step installation guide, video tutorials, a connection master sheet showing every fastener location, and access to engineering support so you can submit documentation to your local building department if needed. That last piece matters more than most buyers realize.
Not all kits are equal. Here is what separates a good kit from a frustrating one. First, pre-engineered kits are stamped by a licensed engineer, which makes permit approval much easier. Second, some kits are modular (add a bay to extend length), while others are fixed-dimension. Third, the panel thickness matters for insulation and snow load: a 2-inch insulated panel handles more weight than a single-skin panel and is worth the upgrade in most climates. If you are comparing products, look for the R-value of the panels, the wall thickness of the aluminum extrusions, and whether the kit includes a ledger or wall-mount bracket rated for your attachment method.
Wood kits are usually sold as dimensional lumber packages with pre-cut rafters and a beam, plus hardware. They are cheaper upfront but require you to source decking, paint, or stain separately, and they need more maintenance over time. Steel or metal kits are rare at the consumer DIY level but do exist for shade structures and carports. Aluminum kits dominate the residential DIY market because they ship flat, resist corrosion, require almost no maintenance, and finish well in standard colors like white, bronze, or tan. If you are researching aluminum-specific builds, the do it yourself alumawood patio cover route is one popular variant worth comparing.
Picking the right style and material for your space
Lean-to (attached shed-style)
A lean-to attaches directly to the house on one end and sits on posts on the outer edge. It is the simplest structure, the easiest permit to get, and the most affordable kit. The pitch runs in one direction (typically 1/4 inch per foot for drainage minimum), and the high end bolts to a ledger board on the house wall. If your patio is rectangular and butts up against the house, a lean-to kit is almost certainly your best starting point.
Gable roof
A gable kit has a peaked center ridge and two sloped sides. It looks more architectural, handles rain and snow better, and adds significant curb appeal. The tradeoff is complexity: you have a ridge beam, two sets of rafters or panels meeting at an angle, and more connection points to get right. Gable kits are well-suited for larger patios (16 feet wide or more) where a flat lean-to would look undersized. Expect to spend an extra half-day on assembly compared to a lean-to of the same footprint.
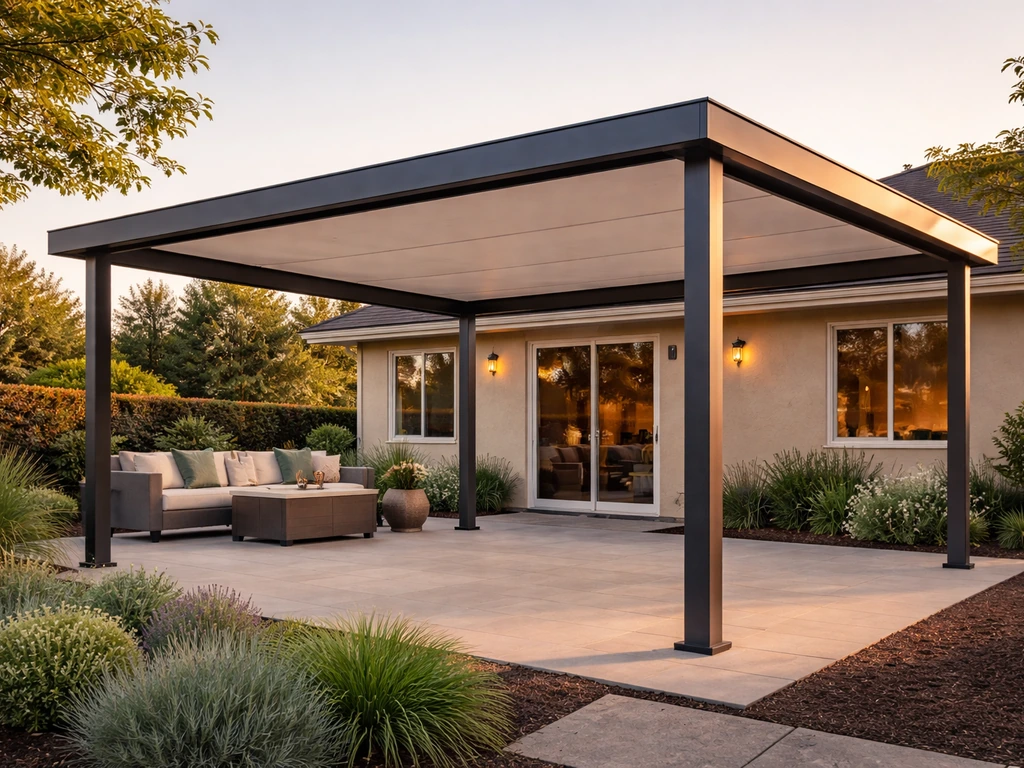
Freestanding (pergola or shade structure)
Freestanding kits do not attach to the house, so they work for detached patios, pool decks, or yards where you want separation from the house. They require footings at all four corners, which is the biggest labor difference. They are also subject to higher wind uplift loads because there is no house wall to brace against, so post anchoring and footing depth matter more. If you are leaning toward a freestanding option, the do it yourself patio awnings category overlaps here for lighter shade structures.
Material comparison at a glance
| Material | Typical Kit Cost (12x16 ft) | Lifespan | Maintenance | DIY Difficulty | Best For |
|---|---|---|---|---|---|
| Aluminum (insulated) | $1,800–$4,500 | 30+ years | Very low (wash annually) | Moderate | Most climates, low-maintenance priority |
| Aluminum (single-skin) | $900–$2,200 | 20–25 years | Low | Easy–Moderate | Budget builds, mild climates |
| Wood (lumber kit) | $600–$1,800 (materials) | 15–25 years | High (paint/stain every 2–3 yrs) | Moderate–High | Custom looks, existing wood structures |
| Steel/metal | $1,500–$3,500 | 25+ years | Low–Moderate (watch for rust) | Moderate–High | Carports, heavy-load regions |
My honest recommendation: unless you have a specific reason to use wood (matching an existing structure, strong preference for a natural look), go with an insulated aluminum kit. The total installed cost is competitive once you factor in wood's finishing and ongoing maintenance, and the aluminum assembly process is more forgiving for a first-time builder.
Pre-install planning: measurements, site prep, permits, and safety
Measure accurately before you order
Order the wrong size and you are waiting two to three weeks for a replacement beam or panel. Measure your patio slab or deck area length and width, then subtract 3–4 inches on each exposed side to keep drip-edge away from the perimeter. Note the height of the attachment point on your house wall: you need at least 7 feet of clearance under the lowest point of the finished cover for comfortable use and most code requirements. For a lean-to, measure from the attachment height down to the outer post height to confirm you have enough slope for drainage without ending up with posts that are too short.
Site prep
If posts will land on an existing concrete slab, use a hammer drill to core anchor holes (typically 5/8-inch diameter, 3.5 inches deep for wedge anchors). If posts land on soil, you need concrete footings: dig below the local frost line (check your county's frost depth table), pour a footing at least 12 inches in diameter, and use a J-bolt or post base set in wet concrete before it cures. Let footings cure 48–72 hours before loading them with any weight. Clear overhead clearance: trim any tree branches, remove gutters or light fixtures that sit in the build zone, and check for overhead utilities. Call 811 (in the US) before any digging.
Permits and inspections
Most municipalities require a building permit for any permanent patio cover over a certain size, typically 120 square feet or anything attached to the house. A few require permits for freestanding structures too. Pull the permit before you build, not after. The common mistake is skipping this step because the structure looks small, then having to tear it down or pay fines when the house sells. If your kit comes with stamped engineering drawings (most reputable aluminum kit manufacturers include these or offer them for a small fee), submit those with your permit application. Inspectors love pre-engineered kits because the structural calculations are already done.
Safety checklist before you start
- Have at least one helper on-site for lifting beams and setting posts
- Wear safety glasses when drilling into masonry or cutting aluminum
- Use hearing protection when operating a circular saw or reciprocating saw
- Keep a first aid kit on the job site
- Never work on a ladder in wet or windy conditions
- Check that your ladder is rated for your weight plus tools
- Shut off any electrical circuits that run along the attachment wall before drilling
- Mark all anchor holes with a center punch before drilling to prevent bit walking
Structural requirements: posts, footings, framing, and weatherproofing basics
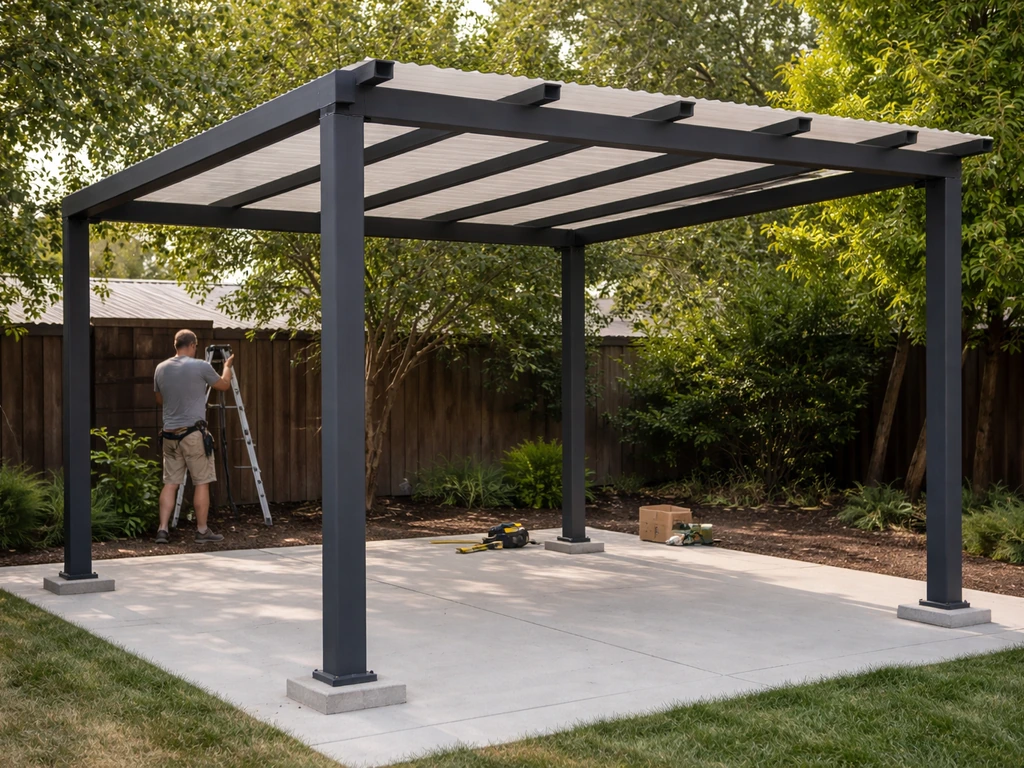
Post sizing and spacing are the two structural decisions that determine whether your cover survives a bad storm. For aluminum kits, posts are typically 3x3 or 4x4 aluminum extrusions. Standard spacing is 8–10 feet on center for a lean-to and 6–8 feet for a gable or freestanding structure with heavier panel loads. If you are in a high-wind zone (coastal areas, tornado-prone regions), drop spacing to 6 feet maximum and use the thicker extrusion posts your kit supplier offers.
The ledger board attachment is the most critical connection in an attached cover. It transfers the entire roof load (plus wind and snow) into your house wall. Lag screws must bite into the house's rim joist or structural framing, not just the sheathing or siding. Use 1/2-inch lag screws, minimum 3 inches of penetration into solid wood, spaced every 16 inches. If your house is stucco or has foam insulation under the cladding, you need standoff spacers to create a drainage gap behind the ledger to prevent moisture intrusion. What often goes wrong here: people anchor into siding alone and the ledger pulls away under the first real wind load.
For weatherproofing, every penetration through the house wall needs flashing. Use a continuous aluminum or galvanized Z-flashing above the ledger and run it up under the siding at least 3 inches. Caulk all gaps between the ledger and the wall with a paintable silicone sealant rated for exterior use. Where roof panels meet the house wall, add a rubber or neoprene closure strip to block insects, debris, and water intrusion. Panel-to-panel seams on insulated kits typically use a snap-lock or T-bar connector that is already watertight when assembled correctly, but run a bead of clear silicone along the top seam for extra insurance in heavy-rain climates.
Step-by-step installation from layout to finished roof
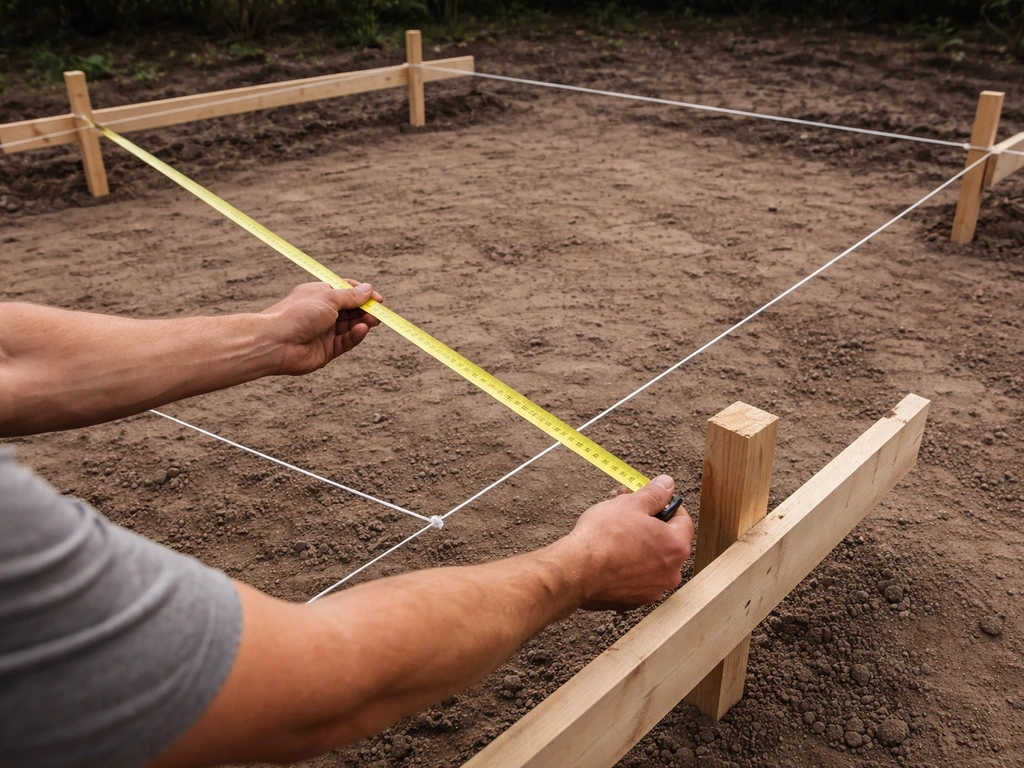
- Lay out your build area: use batter boards and string lines to mark the exact footprint of the cover. Confirm square by measuring diagonals (they must match). Mark post locations with spray paint or stakes.
- Prepare footings or anchor locations: drill slab holes or dig and pour concrete footings. Set J-bolts or post bases to your string line before concrete sets. Double-check alignment before the concrete cures.
- Install the ledger board (attached covers only): mark the ledger height on the house wall, snap a chalk line, and lag-bolt the ledger into structural framing. Install Z-flashing above the ledger immediately.
- Set the posts: place posts on post bases or over J-bolts, plumb them with a level in both directions, and brace temporarily with 2x4 diagonal bracing. Do not remove bracing until the beam is fully connected.
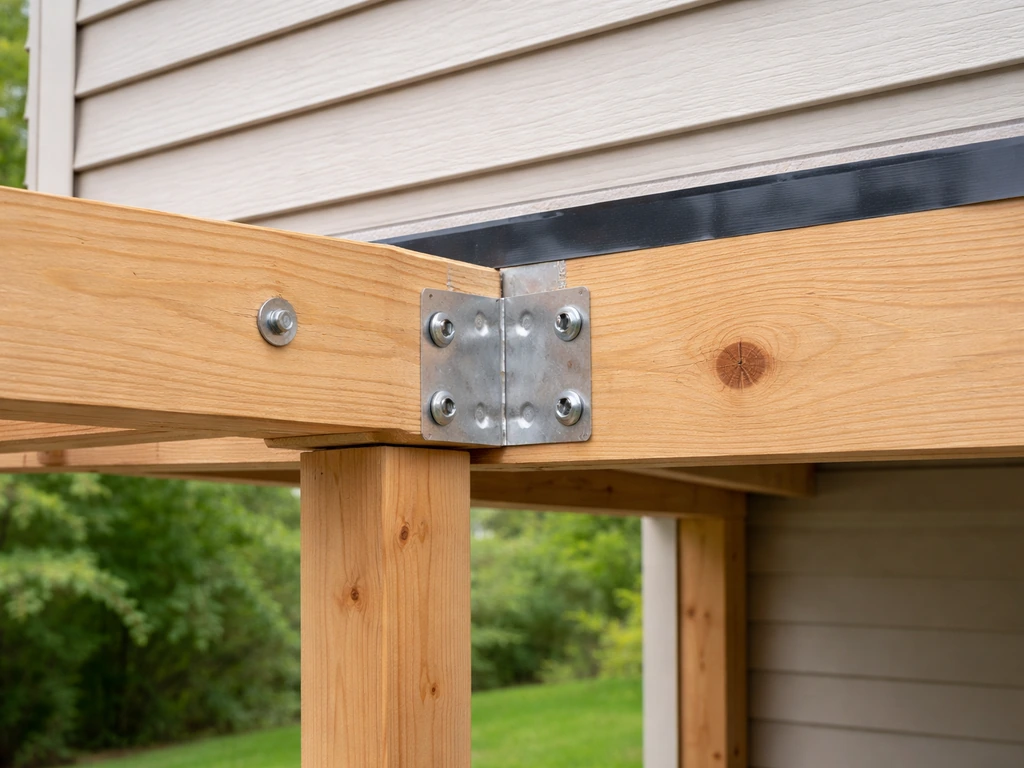
- Install the main beam: lift the beam onto the post tops and fasten with post cap hardware. For aluminum kits, this usually means sliding the beam into a post cap bracket and driving the included screws. Check level again.
- Install rafters or rafter arms: space rafters or rafter arms per the kit drawing, typically 24 inches on center. Fasten to the ledger on one end and to the beam on the other using the supplied brackets. Confirm pitch is consistent down the run.
- Install roof panels: start at one end and work toward the other. For insulated panels, slide the first panel's tongue into the wall trim channel, then snap or screw successive panels together. Do not force panels; if they are not seating cleanly, check that your rafter spacing matches the panel width.
- Install gutters and downspouts: attach the gutter to the fascia trim at the low end of the panels. Slope the gutter 1/8 inch per foot toward downspout locations. Connect downspouts and direct them away from the foundation.
- Install fascia and trim pieces: cap all exposed ends with the supplied trim. This is also where closure strips go at the wall junction.
- Final inspection walk-through: check every lag screw for tightness, look for any gaps in flashing, confirm all panels are fully seated, and test drainage by running a hose on the roof.
Tools, hardware, and mistakes to avoid
Tools you actually need
- Hammer drill with masonry bits (for slab anchors) or a standard drill/driver
- Circular saw with a fine-tooth blade (80-tooth or higher for cutting aluminum without chipping)
- Level, 4-foot minimum, plus a laser level or string line for long runs
- Tape measure (25-foot minimum) and chalk line
- Socket set and impact driver
- Caulk gun
- Step ladder and/or scaffolding for roof work
- Safety glasses, hearing protection, gloves
Common mistakes that cause real problems
- Skipping the permit and discovering it on home sale inspection (often requires retroactive engineering and fines)
- Anchoring the ledger into siding instead of structural framing (leads to failure under load)
- Not accounting for slope in the layout, resulting in panels that pool water
- Over-torquing screws on aluminum extrusions and stripping the threads (snug is enough; aluminum is soft)
- Setting posts without temporary bracing and having them shift before the beam goes on
- Ordering the kit before confirming local frost depth for footing requirements
- Forgetting closure strips, which lets insects and debris into the insulated panel cavities
- Not caulking behind the ledger flashing, which sends water into the wall over time
When to DIY and when to call a pro
A standard lean-to aluminum kit on a flat, square concrete slab is genuinely a confident intermediate DIY project. If you have built a deck, hung a fence, or done any basic carpentry, you can handle it. The same is true for most gable kits up to around 16x20 feet. Where it tips toward hiring a pro or at least bringing in a structural consultation: you are in a high-snow-load region (more than 25 lbs per square foot ground snow load), you are in a high-wind zone with design wind speeds above 110 mph, your attachment wall is masonry or ICF (insulated concrete forms) rather than wood framing, your lot has a significant slope requiring custom footing depths or retaining, or your local jurisdiction requires engineer-stamped drawings and you cannot source them through your kit supplier.
You can also split the work: hire a concrete contractor to pour footings (one day, relatively cheap), then do the rest yourself. Or hire a structural engineer for a single consultation fee to review your plan before you build. That review typically costs $200–$500 and can save you from a costly rebuild. The do it yourself patio covers and do it yourself patio roof guides go deeper on the attachment and structural side if you want to build custom rather than kit-based. If you want to explore more about DIY options, this do it yourself patio covers topic can help you compare styles and materials before you buy a kit.
One honest note: if you find yourself second-guessing the structural connections at any point during the build, stop and call. A patio cover that fails in a wind event can injure people and damage your house. That is not a scare tactic, it is just a real ceiling on when DIY is the right call.
Maintenance and finishing: sealing, drainage, and long-term care
Once the cover is up and inspected, a little upkeep goes a long way. For aluminum, an annual wash with mild soap and water keeps the finish looking sharp and prevents oxidation buildup at panel seams. Inspect the caulking at the ledger and wall junction every spring. Silicone sealant lasts 7–10 years but can crack or pull away sooner in climates with big temperature swings, so reapply whenever you see gaps. Check the gutter slope once a year by running a hose and watching for standing water; gutters sag over time if hangers are spaced too far apart (keep them within 24 inches of each other).
For wood covers, plan on repainting or re-staining every two to three years in wet climates, every three to four in dry climates. Check for soft spots in rafters near the ledger connection every spring since that is where moisture gets trapped first. A wood cover in good shape can last 20-plus years; a neglected one starts showing structural issues in as few as seven.
Drainage is worth a repeat mention because it is the single most common source of long-term problems. Make sure your downspouts extend at least 4 feet away from the house foundation or connect to an underground drain. Water pooling at the base of your posts will rot wood post bases and corrode even aluminum hardware over years. A simple splash block or corrugated extension solves the problem for about $10. Do not skip it.
Finally, do a full tightness check on all hardware after the first full season. Thermal expansion and contraction can loosen screws slightly in the first year, particularly at panel seams and post base connections. A quick pass with an impact driver in the fall takes 20 minutes and keeps everything solid going into winter.
FAQ
Can I use do it yourself patio cover kits on an existing deck instead of concrete slab?
Yes, but you need to confirm the deck framing can carry the added roof loads. Many kits are designed to land posts on concrete or properly sized footings, not on deck boards. If your posts will sit on deck beams or ledger framing, make sure the support members are rated for vertical load and lateral wind forces, or plan to add supplemental posts/footings beneath the deck structure.
What if my patio is an odd shape, like L-shaped or not perfectly square?
Most kits assume rectangular footprints with straight edges. For odd shapes, you may need a modular extension bay, an additional freestanding section, or a non-standard layout that can cause panel-to-wall flashing issues. A practical step is to choose the kit based on the longest straight run first, then verify gutter and downspout routing can maintain drainage across the whole cover before ordering.
How do I figure out the right kit size if my patio dimensions are inexact?
Use your slab or deck measurements, then follow a conservative offset for perimeter drip edge (the article mentions subtracting 3 to 4 inches per exposed side). Also check for obstructions like light fixtures, outlets, or HVAC vents inside the build zone, and re-measure after removing any temporary items. Ordering to the exact slab size without accounting for offsets is a common cause of replacement delays.
Do I need insulated panels everywhere, or can I mix panel types to save money?
You can sometimes save money by using insulated panels on the house-facing side for comfort, but mixing panel types may create inconsistent seam heights and thermal performance. Before mixing, confirm the kit system supports mixed panel thickness and that the connector hardware (snap-lock or T-bar components) will still seal correctly at every transition.
What attachments are acceptable if my house has vinyl siding or brick veneer?
The ledger connection still must hit structural framing, not just the exterior cladding. For vinyl siding, plan for proper standoffs and correct flashing so the ledger is not trapped against the siding. For brick veneer, you typically cannot rely on mortar joints for ledger loads, so you may need an engineered approach that ties into the backup wall framing and includes weep and flashing details.
If I can’t hit a rim joist, what should I do at the ledger board?
Do not anchor into siding sheathing alone. If the ledger location does not line up with solid wood framing, adjust the ledger height or shift post/beam positions to achieve alignment, or use an engineering solution approved for your wall type. The decision aid is simple: if you cannot confirm full-depth penetration into structural members, stop and redesign before installing the ledger.
Are my gutter and downspout sizes locked in by the kit?
Usually the kit’s gutter profile and downspout routing are matched to the panel and beam layout. If you extend length with modular bays, confirm the system’s slope and outlet locations still move water effectively. If you plan to discharge farther away from the house than the kit suggests, verify that the downspout elbows and extension pieces are compatible to avoid clogging or backflow.
How do I prevent leaks at panel-to-panel seams and where the roof meets the house?
The kit connectors should be watertight when assembled correctly, but your best extra insurance is to ensure the seams are fully seated before fastening, then add sealant where the system specifies. Also inspect the closure strip at the house wall, it is the area that stops wind-driven rain and insect intrusion, if that strip is misaligned, water often finds its path immediately.
What’s the safest way to handle snow load or heavy winter conditions with a DIY kit?
Start by choosing the panel thickness and post spacing options that match your region’s snow load requirements, then verify whether the kit’s stamped engineering covers your design values. If you are near the edge of a kit’s intended range, tighten spacing and avoid substituting thinner posts or skipping labeled fasteners. When in doubt, add an engineering consultation rather than “making it work” with different spacing.
Can I build a freestanding kit without connecting it to the house at all?
Yes, but treat it as a higher-demand structural project, especially for wind uplift. The article notes that footings at all corners and stronger post anchoring matter, so plan for deeper footing design and correct hardware for uplift resistance. Do not reduce post size or increase spacing to simplify, because uplift failures tend to be sudden during storms.
How often should I recheck caulk and hardware after installation?
Do a seasonal inspection at minimum, spring for sealant checks and fall for hardware tightening (the article mentions both). If you live in an area with freeze-thaw cycles, watch for small gaps forming around the ledger junction earlier than expected. For screws and connectors, check after the first full season and again after major weather events, not just on a calendar.
What’s the best way to protect steel or aluminum hardware from corrosion issues?
Even aluminum kits benefit from keeping water from pooling around post bases, because trapped moisture can still accelerate corrosion of mixed metals. After installation, confirm that downspout outlets route at least several feet away from the house and that splash blocks are secure. When washing annually, avoid abrasive cleaners that can damage powder-coated finishes, and rinse thoroughly at panel seams.