
Yes, you can paint an Alumawood or aluminum patio cover. The main catch is that the factory finish is either a powder coat or a baked-on paint system (sometimes with a Teflon-based surface protector), so you cannot just roll on exterior latex and call it a day. With the right prep, a bonding primer, and a good exterior paint system, the job sticks and lasts. Skip the prep and the paint peels in a season.
Can You Paint Alumawood Patio Covers? DIY Steps

Celia Vaughn
10 Jul 2026
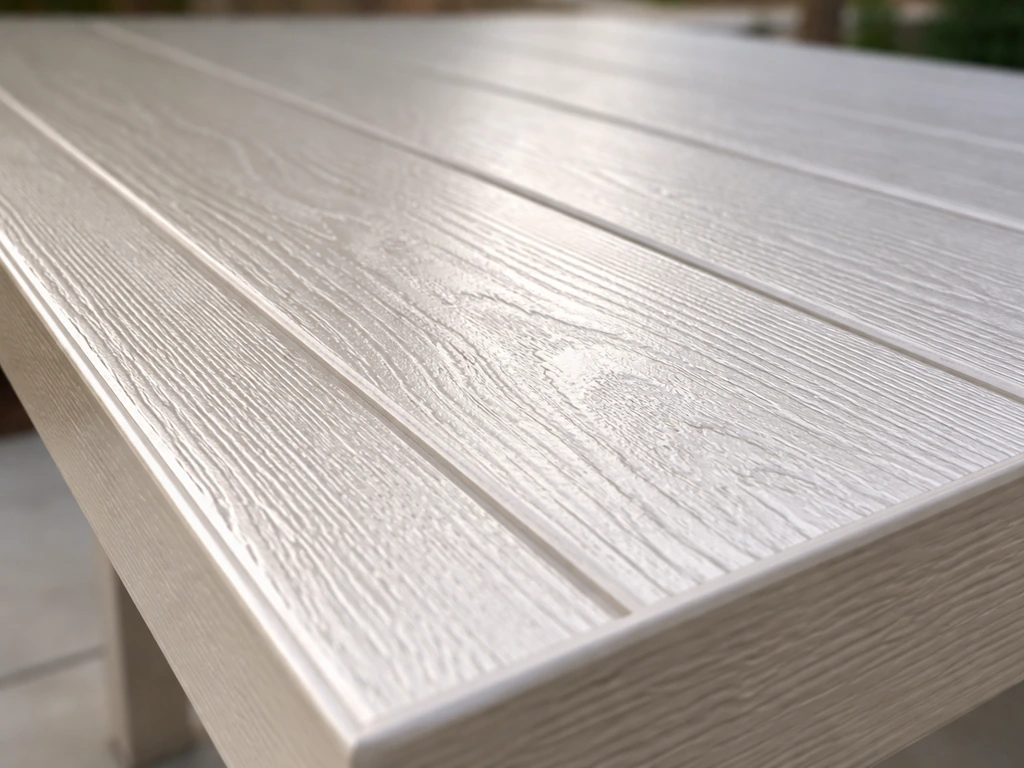
What you're actually painting matters a lot
Alumawood products are aluminum panels embossed with a wood-grain texture and finished at the factory with a paint or coating system. The brand specifically references an "Aluma-Shield" finish that includes a Teflon surface protector. That factory finish could be a powder coat, a baked-on liquid paint, or some combination. Why does this matter? Powder coat is extremely hard and slick, which makes adhesion tricky without the right primer. A previously painted surface that is starting to chalk or oxidize is actually easier to re-coat than a fresh, intact powder coat. Before you buy a single can of primer, figure out what you have.
How to tell powder coat from paint
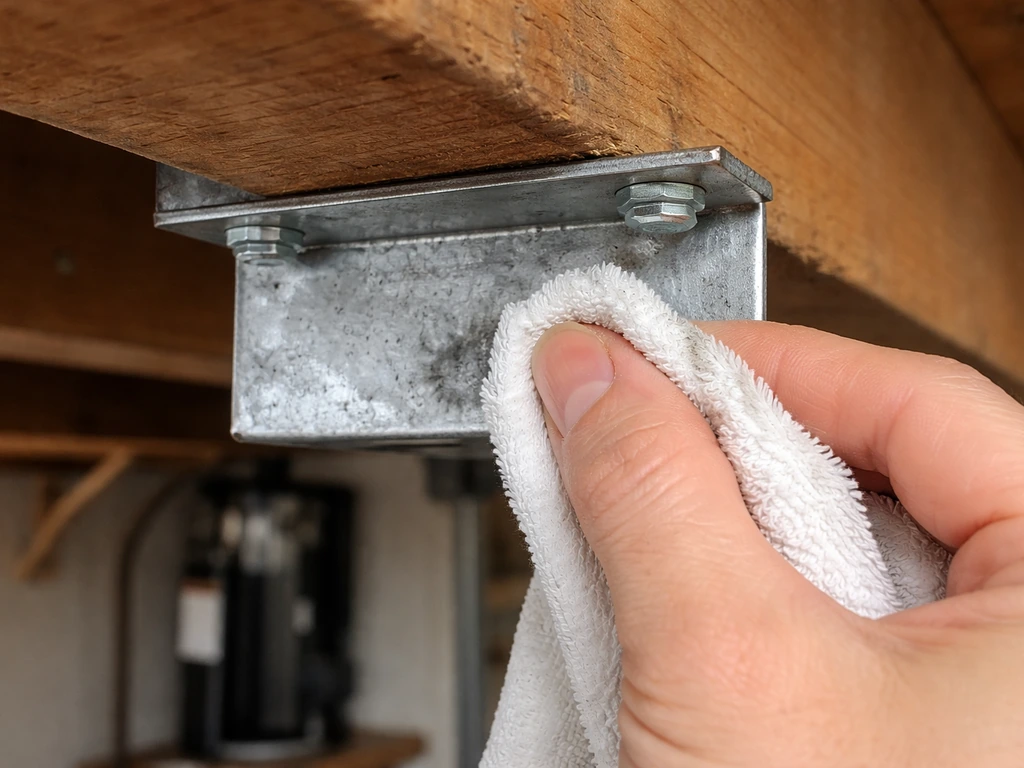
Do a quick solvent spot test in a hidden area, like under a beam or behind a bracket. Dampen a rag with acetone or MEK and rub it firmly against the surface for about 10 seconds. If the finish softens, smears, or picks up color on the rag, it is a liquid paint. If nothing happens and the surface stays hard and unchanged, it is almost certainly powder coat. Powder coat requires a dedicated bonding primer or an etching primer to get real adhesion. Either way, the job is doable, but the product selection changes.
One more thing to check before you start: painting over the factory finish may void any remaining warranty on Alumawood covers. If your cover is relatively new and still under its limited lifetime warranty, weigh that before you commit. If the cover is older, faded, or already showing peeling or chalking, the warranty question is probably moot and painting is a smart refresh.
Prep work: the part that actually determines whether this lasts
I will be blunt: 90 percent of paint failures on aluminum patio covers come from bad prep. Painting over chalky oxidation, mildew, grease, or a slick glossy surface is a waste of time and money. Axalta’s Paint Defects Manual also lists contamination such as oil, wax, grease, and silicone as a prevention-related cause that can drive paint defects like cratering and fisheyes mildew, grease, or a slick glossy surface. The paint may look fine for a few weeks and then start peeling in sheets. Do the prep right and the paint sticks for years.
Clean the surface thoroughly
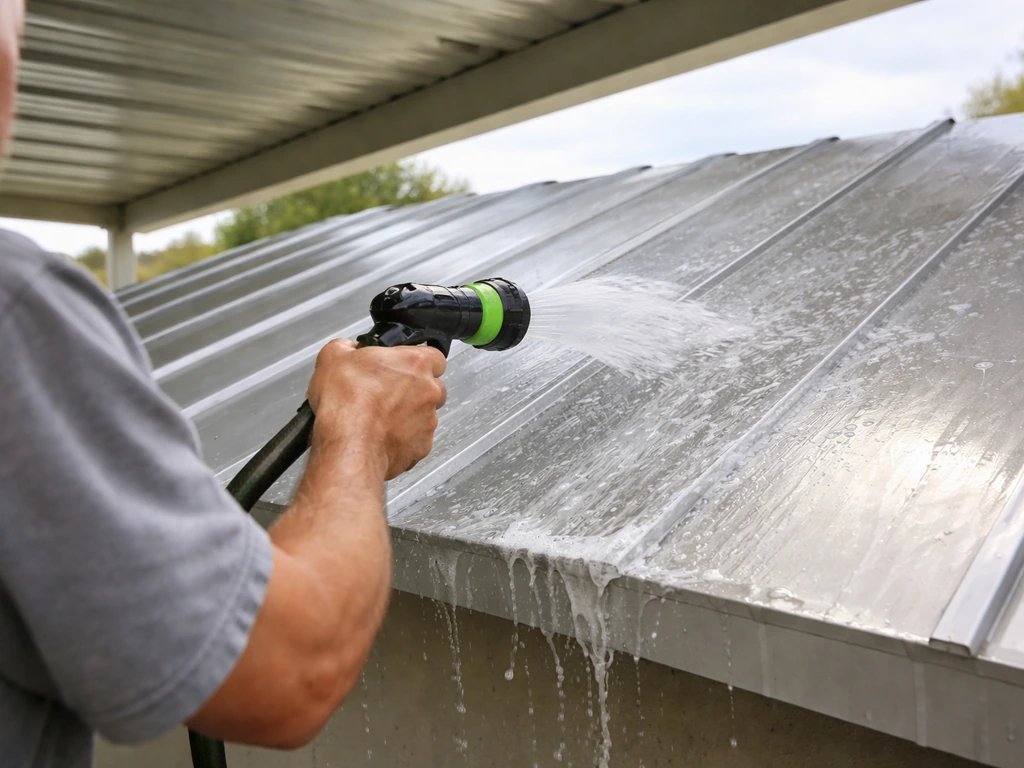
Start by washing the entire cover with a TSP substitute or a good degreasing cleaner mixed with water. A garden hose with decent pressure works fine for rinsing, but a pressure washer on a lower setting (around 1,200 to 1,500 PSI) is faster and more effective. If you see black or green spots, that is mildew. Treat those areas with a 3-to-1 mix of water and household bleach, let it sit for a few minutes, then scrub and rinse well. Do not let bleach dry on the aluminum.
Check for and remove chalking and oxidation
Run your finger across the surface. If it comes away with a white or gray chalky residue, the old coating is oxidizing. That chalk has to come off or your primer will bond to it instead of the aluminum, and the chalk layer will let go eventually. Scrub chalked areas with a stiff brush and your degreaser solution, then rinse. For stubborn oxidation, fine (120 to 150 grit) sandpaper or a Scotch-Brite pad helps break it down. Rinse again and let everything dry completely before moving on.
Sand or degloss the existing finish
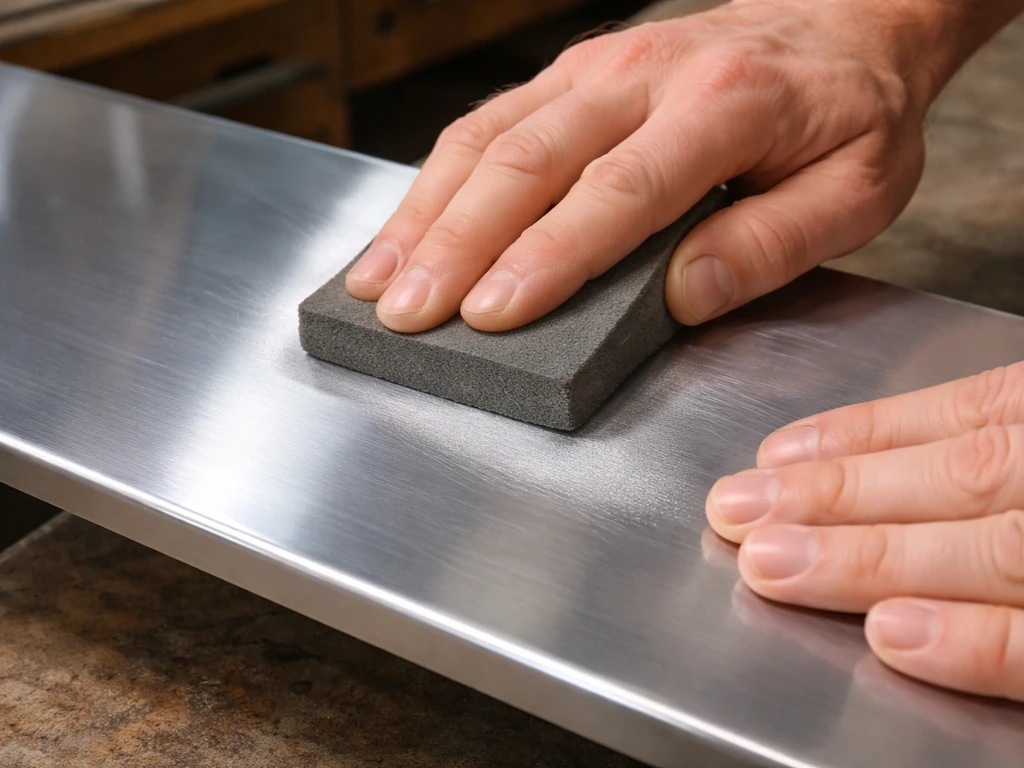
If the existing factory finish is intact, glossy, and in good condition (which means the surface just needs a color refresh), you need to dull that shine so primer has something to grab. A 150 to 180 grit sanding sponge or sandpaper works well on the flat panels. You do not need to sand down to bare aluminum, just scuff the gloss off. Wipe off all the dust with a tack cloth or a clean rag dampened with water, then let it dry.
Repair any damage before you prime
Look for dents, holes, bent panels, or areas where the existing coating has completely peeled off to bare aluminum. Small scratches and minor dings can be filled with an exterior-grade aluminum epoxy filler, sanded smooth, and primed. Bare aluminum patches need extra attention because aluminum oxidizes fast once exposed. If you find significant structural damage, bent supports, or rot in any attached wood framing, sort those issues out before you paint. Paint does not fix structural problems.
Pick the right primer and paint for aluminum
This is where a lot of DIYers go wrong. Standard drywall primer will not bond reliably to aluminum. You need a primer specifically formulated for metal or difficult surfaces. Here are the options that actually work well for this application:
| Product type | Best use case | Notes |
|---|---|---|
| Rust-Oleum Stops Rust Aluminum Primer | Previously painted or chalked aluminum | Good adhesion, widely available, surface must be completely dry before application |
| Benjamin Moore Insl-X Stix Bonding Primer | Glossy or powder-coated aluminum | Excellent adhesion to slick surfaces; recoat in 3-4 hours, full cure in 3-4 days |
| Sherwin-Williams DTM Epoxy Sealer (2-component) | Bare aluminum or heavy-duty durability needs | Direct-to-metal adhesion and corrosion protection; topcoat ready in as little as 30 minutes |
| Etch primer / self-etching primer | Bare aluminum patches | Creates a chemical bond with aluminum; apply immediately after cleaning to prevent re-oxidation |
For the topcoat, use a 100 percent acrylic exterior paint rated for metal or multi-surface use. Flat or satin sheens hold up better outdoors than gloss on aluminum because they hide minor imperfections and are less prone to showing chalk down the road. If you want to match the original Alumawood look, most paint counters can color-match from a chip or photo. Look for a paint that explicitly calls out UV resistance and heat resistance, since patio covers bake in direct sun.
Step-by-step painting process
Pick the right day
Exterior latex paint should be applied when air temperatures are between 50°F and 90°F. Avoid painting in direct, blazing midday sun because the surface heats up and the paint dries too fast before it can level properly. Morning is usually best. The surface temperature should be at least 5°F above the dew point, and conditions should stay within that range for at least 48 hours after you apply the final coat. Do not paint when rain is in the forecast within 24 hours.
Tools and materials you will need
- TSP substitute or degreasing cleaner
- Stiff scrub brush and bleach solution for mildew
- 150 to 180 grit sandpaper or sanding sponges
- Tack cloths and clean rags
- Painter's tape and plastic sheeting to protect walls, posts, and trim
- Bonding primer for aluminum (per your surface type)
- Exterior 100% acrylic paint, UV-resistant
- 4-inch mini roller with a smooth (1/4 inch nap) cover for flat panels
- 2-inch angled brush for edges and tight areas
- Airless paint sprayer (optional, for large or complex covers)
Apply the primer
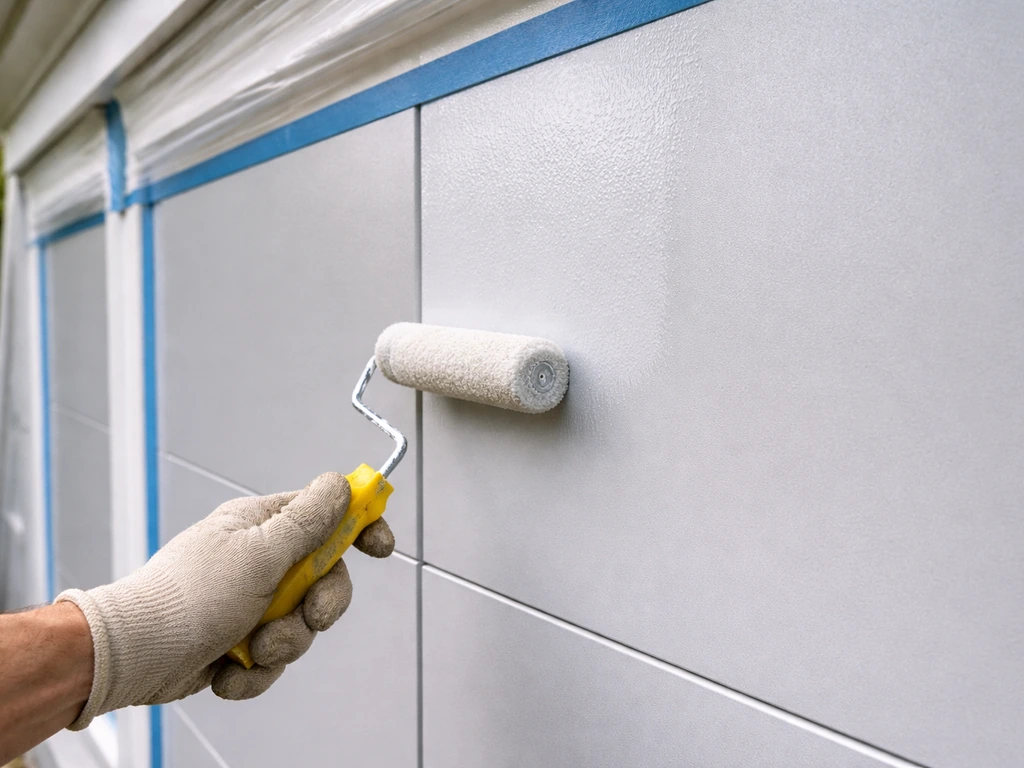
Mask off anything you do not want painted: walls, posts, trim, and any hardware. Apply the bonding primer in thin, even coats. On the flat aluminum panels, a short-nap foam or smooth roller leaves a much cleaner surface than a thick-nap roller, which can leave texture. Brush out any drips immediately. One coat of primer is usually enough if you are painting over a cleaned, scuffed factory finish. If you hit any bare aluminum patches, apply a second coat on those spots. Let the primer dry fully according to the product instructions before topcoating.
Apply the topcoat
Two thin coats beat one thick coat every time on aluminum. A thick coat sags, takes forever to cure, and is more likely to crack later. Apply the first coat with your roller, working in manageable sections of 3 to 4 feet so you can maintain a wet edge. Cut in edges and angles with your brush before you roll the adjacent flat area. For a large patio cover or a very complex beam-and-lattice structure, an airless sprayer makes this dramatically faster and gives you a smoother result. Spraying also reduces brush and roller marks, which show up more on smooth aluminum surfaces. If you spray, use a back-brushing technique on the first coat to really work the paint into any textured surface like an Alumawood wood-grain emboss.
Let the first coat dry to the touch (typically 1 to 2 hours for exterior acrylics in good conditions), then apply your second coat in the same manner. Do not skip the second coat. Aluminum is a demanding surface and one coat rarely gives you the film build you need for durable protection.
Drying, curing, and keeping it looking good
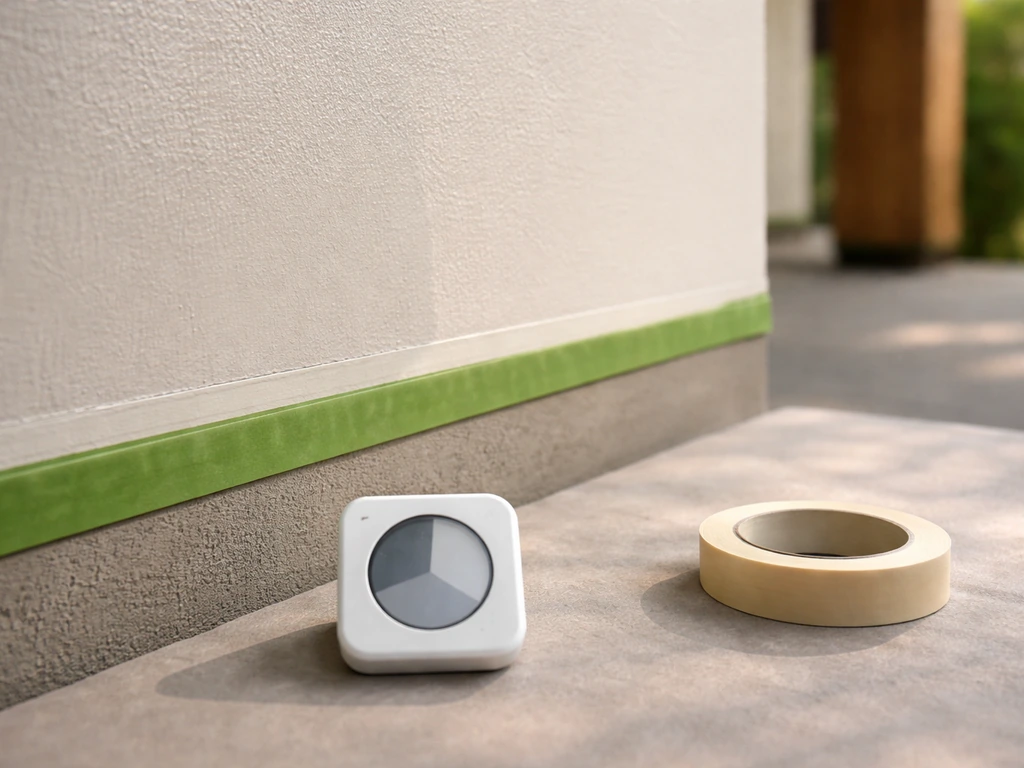
Dry to touch and fully cured are two very different things. Most exterior acrylics are touch-dry in 1 to 2 hours and recoatable in 4 hours, but full cure, meaning the film has reached its maximum hardness and chemical resistance, takes closer to 3 to 4 days (or even up to a week in cool, humid conditions). During that curing period, keep the surface dry, avoid dragging furniture across it, and do not pressure wash it. A partially cured paint film is soft and easy to damage.
Common failures and how to avoid them
- Peeling within a season: almost always caused by painting over chalk, mildew, or a glossy surface without proper prep and priming. There is no shortcut around cleaning and deglossing.
- Fisheyes or cratering: small craters in the wet paint are caused by silicone, wax, or oil contamination on the surface. Avoid using any silicone-based cleaners or polishes on the cover before painting, and clean thoroughly with a degreaser. If fisheyes appear, the affected area needs to be cleaned, sanded, reprimed, and recoated.
- Brush marks and roller texture: use a smooth short-nap roller on flat panels and consider spraying for large areas. Rolling on a hot surface accelerates drying and worsens texture.
- Re-oxidation under the primer: if you prep bare aluminum and then wait too long before priming, oxidation starts forming again. Prime bare aluminum the same day you clean and etch it.
Maintenance going forward
Once the paint is fully cured, an annual wash with mild soap and water is all it really needs. Check the surface each year for any chips, small cracks near fasteners, or areas where the paint is starting to lift. Touch those spots up early, before water gets under the film and causes a larger failure. A well-prepped and properly painted aluminum patio cover can go 7 to 10 years or more before it needs a full repaint.
When you should not DIY this job
Painting an aluminum patio cover is a genuine DIY project, but there are situations where it makes sense to stop and either get help or skip painting entirely. In some cases, you may also be dealing with other roof systems on the structure, like mounting solar panels on the patio cover can you put solar panels on alumawood patio cover.
- Structural damage: if panels are cracked, bent badly, or if the supporting beams or posts are compromised, painting over those problems just hides them. Get the structure assessed and repaired first. This matters especially if you are considering adding anything to the cover later, like solar panels.
- Working at height: if your patio cover is attached to a second-story wall or requires a tall extension ladder or scaffolding to reach all surfaces, the risk profile goes up fast. A professional painter with the right scaffold setup is worth the cost.
- Warranty considerations: if your Alumawood cover is still under the factory finish warranty, painting over the Aluma-Shield finish likely voids it. Read your warranty documentation before you start.
- Peeling from a previous bad paint job: if someone already painted the cover badly and the paint is peeling everywhere, you may be looking at a full strip-to-bare-metal job. That is a bigger undertaking than a standard repaint and often benefits from professional equipment.
- Local permits or HOA rules: some jurisdictions require permits for exterior alterations, and many HOAs have rules about approved colors. Check before you commit to a color or start work.
If your situation is straightforward, your cover is in decent shape structurally, and you are comfortable working on a ladder for a few hours, this is a very manageable weekend project. Get the prep right, use a proper bonding primer for aluminum, apply two thin topcoats, and you will end up with a cover that looks fresh and holds up to years of sun and weather. If you are also planning a solar panel patio cover, the same prep and aluminum-coating principles apply so the surface stays protected.
FAQ
Can I paint my Alumawood patio cover without removing the factory finish?.
If the factory coating is still intact and not chalking, you can often paint without stripping, but you must still degrease, remove any mildew, scuff the gloss, and use a bonding primer made for metal or difficult surfaces. If you see peeling, flaking, or chalky residue, spot-prime the affected areas and be prepared to clean and re-sand them thoroughly for the primer to bite.
What if my Alumawood cover was previously painted, can I repaint it?.
Yes, but match primer and topcoat chemistry and do it in two stages. Use the metal bonding primer over the old coating, let it cure fully, then apply your 100 percent acrylic exterior topcoat. If the old paint is soft, smears on a spot test, or is lifting at edges, treat that area as a failure zone and remove loose coating before priming.
Is drywall primer okay for Alumawood aluminum panels?.
Use an exterior-grade bonding primer formulated for aluminum or metal adhesion, not drywall primer. The fastest way to avoid trouble is to buy a primer that explicitly targets adhesion to powder-coated or hard-to-bond surfaces. If you cannot find one that mentions aluminum, powder coat, or metal adhesion, keep looking.
How long should I wait before washing or touching the cover after painting?.
Dry-to-touch timing is not the same as cure. Keep foot traffic, cleaning, pressure washing, and anything that can scratch the surface off the painted cover until the paint has fully cured (often several days, longer in cool or humid weather). If you wipe the surface early, you can create sheen differences or soft spots.
What happens if it rains before the paint cures?.
If you paint and rain hits before the paint is cured, the coating can cloud, lose adhesion, or develop soft spots that later peel. The safest approach is to check the weather window, and if rain occurs, allow drying and then inspect for tackiness, lifting edges, or roughness before deciding whether to repaint.
Can I change the color, for example from white to dark, when painting Alumawood?.
It depends on the finish condition, but paint color changes are usually fine. Flat and satin acrylics better hide minor surface texture, and they reduce the visibility of any chalk-through compared with gloss. If you are going darker over a previously light, intact coating, two thin coats usually cover evenly, but chalking or oxidation can still telegraph through unless you fully clean and scuff.
Why does paint peel off aluminum patio covers even when I used exterior paint?.
Common misses are leaving chalk/oxidation behind, skipping the scuffing step on a glossy finish, and using the wrong primer. Another big cause is thick coats, which are prone to cracking and poor adhesion. Stick to degreasing, solvent spot testing, proper primer, and two thin coats.
Can I paint if my Alumawood cover has mildew or algae stains?.
For aluminum panels that already have mildew or algae spots, clean and treat first, then rinse thoroughly and let dry completely. Do not paint over black or green spots, and do not let bleach solutions dry on the aluminum. If the surface still smells, feels greasy, or shows stains after cleaning, repeat the cleaning before priming.
Does the primer choice depend on whether my finish is powder coat versus liquid paint?.
If the spot test indicates powder coat and the surface feels extremely hard and slick, you generally need a dedicated bonding or etching-type primer for that specific adhesion job. Liquid finishes that smear on the rag usually still need primer, but the primer choice can be simpler. When in doubt, rely on the spot test result and buy primer specifically aimed at powder-coated or hard coatings.