
You can put up a gazebo on an existing patio in a single weekend if you plan it right. The core process is: confirm your patio can handle the load, pick the right anchoring method for your surface (concrete, pavers, or wood deck), assemble the frame before you commit to a final position, then level, square, and bolt everything down tight. Get those steps in the right order and the whole job goes smoothly. Rush them or skip the prep and you'll be pulling it apart to start over.
How to Put Up a Gazebo on a Patio: DIY Steps

Celia Vaughn
8 Jul 2026
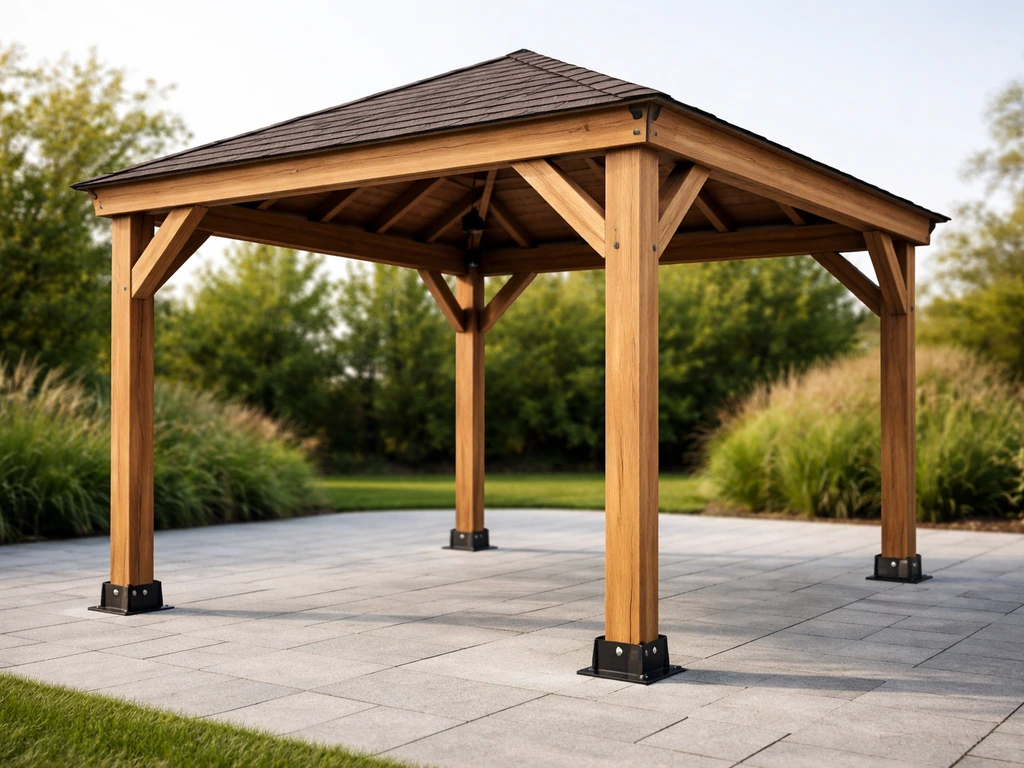
Pre-checks: can your patio support a gazebo?
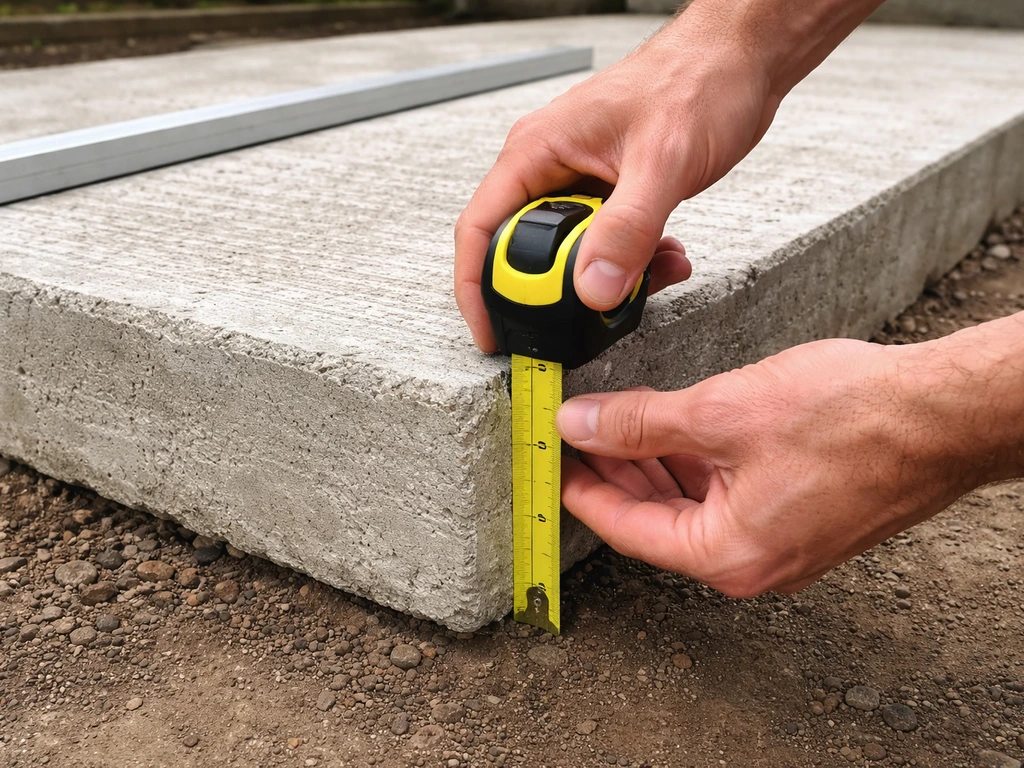
Before you buy or unbox anything, make sure your patio surface can actually do the job. Most gazebo installation manuals specify a minimum concrete slab thickness of 4 inches for direct anchor-bolt installation. If your slab is thinner than that, anchor bolts won't have enough bite and the structure can pull free under wind load. Tap the slab in a few spots with a hammer and listen for hollow sounds, which can indicate delamination or voids underneath. If you're unsure how thick your slab is, drill a small test hole near an edge with a masonry bit and measure.
For wood decks, the question is joist and beam capacity. A freestanding 12-foot gazebo with a polycarbonate or steel roof can weigh 400 to 700 pounds before you add snow load or wind uplift. Your deck posts and framing need to be rated for that. Check that deck ledger bolts are solid, look for any rot in the joists near where you plan to anchor, and make sure the deck was built to current code, not a 1980s permit. If the deck bounces noticeably when you walk across it, get it inspected before you add a permanent structure on top.
Paver patios are a special case. Loose-set pavers over a sand base are not a good direct anchoring surface by themselves. You'll need to either set anchor footings through the pavers into compacted gravel or concrete below, or remove pavers in the post locations and pour small concrete pads. More on that in the anchoring section.
Plan the setup: size, placement, orientation, and clearances
Measure your patio carefully and leave margin on all sides. A good rule is to keep at least 18 to 24 inches between the gazebo post line and the edge of the slab so your anchor bolts aren't too close to the edge (edge concrete is weaker and more prone to spalling). If you're installing near a house wall, check local zoning codes. Many municipalities treat gazebos as accessory structures with setback requirements, and some codes restrict structures over 10 feet tall or larger than 250 square feet from being placed within a setback zone. Those numbers vary, so check with your local building department before you commit to a location.
Orientation matters more than people expect. Point the open side or dominant opening away from your prevailing wind direction if you can. This reduces the sail effect on the roof panels and lowers the wind uplift load on your anchors. If you're in a coastal or high-wind area, check the ASCE 7 wind speed map for your region, because anchor hardware sizing is directly tied to the design wind pressure at your location. ToolGrit’s Wind Load Calculation Guide explains how ASCE 7 uses basic wind speed and velocity pressure to determine design pressures that drive anchoring and uplift considerations ASCE 7 wind speed map.
- Confirm the footprint fits the patio with at least 18 inches of slab remaining past each post
- Mark post locations with chalk or tape before assembly
- Check overhead clearances: eaves, soffit, power lines, and tree branches
- Verify the planned location gets the shade or sun coverage you actually want
- Look up your local zoning accessory structure rules before finalizing placement
Prep the patio and choose the right anchoring method
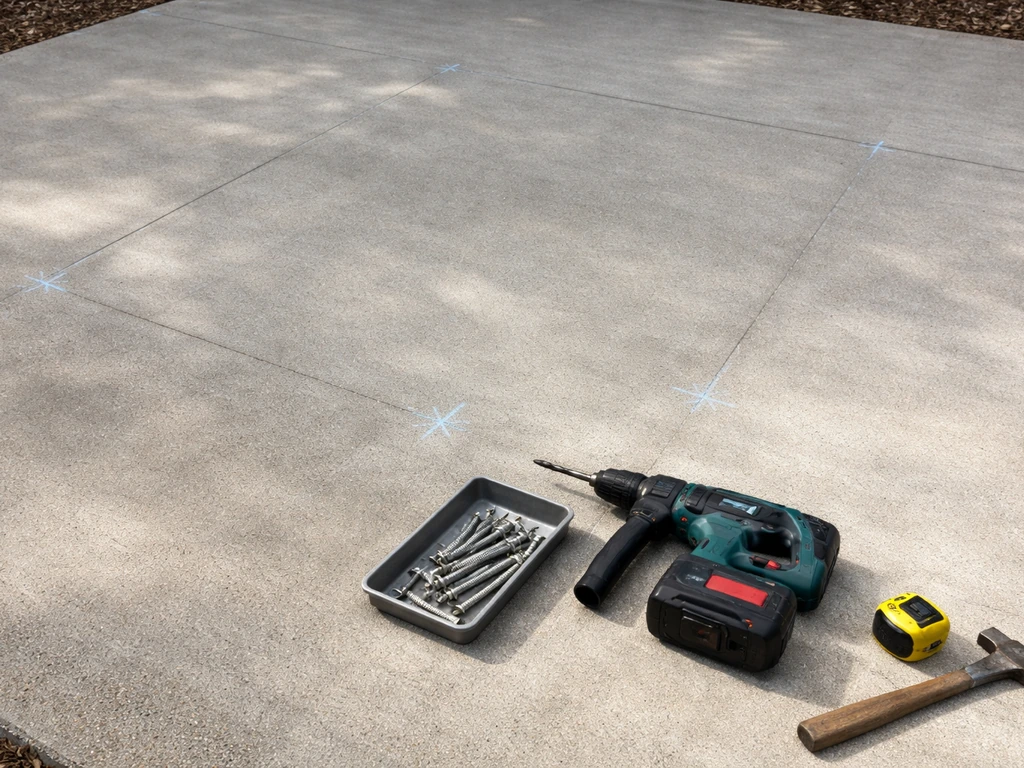
Sweep the surface clean and mark all four (or more) post positions with chalk. Once the patio is prepped, you can fine-tune the post positions and follow the right anchoring steps to fix a gazebo to a patio securely. Use a long level or a string line to confirm the surface is reasonably flat across the full footprint. If one corner is more than half an inch lower than the others, you'll need to shim the post base or use adjustable post brackets to compensate. Trying to force a level frame onto an uneven slab is a common mistake that causes racking and misaligned roof panels later.
Concrete slab anchoring
The standard method is wedge anchor bolts or sleeve anchors set into the concrete with a rotary hammer drill. Use at least 3/8-inch diameter anchors rated for the post bracket load, with corrosion-resistant (hot-dip galvanized or stainless) hardware throughout. Drill the hole to the depth specified by the anchor manufacturer, blow out the dust, tap the anchor in, and hand-tighten the nut before final torquing. Post brackets bolted directly to the slab are stable, clean, and strong when done correctly.
Wood deck anchoring
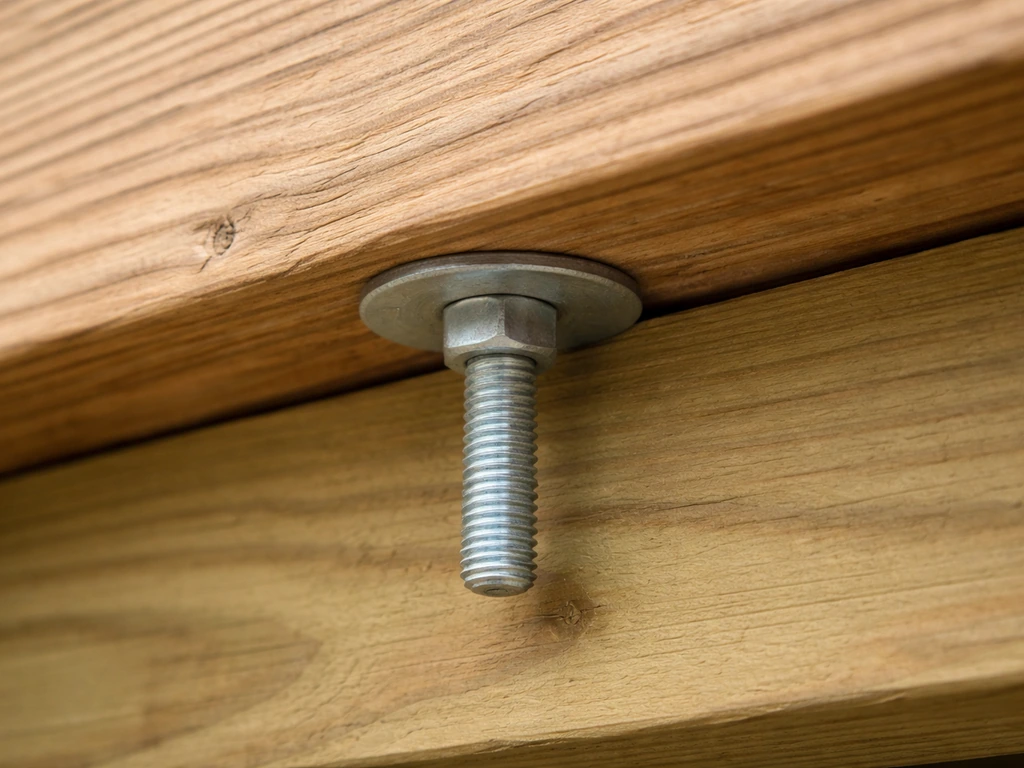
Use through-bolts, not just lag screws, wherever possible. If the post aligns over a joist or beam, a 1/2-inch through-bolt with a large washer on the underside is significantly stronger than a lag screw alone. Post bases rated for the load (Simpson Strong-Tie or equivalent) give you a clean adjustable connection. Avoid anchoring into decking boards only since they're not structural.
Paver patio anchoring
Remove pavers at each post location to expose what's underneath. If there's a solid concrete base below the sand layer, use the same anchor bolt method as a concrete slab. If it's sand and gravel only, dig down 12 to 18 inches, pour a concrete pad at each post location, let it cure fully (at least 48 hours, longer in cool weather), then set your post brackets into the fresh concrete or drill into the cured pad. Don't skip this step and just stake into the sand. It won't hold in any serious wind.
Assemble the gazebo correctly before final positioning
Read the manual front to back before you start. I know that sounds obvious, but every gazebo has its own assembly sequence and skipping ahead almost always creates a problem that requires backtracking. Lay out all parts and hardware and match them to the parts list before you begin. Missing a bracket or discovering the wrong hardware bag halfway through assembly is frustrating.
Build the frame on a flat, clear area near the final location, not in the final position. This lets you work freely without fighting anchor bolts already in the slab. Assemble the posts, connect the rafters, and get the frame roughly together before moving it into place. Leave all bolts and fasteners finger-tight or just snug during assembly. Multiple assembly guides, including Hampton Bay's soft-top gazebo instructions, specifically say not to fully tighten any bolts until assembly is complete. Tightening prematurely locks components into a slightly wrong position and the whole frame fights you when you try to square it up.
For roof panels, the same principle applies. If your gazebo has hard roof panels (polycarbonate, steel, or aluminum), install them all before tightening any panel screws. This allows each panel to seat properly into its adjacent one. Over-tightening the first panel often prevents the last panel from fitting flush.
Level, square, and secure it to the patio (step-by-step)
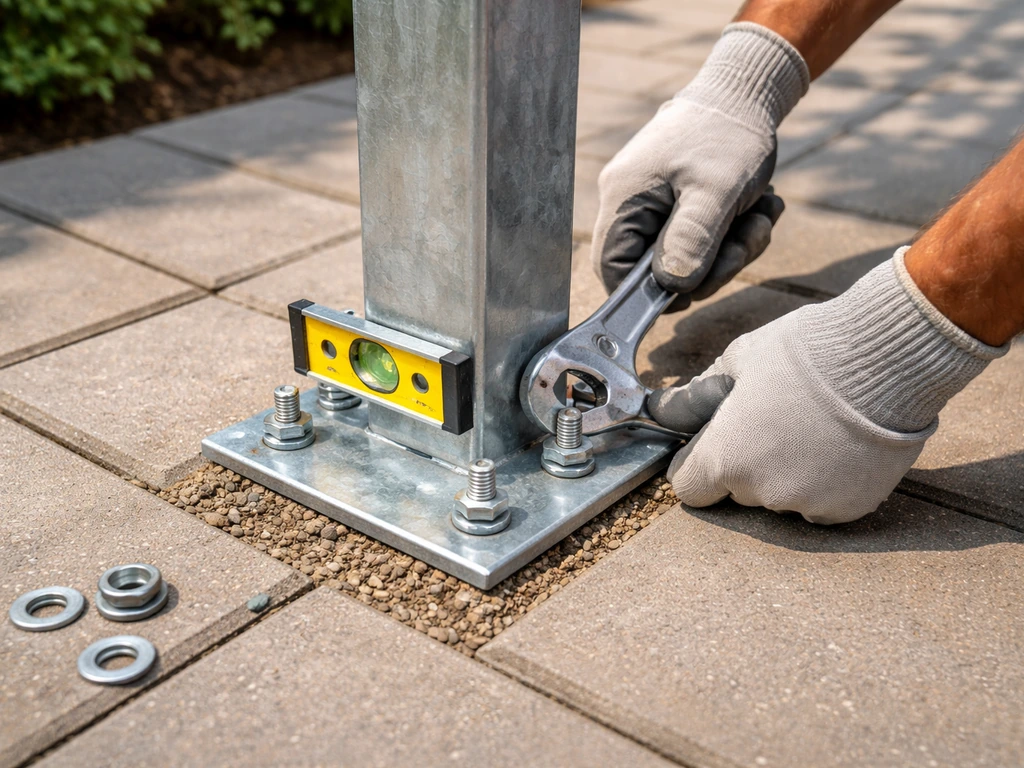
- Move the assembled frame into position over your marked post locations. Have at least one helper for anything larger than a 10-foot gazebo.
- Set each post base onto its anchor bolt (or into its bracket) without tightening. Check that all posts are sitting on or very close to the surface.
- Use a 4-foot level on each post to get them plumb. Shim under post bases as needed for any low corners.
- Measure the diagonals: corner to corner in both directions. When both diagonal measurements are equal, the frame is square. Adjust by pushing one corner slightly until both diagonals match.
- Once square and plumb, tighten the post base nuts to the torque spec in your manual (typically 25 to 35 ft-lb for 3/8-inch anchors). Work in a cross pattern, not in a circle, to pull the structure down evenly.
- Now go back and tighten all frame bolts and fasteners in order from the bottom up: post connections first, then rafter-to-post connections, then ridge or peak connections.
- For roof panels, tighten panel screws starting from the center of each panel and working outward to avoid bowing.
- Do a final check: re-verify all four posts are still plumb, re-measure the diagonals, and walk around tugging on each connection to confirm nothing has any play.
What often goes wrong here is that people tighten the anchors before squaring the frame. Properly weighing down and anchoring the gazebo is crucial for stability on a patio, especially in gusty conditions. Once those anchor bolts are torqued down into the concrete, you have very little wiggle room to correct an out-of-square frame. Always square first, anchor second.
Weatherproofing and finishing touches
Once the frame is secured, check every roof panel overlap and ridge cap for gaps. Most hard-panel gazebo roofs include a butyl tape or foam closure strip at the ridge and eave. Make sure those seals are fully seated and compressed. If yours didn't include them or they're missing, self-adhesive foam closure strips from any hardware store work perfectly. Water intrusion at the ridge is the most common source of post-installation frustration.
For soft-top canopy gazebos, pull the canopy fabric taut and even before snapping or velcro-fastening it down. A loose canopy traps water in pockets and tears faster in wind. If your canopy came with tie-down loops at the corners, use them. Bungee cords through those loops to the frame extend canopy life significantly.
Apply a bead of exterior silicone caulk around the base of each post bracket where it meets the concrete. This keeps water from pooling underneath the bracket plate, which causes corrosion over time even on galvanized hardware. For wood deck installations, also apply wood preservative or end-grain sealer to any cut deck board edges near the post bases.
If you're adding sidewall curtains or privacy screens, hang them after the structure is fully secured and inspected. Sidewalls dramatically increase wind load, so consider removing them or rolling them up when you're expecting storms. The difference in wind resistance between an open gazebo and one with all sidewalls down is substantial, and it's worth understanding that trade-off before the first thunderstorm rolls in. Properly weighing down and anchoring the gazebo is a closely related topic worth reviewing once the installation is complete.
Safety, permits, and when to hire a pro
Most municipalities require a permit for permanent accessory structures above a certain size or height, and gazebos typically qualify once they're anchored to the ground. The threshold varies, but a common benchmark is anything over 200 to 250 square feet or taller than 10 feet triggers a permit requirement. Some jurisdictions require permits for any structure that's permanently attached to the ground regardless of size. Skipping the permit can create problems when you sell the house or if the structure is ever involved in a claim. Spend 20 minutes calling your local building department before you start drilling into the slab.
Call a pro if your patio slab shows significant cracking, heaving, or drainage problems that water is pooling near. A compromised slab is not a good foundation for a permanent structure, and the fix needs to happen first. Also call a pro if your patio is on a slope or retaining wall, if the planned gazebo footprint is larger than about 200 square feet, or if local code requires stamped engineering drawings for the anchor design. A structural engineer review for an anchoring design typically costs $300 to $600 and is worth it for larger structures in high-wind zones.
For electrical connections, if you're adding lighting or a ceiling fan to the gazebo, always use a licensed electrician for the wiring. Outdoor electrical in a structure exposed to weather is not a DIY shortcut worth taking. Everything else in this guide is within reach for a competent DIYer with basic tools and a free weekend.
Quick reference: anchoring method by patio surface
| Patio Surface | Recommended Anchor Method | Key Requirement | DIY Difficulty |
|---|---|---|---|
| Concrete slab (4"+ thick) | Wedge or sleeve anchor bolts + post brackets | Rotary hammer drill, corrosion-resistant hardware | Moderate |
| Concrete slab (under 4" thick) | Surface-mount with larger base plate or epoxy anchors | Consult engineer for load ratings | Moderate to Hard |
| Wood deck | Through-bolts into joists/beams + post bases | Must anchor into structural members, not decking | Moderate |
| Paver patio (concrete base underneath) | Remove pavers, drill into concrete below, use anchor bolts | Confirm concrete base thickness first | Moderate |
| Paver patio (sand/gravel base only) | Remove pavers, pour concrete pads, set post brackets | Concrete must cure before loading | Hard |
FAQ
Can I put a gazebo on a patio without drilling into the concrete or pavers?
You can use surface-only options if your gazebo kit specifically allows it, but most “real” wind-rated setups for an elevated roof require anchors into a structural substrate. If you cannot drill, plan for freestanding placement on weighted blocks or an engineered base frame, and confirm the manufacturer’s wind load instructions in writing.
What should I do if my patio slab is older and I’m not sure about its thickness or condition?
Do the hollow-sound checks, and also look for cracks that run beyond the drill points. If you see active cracking, scaling, or repeated efflorescence near where anchors would land, stop and have a local contractor or structural pro assess. Anchoring into spalled or delaminating concrete can fail even if thickness looks adequate.
How far from the patio edge can I place the gazebo posts?
Aim to keep the post line well inside the stronger portion of the slab, a common target is at least 18 to 24 inches. If your patio has an exposed edge, saw cuts, or a thin border, measure again and treat those edge zones as weaker, so move inward if possible.
Do I need to level the entire patio first, or can I shim the gazebo posts?
You should not try to “bend” the frame into an out-of-flat patio. Shimming at post bases is acceptable when the kit supports it, but large height differences can cause racking and roof misalignment. If one corner differs by more than about half an inch, reassess and consider adjustable brackets or an installer who can verify the footprint is within the gazebo’s tolerance.
Is it better to anchor before I fully assemble and square the gazebo frame?
Square first, then anchor and torque. Once anchors are tightened into concrete, adjustment is limited, so an out-of-square frame becomes hard to correct. Keep bolts finger-tight during assembly, square the frame, then torque anchors and finish tightening only after the roof system fits correctly.
What torque amount should I use for the anchor bolts and post brackets?
Use the torque specification from both the gazebo manual and the anchor manufacturer’s data, not a generic guess. If the gazebo hardware uses a specific bolt grade or bracket load rating, follow that, because over-torquing can damage threads in softer concrete or deform bracket plates.
Can I anchor into pavers if I just use longer bolts?
Long bolts alone usually do not solve it, because loose-set pavers and sand beds do not provide consistent grip under uplift and shear. The reliable approach is through-footings into compacted gravel or concrete below, or concrete pads at each post location, then bracket anchoring into that concrete.
If my gazebo has a hard roof, should I install panels after anchoring or before?
Install roof panels in a way that preserves panel alignment, but do not fully tighten panel screws until each panel is seated and overlapped correctly. Many installers assemble and test-fit panels after the frame is set, then tighten in sequence to avoid trapping the final panel.
Will adding side curtains or privacy screens void the stability calculations?
It can, because sidewalls significantly increase wind pressure and load paths. If the kit does not provide a clear wind-rated configuration for enclosed use, consider removing them before storms or only using them when wind is low. At minimum, re-check your anchor and bracket capacity relative to the manufacturer’s wind guidance.
How do I handle water at the post bases, especially if I see pooling after rain?
Pooling can accelerate corrosion and loosening, even with galvanized hardware. Seal around the post bracket base as the kit recommends, improve drainage away from the posts, and verify the gazebo footprint is not creating a “catch basin” on a sloped patio.
What’s the safe way to route wiring for gazebo lighting or a ceiling fan?
Plan conduit and weatherproof connections upfront, use exterior-rated components, and have a licensed electrician handle any wiring and permits. Also confirm whether your local code requires a GFCI outlet or specific burial depth for any exterior runs.
Do gazebos always require a permit on a patio?
Not always, but many jurisdictions require one based on height, footprint area, and whether it is permanently attached. If your installation will be anchored into the ground or slab, call your local building department before drilling, especially if you are near property lines or within a setback.